How to Recover Data from a Crashed PC with AOMEI Partition Assistant for Recovery
Introduction
In some cases, your system might not boot normally. How do we recover data for a crashed PC? Fortunately, you can use AOMEI Partition Assistant for Recovery to do such a crashed PC recovery. To recover a crashed PC, you need to first create a bootable disk and then boot your crashed PC into WinPE to start the recovery.
How to Recover Crashed PC with AOMEI Partition Assistant for Recovery
Before you do
- Download and install AOMEI Partition Assistant for Recovery on a working PC.
- Connect a USB flash drive or CD/DVD to your PC. If there is no USB or CD/DVD, AOMEI Partition Assistant for Recovery allows you to export a WinPE bootable ISO file, which can be used to boot your virtual machines or burn it to other devices.
It is useful to recover data for a crashed PC. It is a paid feature to create a bootable disk and recover from a crashed PC. So please first upgrade to the paid version.
How to Recover Crashed PC with AOMEI FastRecover Step by Step
Step 1. Run AOMEI Partition Assistant for Recovery and click "PC Crashed Recovery".
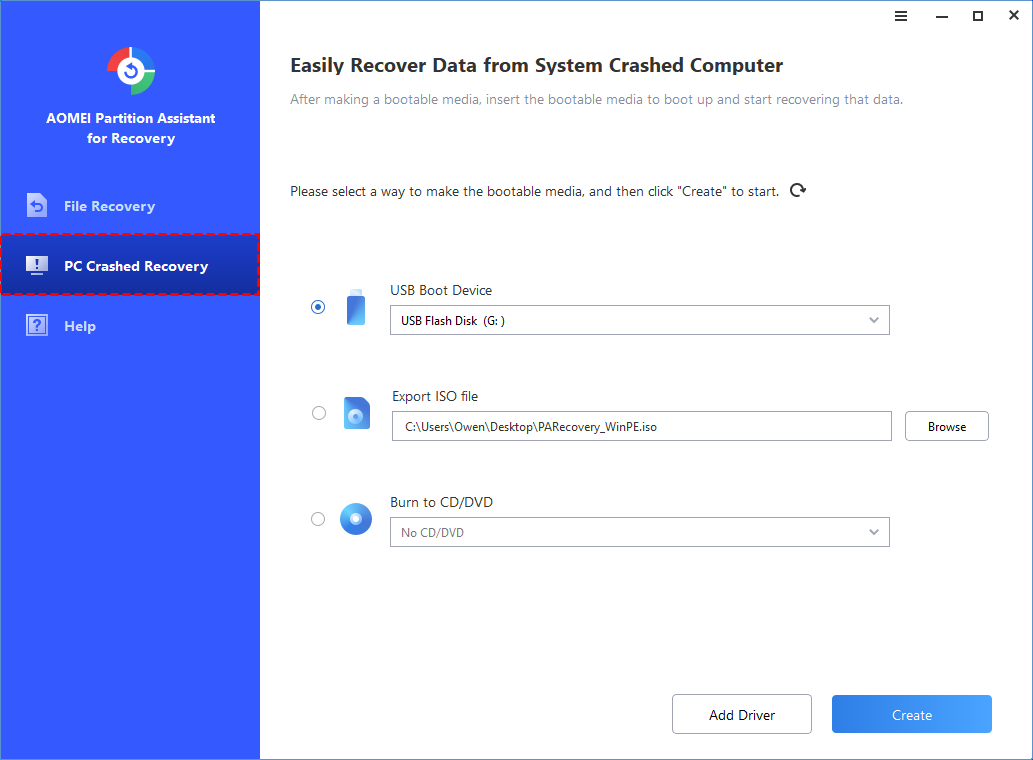
Step 2. Select a way to create bootable disk as per your needs and click "Create". (Here, we take the first USB Boot Device as an example)

There are three ways available to create bootable disk based on Windows PE.
USB Boot Device: To create a bootable USB Device.
Export ISO File: Use this method to make a bootable ISO file. After the ISO is exported, you need to burn it with a third-party burning program. Or, you can use the ISO to boot some virtual machines or burn it to other devices.
Burn to CD/DVD: To create a bootable CD/DVD.
Tips: "Add Drivers" allows you to manually add additional and necessary drivers into the bootable disk so that more devices will be available after you boot into WinPE.
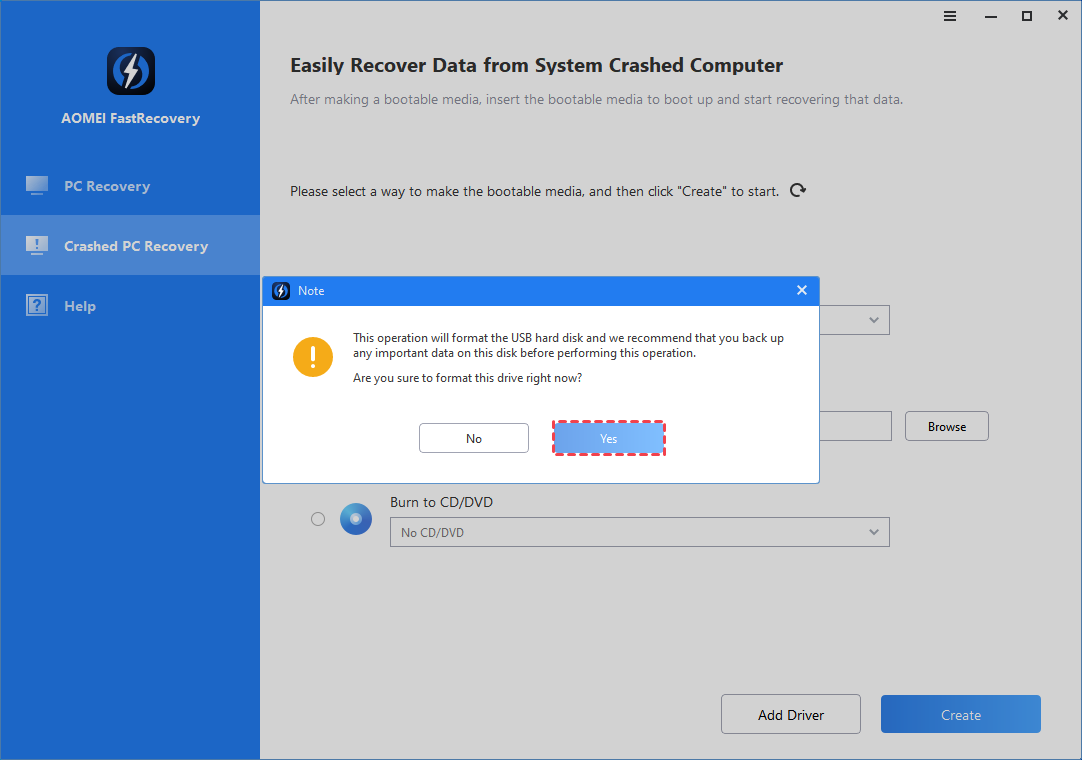
Step 3. Then, you will get a pop-up note that this operation will format the USB hard disk. If there is important data on it, please first make a backup. If you confirm, please click "Yes" to continue.
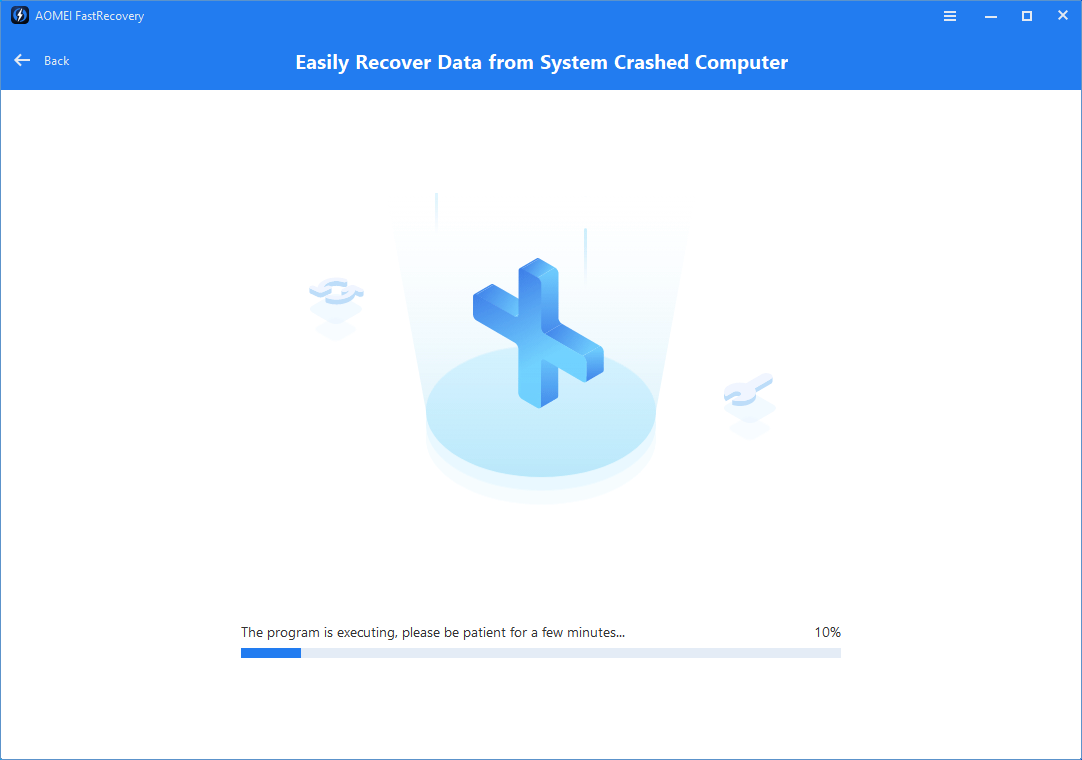
Step 4. The creation operation will start and you can check the creation process. The progress of creating a WinPE bootable USB drive will take a few minutes.
Step 5. After the process is finished, you can will get a successful window. And, you will also get a notice of instructions to boot from the bootable disk and then recover from a crashed system.
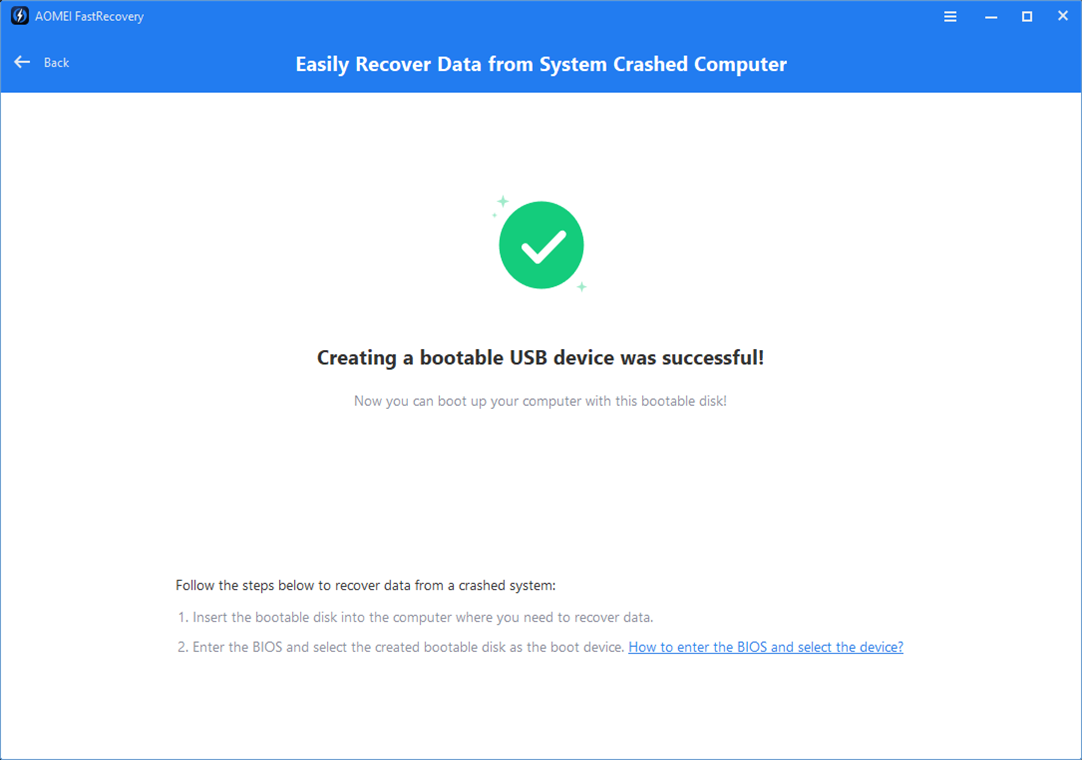
Step 6. Please insert the bootable USB to boot up the crashed PC and then start the recovery process.
To boot from the WinPE bootable USB flash drive or CD/DVD, you need to first enter into BIOS/UEFI and change boot order under Boot Menu.
And, you may also need to disable Secure Boot under BIOS/UEFI. For different brands of computers, the key to enter into BIOS might be different. To boot from the bootable disk, please check the detailed instructions.
The steps to scan and recover lost files under WinPE from a boootable disk is the same as the ones under Windows recovery. Please check the detailed instructions.
Conclusion
Following the above steps, you can easily create a bootable disk With AOMEI Partition Assistant for Recovery. With the bootable disk, you can easily boot a crashed PC into WinPE and start the data scan and recovery process. This is very helpful to save your lost data, especially when the PC is crashed.
FAQs:
Q: How to make the bootable disk bootable?
A: Please insert into the PC and select the bootable disk as the first Boot Option in BIOS/UEFI. You might also try to switch Boot Mode between Legacy and UEFI.
Also, you might need to disable Secure Boot.
Q: After you boot into WinPE, some devices cannot be recognized.
A: Maybe it lacks related drivers in the WinPE, you could click the "Add Drivers" button to add corresponding drivers when recreating the WinPE.
And, if your system is Win10 or above version, you can try to first download and then install Windows ADK and WinPE Addon if necessary and then create a bootable disk.