[8 Methods] How to Open Device Manager Windows 11 to Manage the Hardware Devices
Follow step-by-step instructions to know how to open Device Manager Windows 11. In addition, you can also know how to effectively manage your disk after reading this passage.
By Irene / Updated on June 29, 2023
About Windows 11 Device Manager
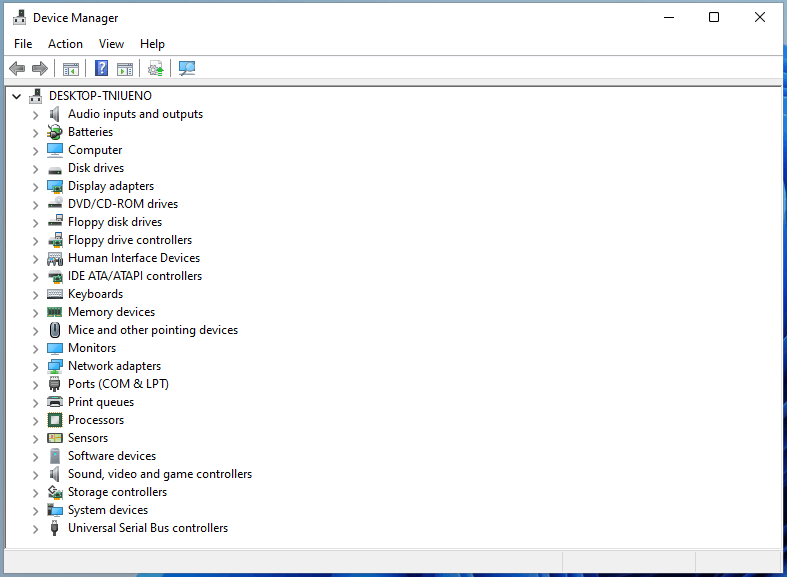
Windows Device Manager is a useful utility provided by the Windows OS. It offers a centralized interface for managing and controlling hardware devices connected to a computer running Windows. Whether you need to install drivers, troubleshoot device issues, disable or enable devices, or simply gather information about your hardware components, Device Manager is designed to assist you.
Its ability to manage device drivers is a significant advantage. Drivers are important software components that enable effective communication between the operating system and hardware devices. Users can update, roll back, disable, or uninstall device drivers through that, thus ensuring optimal performance and compatibility.
Additionally, Device Manager offers troubleshooting features such as scanning for hardware changes, updating drivers, and uninstalling/reinstalling devices. These capabilities play a vital role in resolving conflicts and restoring the functionality of malfunctioning devices. Now, let's explore the steps to access this Windows tool and utilize its features.
How to open Device Manager Windows 11
After understanding the advantages of Windows Device Manager, it is time to grasp the process of opening it on your Windows computer. This section will provide insights into several methods that can assist you in effortlessly reaching Windows Device Manager.
Method 1. Open Windows 11 Device Manager with Windows Run
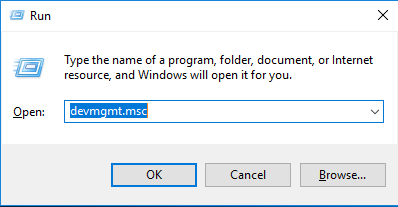
To open Windows 11 Device Manager using the Windows Run command, you can utilize the keyboard shortcut Windows key + R. This will bring up the Windows Run box.
Step 1. In the Run box, you can enter either "devmgmt.msc" or "hdwwiz.cpl".
Step 2. Then click the “OK” button. Following these steps, the Device Manager window will appear on your screen.
Method 2. Open Windows 11 Device Manager Through CMD/PowerShell
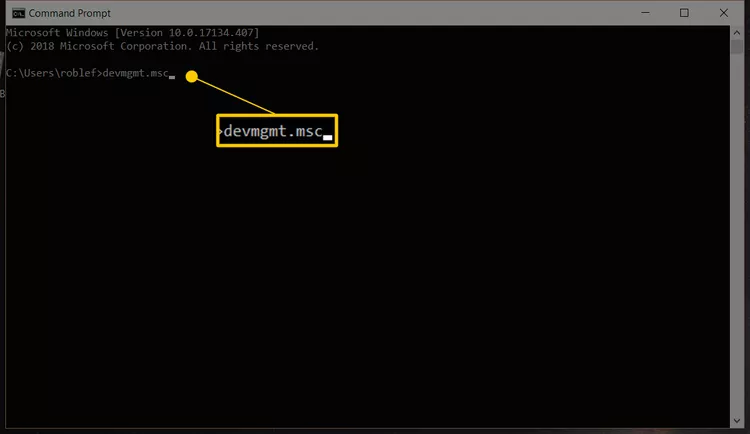
Alternatively, you have the option to use a command prompt to launch Windows 11 Device Manager. To do so, begin by opening either the Command Prompt or PowerShell in Windows 11.
Enter either "devmgmt.msc" "devgmgt" or "hdwwiz.cpl" into the command prompt, and press “Enter”. By following these steps, you will be able to access your Device Manager and view its contents.
Method 3. Open Windows 11 Device Manager with Quick Link Menu
Using the Quick Link Menu provides a convenient and quick way to access Device Manager without the need for additional steps or searching through various menus.
Very simple, just right-click on the Start Menu icon in Windows 11, then choose the "Device Manager" option, and it will promptly open for you.
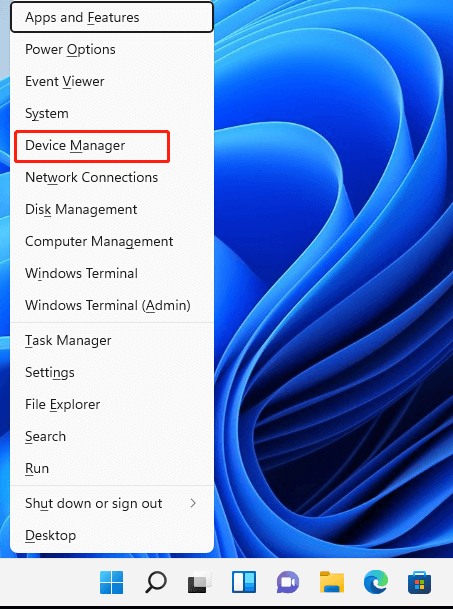
The menu shown in the preceding image is referred to as the Power User Task Menu or Power User Hotkey. It is also commonly known as the WinX Menu or Win+X Menu because you can access it directly by pressing the Windows key and X simultaneously. This functionality is also applicable to Windows 11. Once the Quick Link menu is displayed, you have the option to directly click on the Device Manager option or press the M key to open it.
Method 4. Open Windows 11 Device Manager in Windows Tools Menu
Follow these steps to launch Windows 11 Device Manager:
Step 1. Click on the Windows Start Menu, and then select All Apps.
Step 2. Scroll down to locate and open the Tools folder.
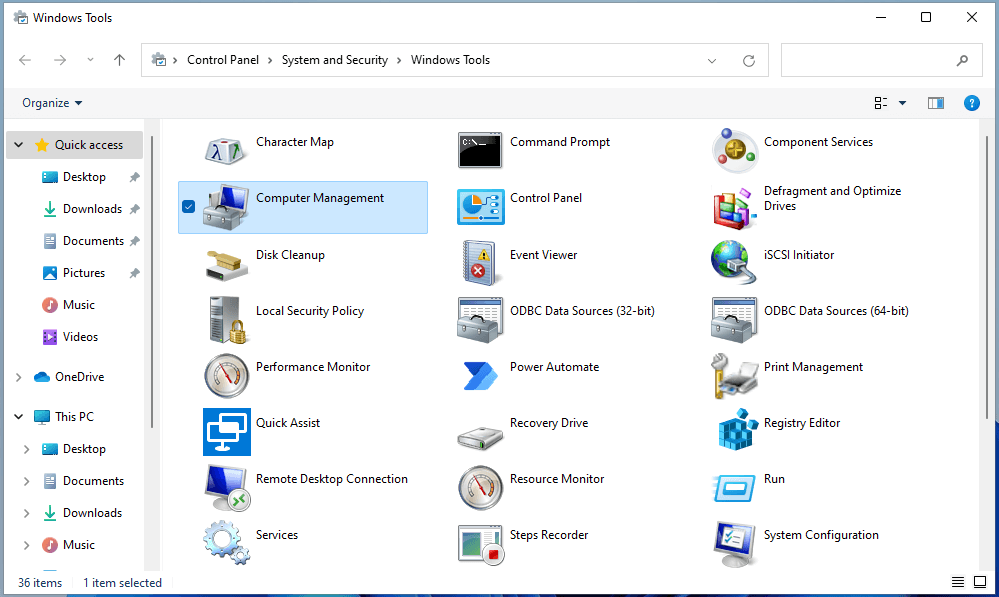
Step 3. In the Tools window, you will find the Windows Tools section. Look for and click on the option called Computer Management.
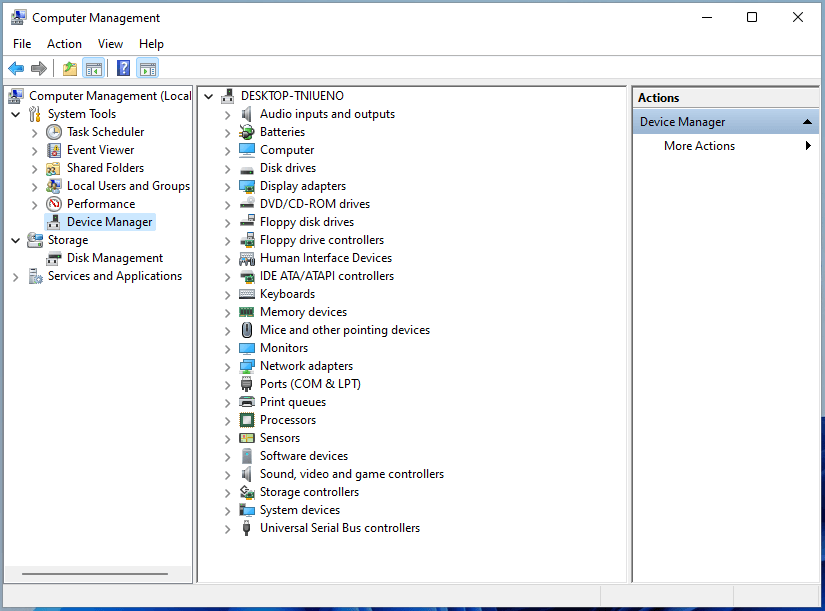
Step 4. Once the Computer Management window opens, navigate to the left panel and click on the Device Manager option.
Method 5. Open Windows 11 Device Manager by Windows Search
To perform Windows Search to open Device Manager Windows 11, it is recommended to choose “Run as administrator” for enhanced control and access to system settings.
Step 1. Click on the magnifier icon located on the taskbar, next to the Start Menu.
Step 2. Type "device manager" in the search bar and open Device Manager from the search results.
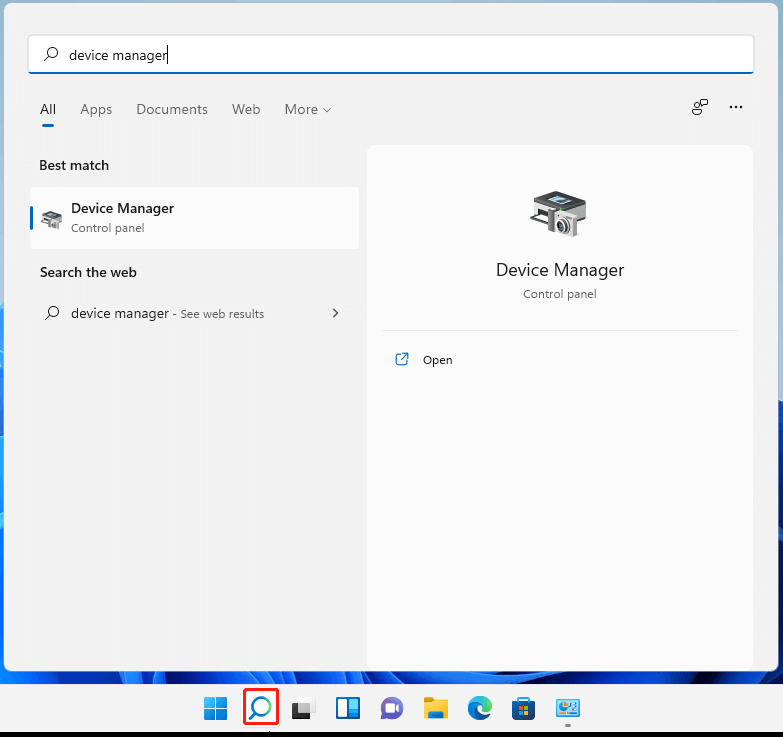
It is advisable to right-click on the best-matched search result and select "Run as administrator" to open Device Manager with elevated privileges. Alternatively, you can directly click on the "Run as administrator" option available under the matched app.
Method 6. Open Windows 11 Device Manager via Control Panel
Control Panel is also a quick and easy way to know how to open Device Manager Windows 11.
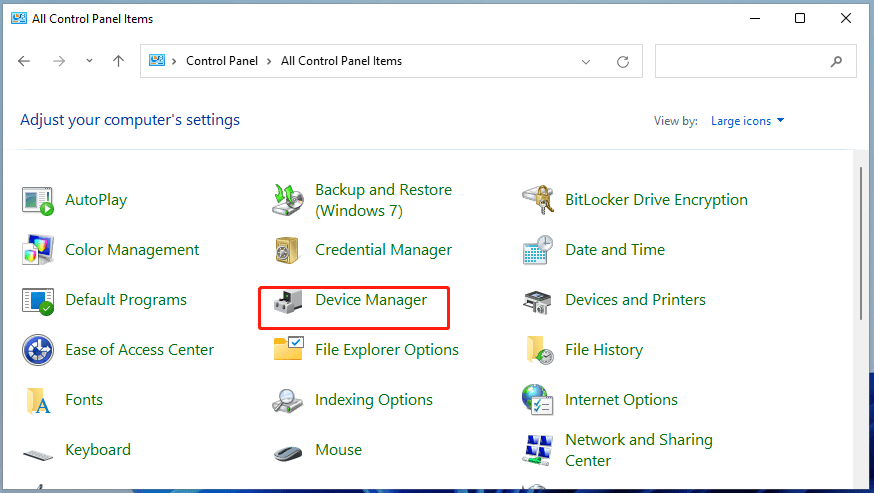
Step 1. Open Windows 11 Control Panel. And then view its contents by Large icons.
Step 2. Find and click to open Device Manager.
Method 7. Open Windows 11 Device Manager by System Properties
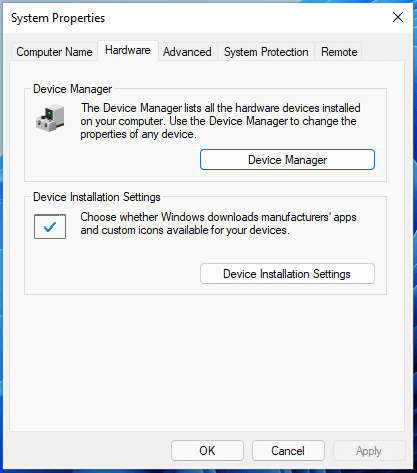
By accessing Windows 11 Device Manager through System Properties, you can easily navigate and make necessary adjustments to your hardware components within the Windows 11.
Step 1. To open System Properties, run "sysdm.cpl" in the Run box.
Step 2. Once the System Properties window appears, go to the Hardware tab.
Step 3. In the Hardware tab, click the Device Manager button to open it.
Method 8. Open Windows 11 Device Manager from File Explorer
Using File Explorer to open Device Manager Windows 11 provides an alternative method to easily reach and utilize its features.
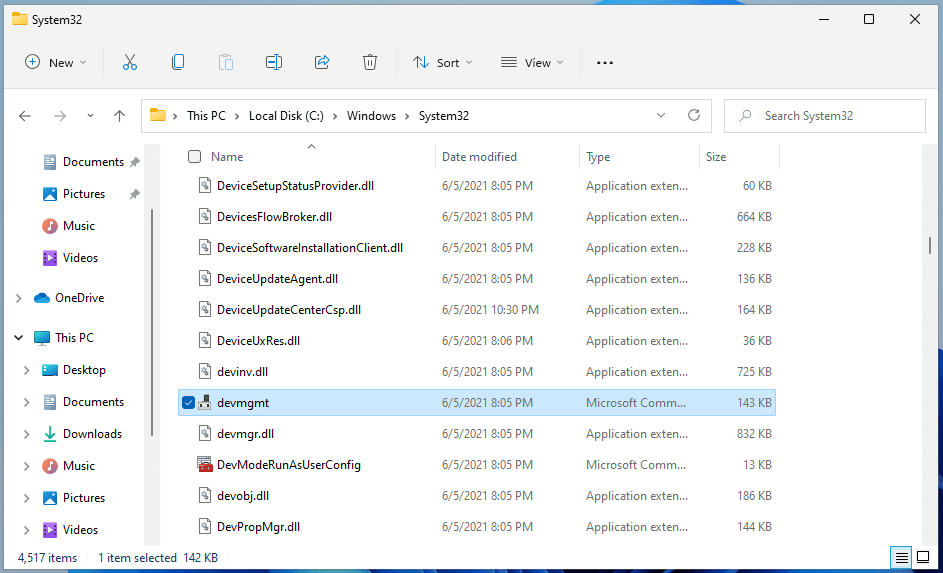
Step 1. Simply launch Windows 11 File Explorer.
Step 2. Then, navigate to C:\Windows\System32 or directly enter the address in the search bar. Step 3. Locate either devmgmt or hdwwiz.cpl, and double-click on it to open Device Manager.
Further reading: How to manage your Windows 11 effectively?
As we can see, the Windows 11 Device Manager just meets the basic demands of managing hardware devices. However, it cannot achieve disk management. To make your device organized and running smoothly, it is recommended to use a disk management expert to assist you.
AOMEI Partition Assistant Professional is a widely recognized disk management software that offers a range of features for managing disk partitions effectively. It provides a wide range of features and tools to perform various partitioning tasks, making it an essential utility for both home users and IT professionals.
You can clone the disk for backup purposes or migrate OS to SSD to improve your computer performance. If you need to extend the drive space, this versatile tool can offer several plans, such as moving installed programs to another drive, allocating free space, and SSD secure erasing. Once you accidentally delete any important files during the process, you can even use the feature Recover Data to get deleted files back!
This tool provides a user-friendly interface that simplifies the process of managing disks and partitions. Its step-by-step wizards guide you through each operation, ensuring a smooth and hassle-free experience.
Now, let’s take one of the most popular features Migrate OS to SSD as an example to see how it works to effectively manage your device:
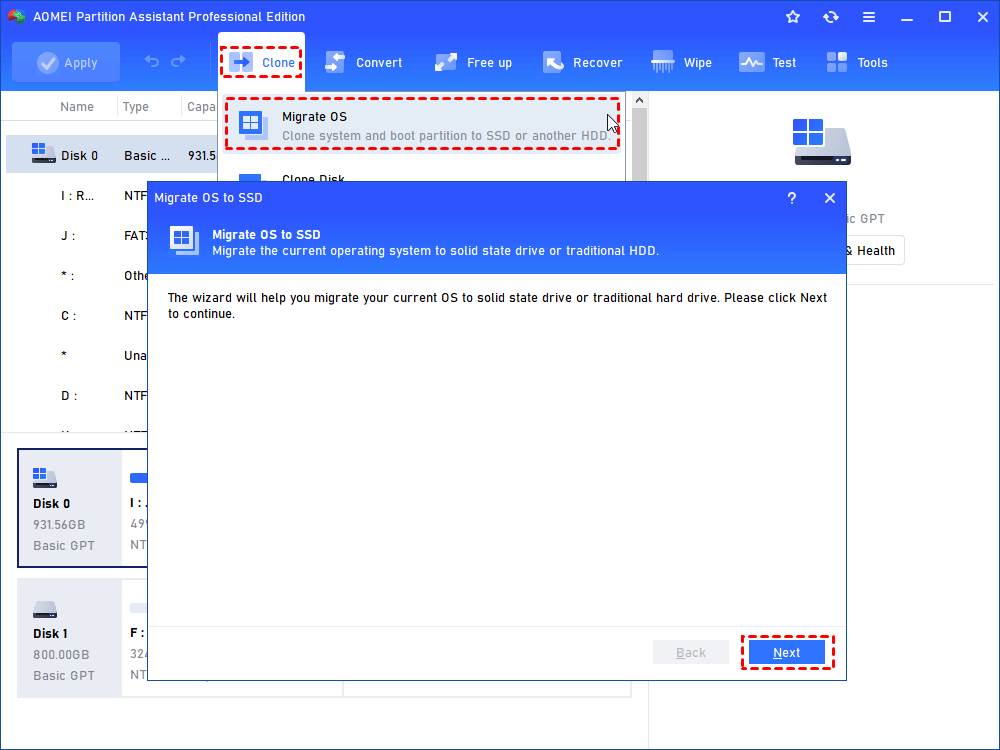
Step 1. Begin by installing an SSD on your machine. Once installed, proceed to install and launch AOMEI Partition Assistant. In the top menu, locate and click on "Clone" and "Migrate OS". A pop-up window will appear. Click on "Next".
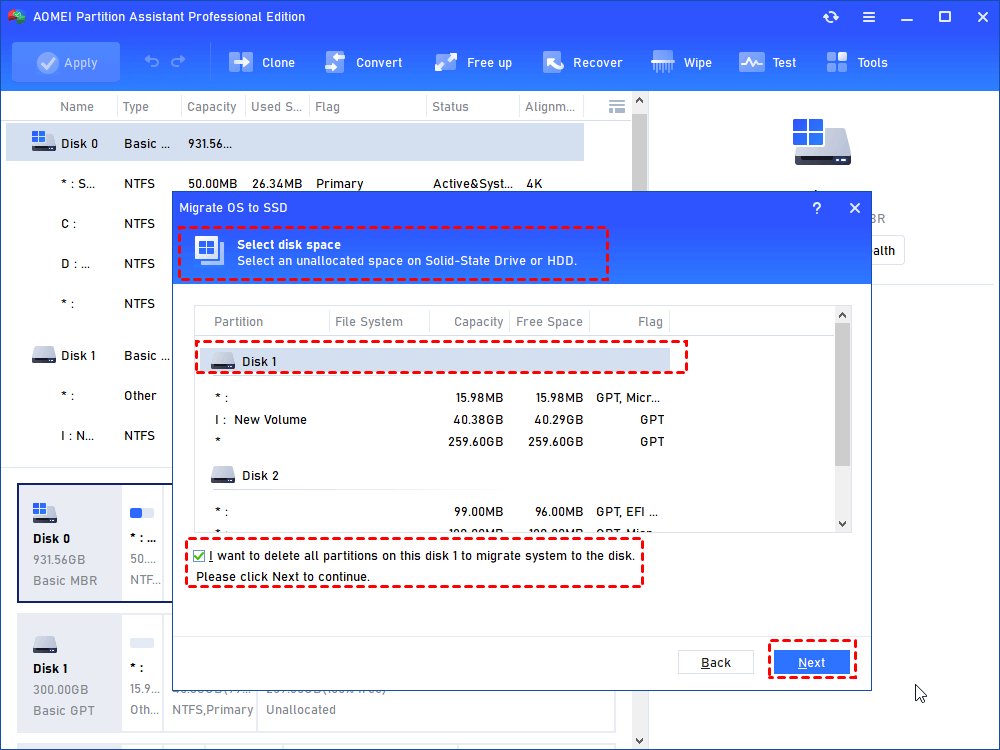
Step 2. Select the SSD as the destination disk space for the OS migration.
Step 3. Resize the partition where you intend to store the operating system. You can either drag the double-head arrow to adjust the size or directly enter the desired amount in the provided box.

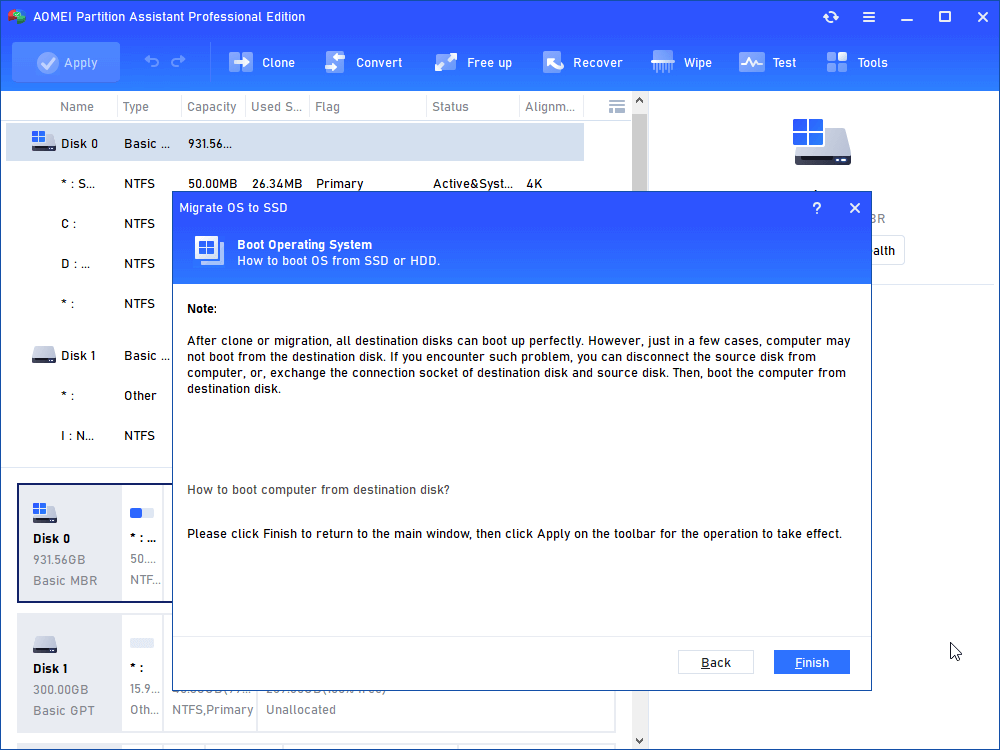
Step 4. Take note of the instructions displayed regarding how to boot the OS from the SSD. Pay careful attention to this information.
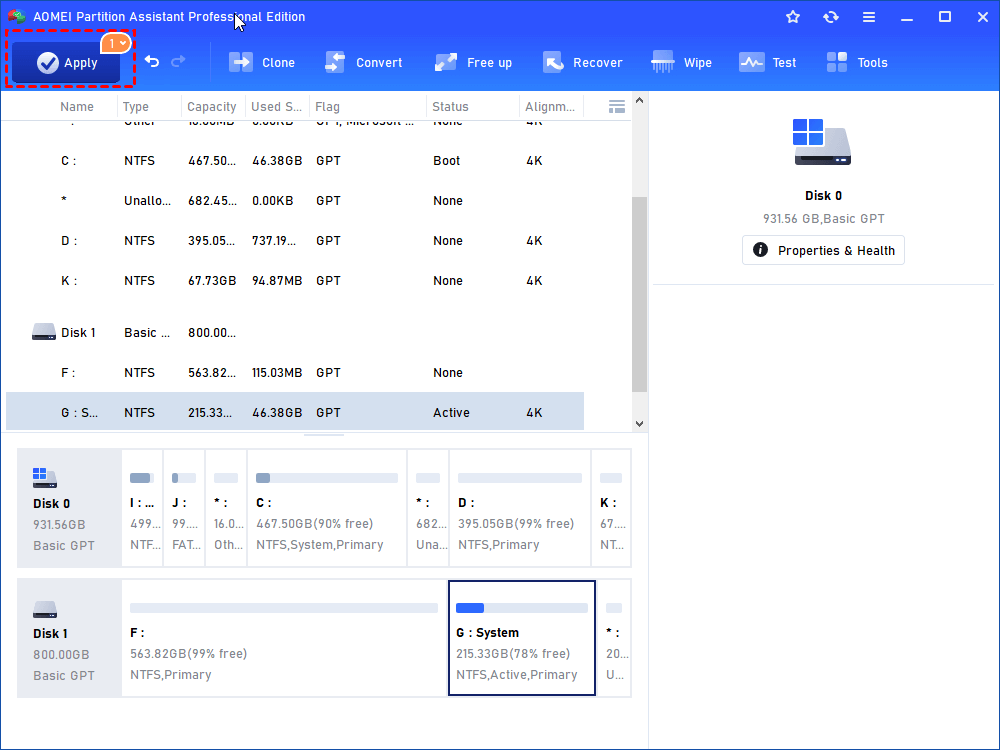
Step 5. To execute the pending operations, click on "Apply".
After completing these steps, you can shut down your computer. Reboot the system and access the BIOS settings to make changes to the boot configuration.
Conclusion
After knowing how to open Device Manager Windows 11, you can explore this utility to make use of its advantages. If you need to manage the disk further, it is recommended to use AOMEI Partition Assistant as we mentioned. For Windows Server users, you can also choose the Server Edition to enjoy the benefits.

