How to Divide Disk Space in Windows 11 Easily? (2 Methods)
With the guidance, you can easily know how to divide disk space in Windows 11. Follow it to partition a hard drive on Windows 11 and enjoy the benefits.
By Irene / Updated on March 29, 2024
When you purchase a new computer or add a new hard drive to your Windows 11 device, it typically arrives with a single partition. However, if you wish to segregate your Windows installation from games, programs, or sensitive documents for safe purposes, partitioning the hard drive is a sensible choice.
Especially, it's a good idea to give your Operating System (OS) its own designated area. Why? Well, this practice proves beneficial in scenarios where a computer reset is necessary. By having the OS in its dedicated space, a reset involves formatting only the drive where the OS is installed, ensuring the preservation of all other data.
Dividing disk space in Windows 11 can be useful in many other situations as well. Just follow these steps, and you'll see how easy it is to partition a hard drive on Windows 11.
How to divide disk space in Windows 11
To divide disk space in Windows 11, both Disk Management or a handy tool can work out. Regardless of your preferred method, it's highly advisable to back up your Windows 11 to an external hard drive. This precautionary step ensures that your data is safe in case of any unexpected issues that might lead to data loss.
Method 1. Divide disk space with Disk Management
To successfully split disk space in Windows 11, the initial step involves shrinking the existing volume to create unallocated space.
▌Stage 1. Shrink the drive to create unallocated space
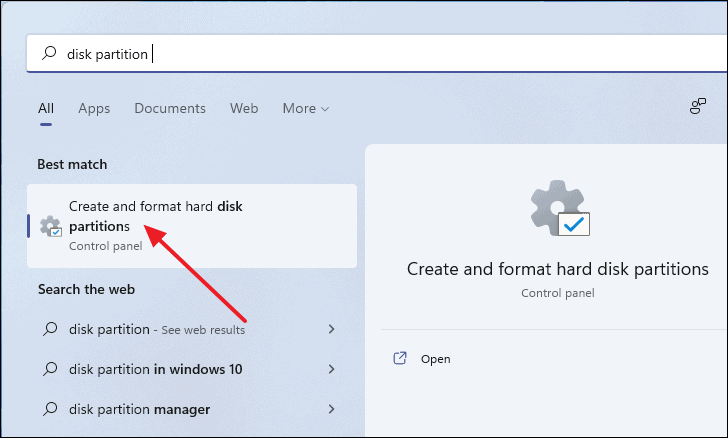
Step 1. Use the Windows key to open Windows Search, then enter “disk partitions”. Choose “Create and format hard disk partitions” from the search results.
Step 2. To shrink a partition, right-click on it and choose "Shrink Volume".

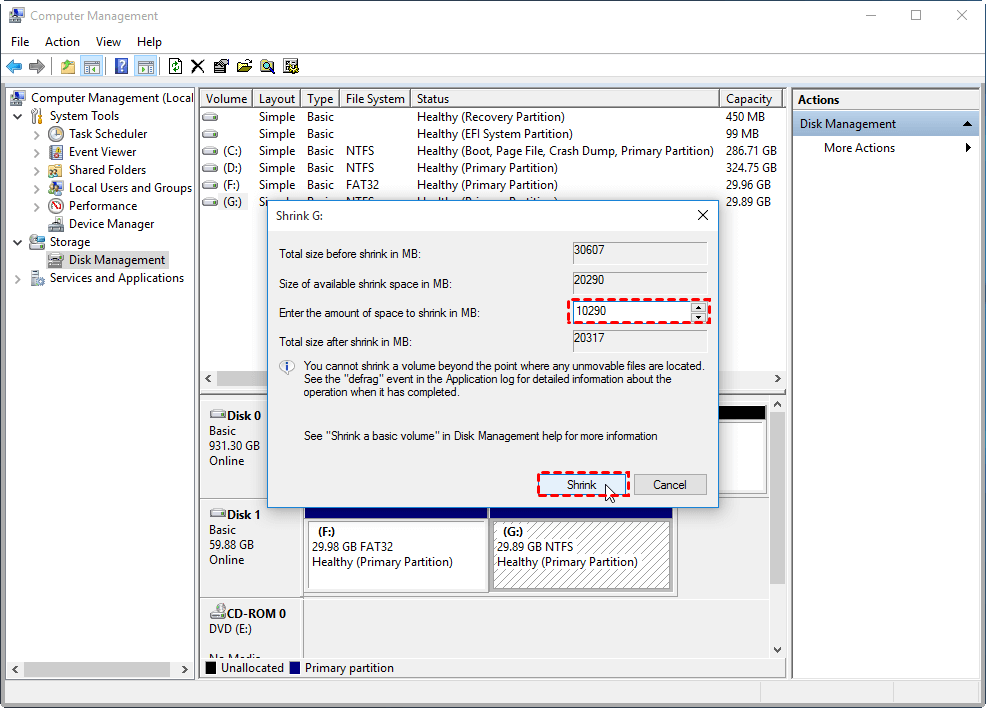
Step 3. Subsequently, it will calculate the amount of space available for shrinking. In the following window, you can enter the desired shrunken size (in megabytes) and click “Shrink” to continue.
Step 4. After completing the shrinking process, you will see unallocated space adjacent to the partition you just resized.
▌Stage 2. Use the unallocated space to create a new drive
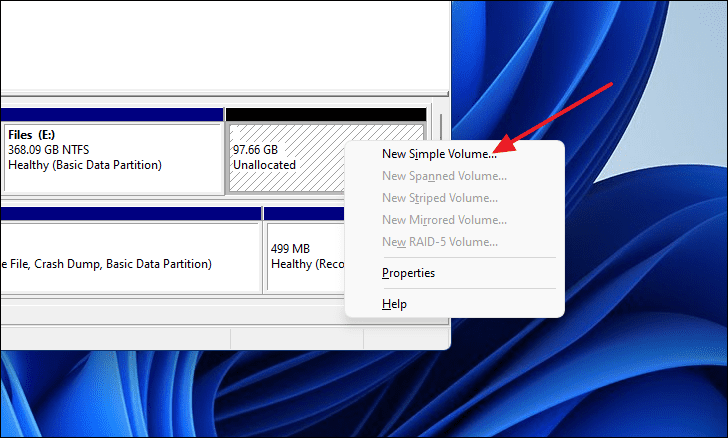
Step 1. To proceed, right-click on the “Unallocated” box within the Disk Management window, and from the context menu, select the “New Simple Volume...” option.
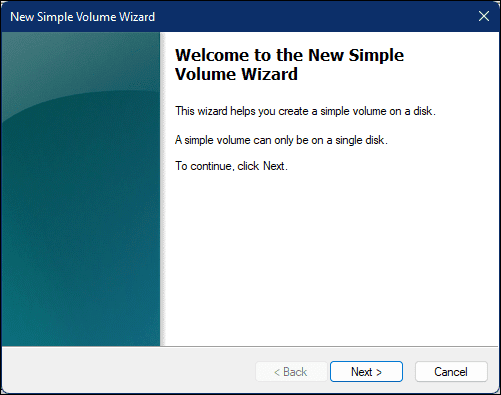
Step 2. The “New Simple Volume Wizard” window will appear. Click the “Next” button to proceed.
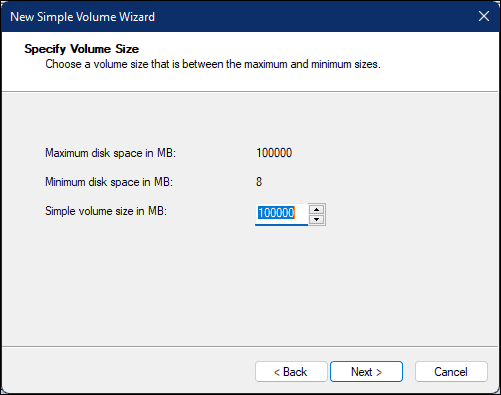
Step 3. In this new interface, you can either keep the default settings if you want to create a new drive using all the unallocated space, or you can adjust the volume size if you wish to reserve some unallocated space for creating another partition. After making your choices, click on the “Next” button.
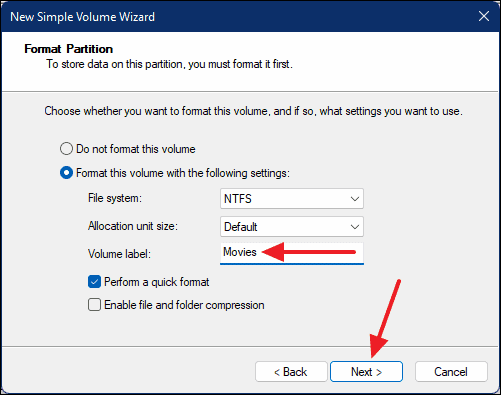
Step 4. Following that, you can assign any name to the new drive by typing it in the “Volume label” field. After completing this step, click on the “Next” button.
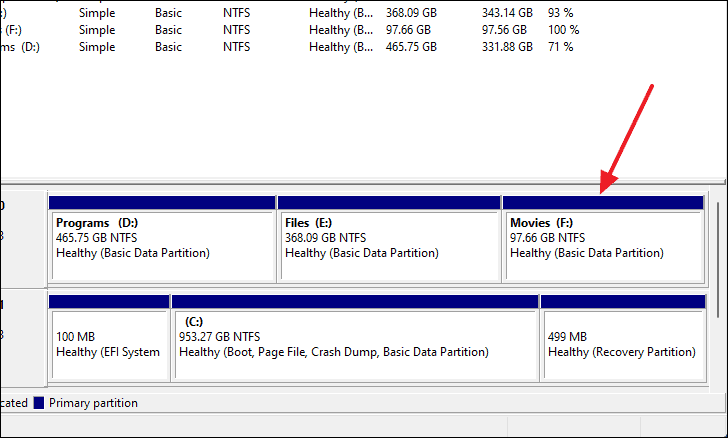
Step 5. Then you can click “Finish”. Now, you successfully partition a hard drive on Windows 11 and can see the newly created drive or partition in the Disk Management window.
Method 2. Simply divide disk space with a handy tool
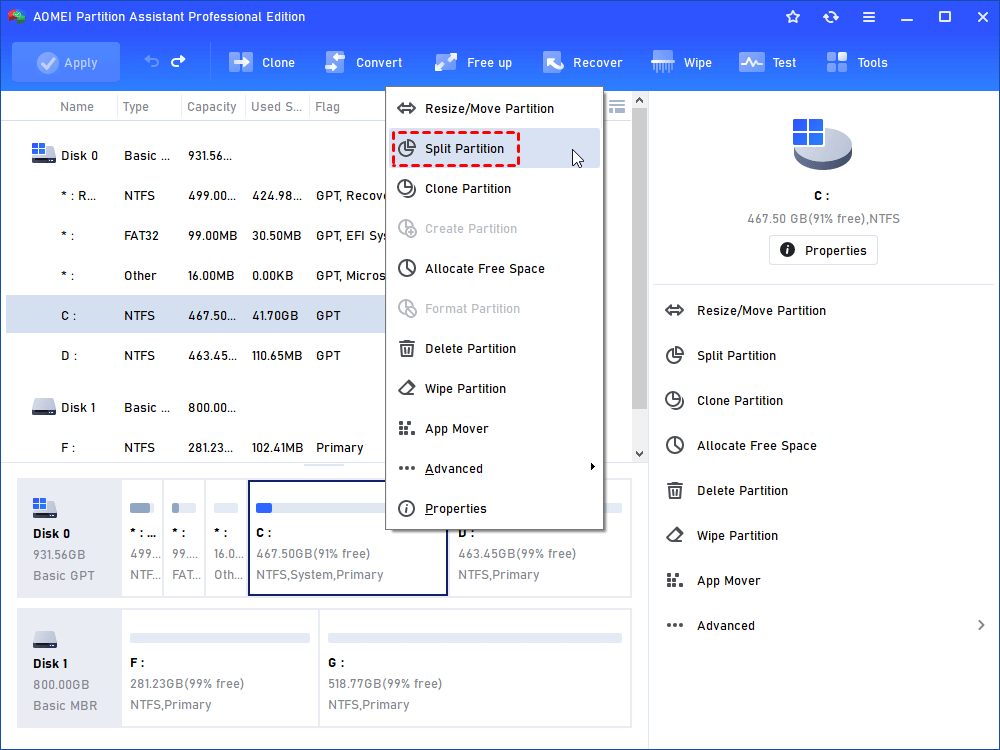
If you think Disk Management is too complex, or you encountered an issue like the Shrink Volume button greyed out, you can rely on AOMEI Partition Assistant Professional. Its "Split Partition" feature enables you to create a new partition directly on an existing partition without the need to shrink it. Easily manage disk space in Windows 11 with just a few clicks using this tool.
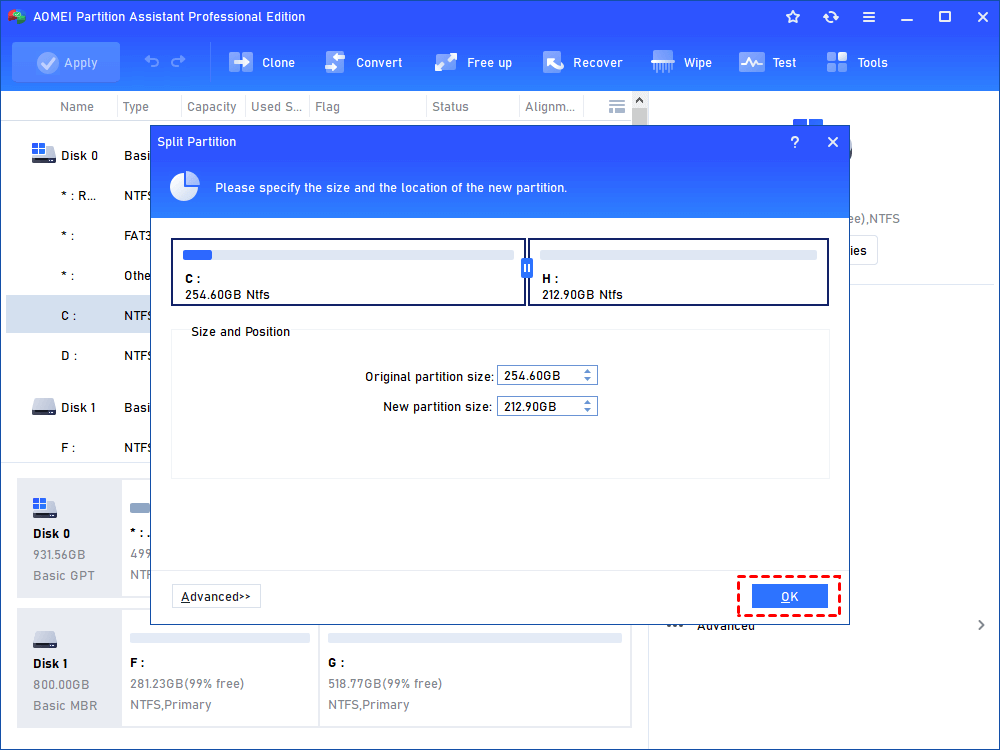
Step 1. Install and run the software. Right-click on the C drive, then select "Split Partition".
Step 2. Enter the size for the new partition or simply drag the circle in the middle to determine the size.
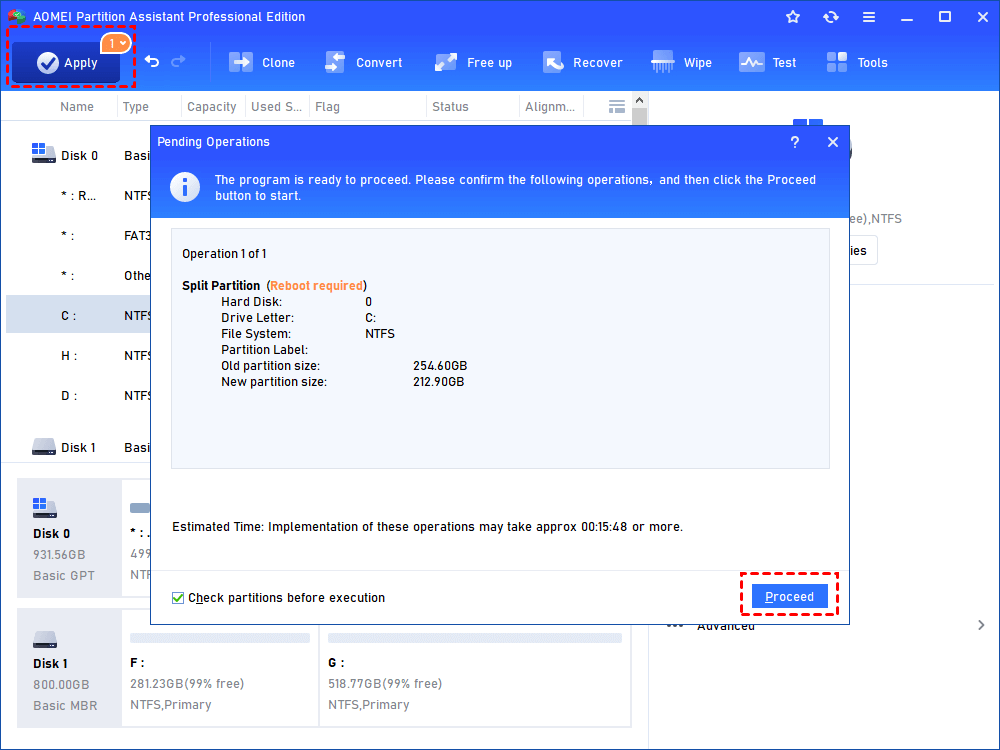
Step 3. Back to the main interface, Click "Apply" and then "Proceed" after confirming your choice.
Tips:
● The splitting process will take some time, so please allow your computer to complete this task before using it for any other activities.
● If there are 4 primary partitions on MBR disk and you plan to split one of them, the split partition will be converted to the logical partition automatically.
● If there are 4 primary partitions on a hard disk, the program will not permit you to split the system partition or boot partition unless you convert one of the other partitions from primary to a logical partition. The newly generated partition will be automatically designated as a logical partition.
Congratulations! You now successfully split disk space in Windows 11. If you want more partitions, you can repeat the above steps. Keep in mind that on an MBR disk, you can have up to four primary partitions or three primary partitions and one extended partition, which may include unlimited logical partitions.
Summary
The methods are shared on how to divide disk space in Windows 11 in this post. No matter which method you like, both of them can help you reach the goal. However, if you want to save time and energy, using AOMEI Partition Assistant is an ideal choice.
If you want to resize or move partitions, you can easily do so as well. Besides, it allows you to merge partitions, clone partitions, and delete partitions with ease. Explore these powerful functions to make your computer management easy and effective! If you are a Windows Server user, please choose the AOMEI Partition Assistant Server edition.

