[4 Methods] How to Change Default Install Location on Windows 11
When one drive is full, changing default install location on Windows 11 will deal with it. In this tutorial, you can learn how to perform the exchange of default install location.
By Tina / Updated on May 12, 2023
How do I change default install location on Windows 11?
" My computer has become very slow and after checking the C drive I found that there is very little space left. In order to gain more space, I cleared the junk files on the C drive. However, with little success. So I want to change default install location on Windows 11. can you help me?"

When need to change default install location on Windows 11?
By default, downloaded files, personal folders, etc. will be automatically stored on the C drive. At the same time, as the boot disk of Windows, the C drive also stores all system-related files and data. Therefore, sometimes the C drive will become full.
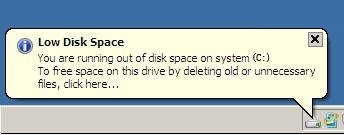
When the C drive is full of downloaded applications or files, and you don't realize the importance of stopping programs installing on the C drive, your PC will soon fall into problems such as poor performance, dull response and even computer freezes.
Therefore, when there's few space on the C drive, it's essential to change default install location on Windows 11.
3 methods for Windows 11 changing default install location
In order to prevent the crash of C drive, you need to know how to change default install location on Windows 11. In the following part, you can learn 3 methods to change the default location of installation.
▶ Method 1. Change default install location via Settings
First, to change default install location via Settings, you can refer to the following steps.
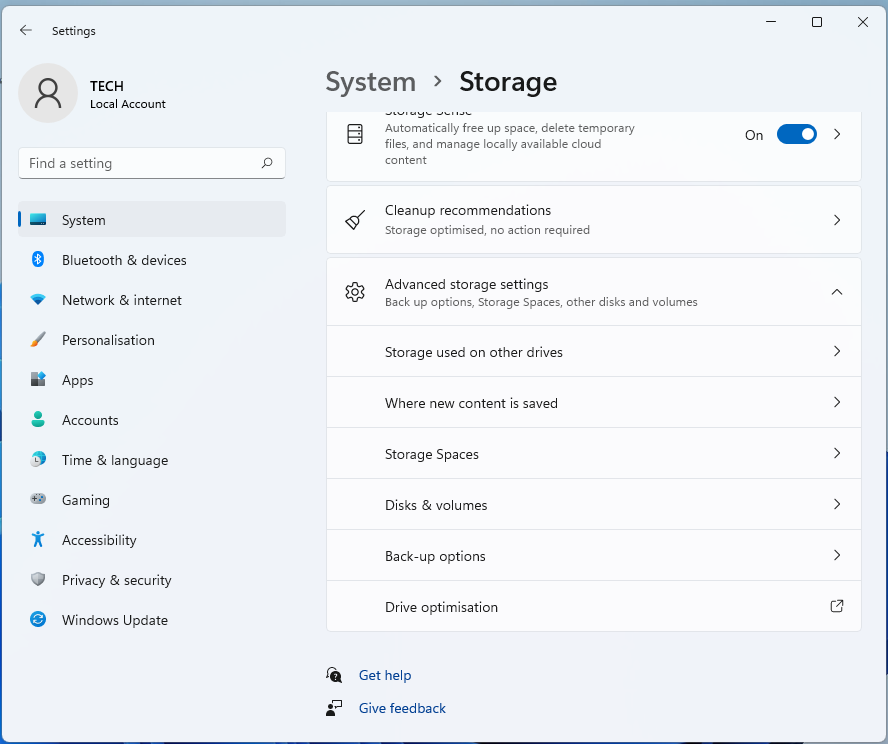
Step 1. Click the "Windows" button and then click "Settings". In the new window, click "System", "Storage" and "Where new content is saved" in turn.
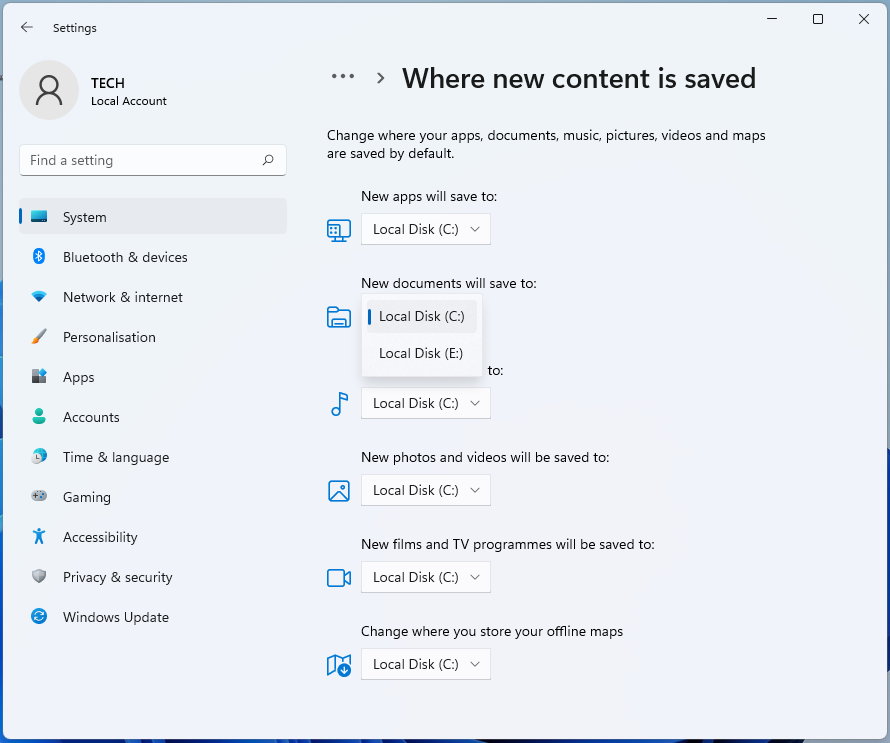
Step 2. Click the drop-down menu, choose another drive to save the new downloaded and installed application.
▶ Method 2. Change default install location using Registry
Registry Editor is a Windows tool, it stores many system-related files. You can not only view and maintain the registry with it, but also change the default install location. The detailed steps are as follows.
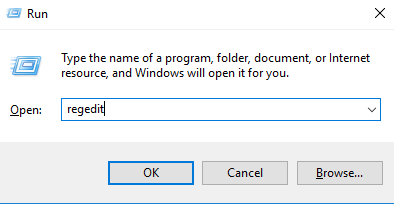
Step 1. Press "Windows + R" to open the Run program, input "regedit.exe" and press "Enter".
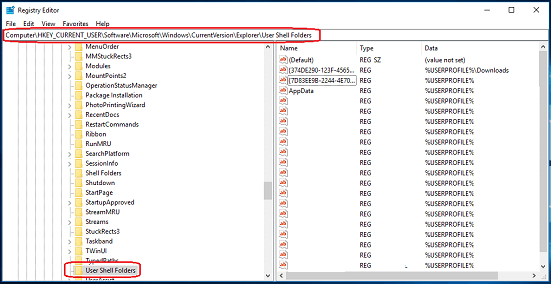
Step 2. Next, click on the path: HKEY_CURRENT_USER\Software\Microsoft\Windows\CurrentVersion\Explorer\User Shell Folders.
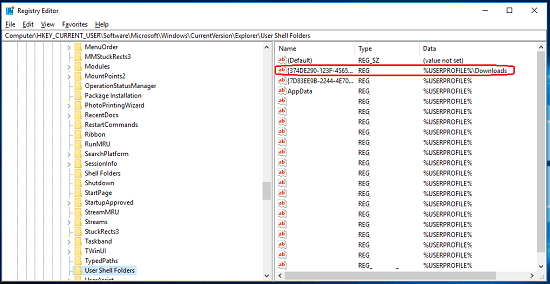
Step 3. Find out the file called "%USERPROFILE%\Downloads", then click it.
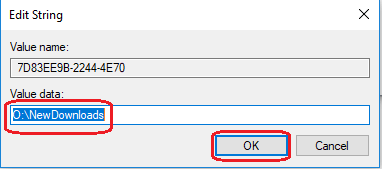
Step 4. In the "Edit String" window, change the current value data to another and click "OK".
▶ Method 3. Change default install path with File Explorer
File Explorer is another tool in Windows system, it is mainly used to view files and folders in Windows. This tool provides users with a clear graphical interface to browse the target files. Surprisingly, it can also change default install location on Windows 11/10.
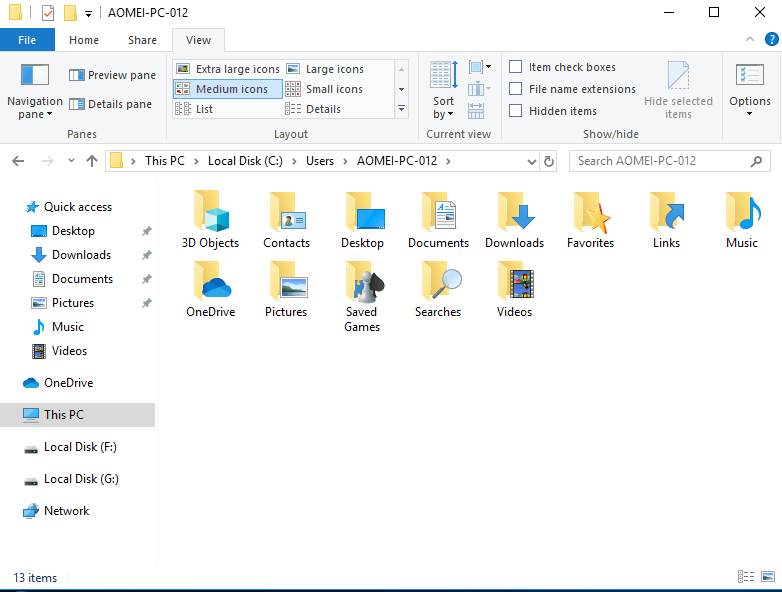
Step 1. Press "Windows" and type "file explorer" in the search bar, then click "Open". In this tool, right-click on the "Downloads" folder, and click "Properties".
Step 2. In the "Documents Properties" window, click "Location".
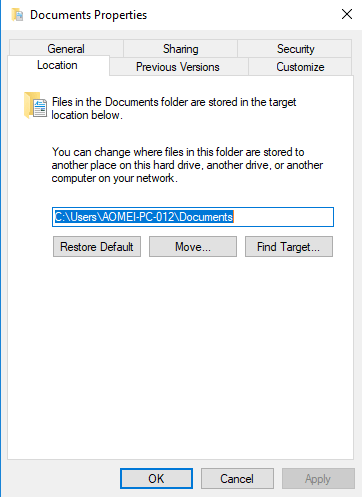
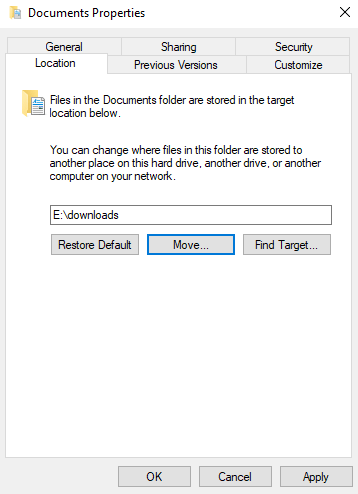
Step 3. When you have set all, click "Move" to start this install path changing task, then click "Apply".
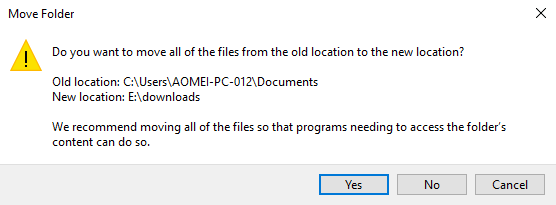
Step 4. There will be a warning "Do you want to move all the files from the old location to the new location" popped out, click "Yes".
A powerful disk manager to change default install location on Windows 11
After successfully changing the default install location on Windows 11, if you want to migrate the installed programs from the C drive, you can try AOMEI Partition Assistant Professional, it is a perfect hard disk management expert.
With simple operations, it can not only help you migrate installed programs without losing data, but also transfer various folders to another drive. It is suitable for most Windows systems, and also provides the specialized Server Edition for Windows Server users.
Besides, you can also enjoy more advanced features, like Allocate free space to C drive, Migrate OS to SSD, Delete large files, etc.
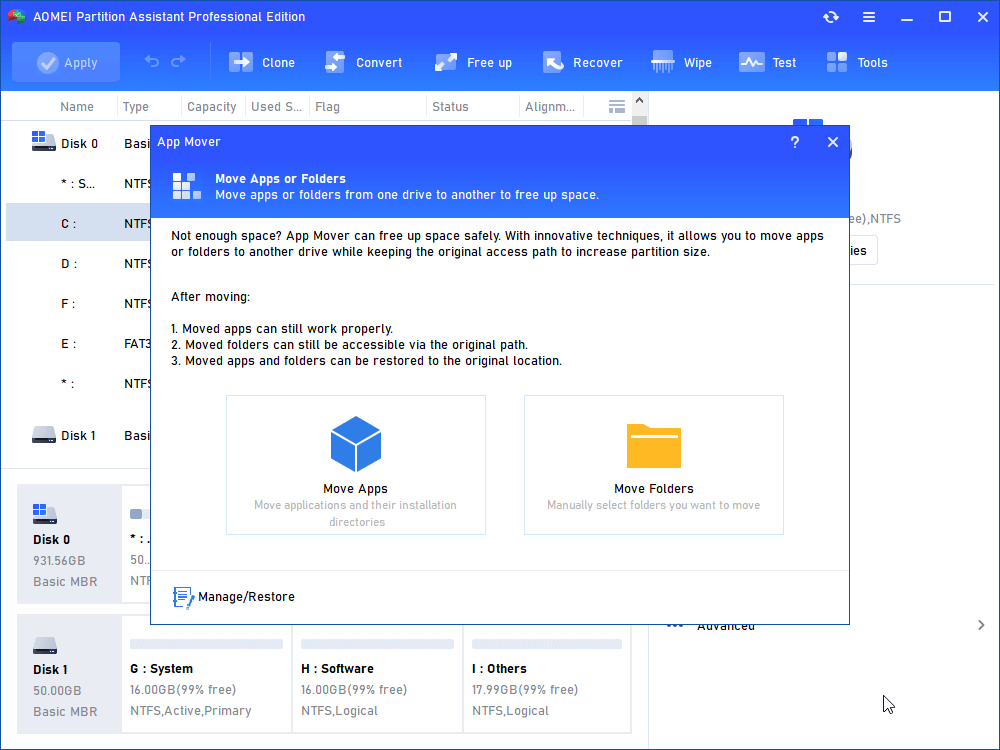
Step 1. Download and run this reliable disk manager, click "Free up" and "App Mover" in the top interface.
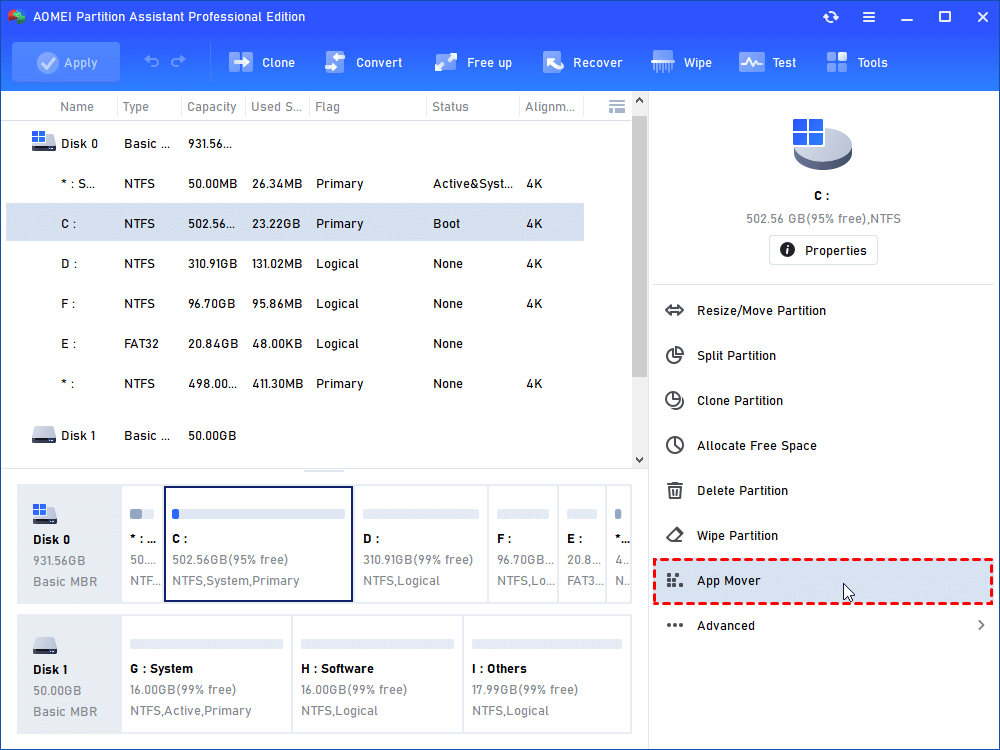
Step 2. You can choose "App Mover" or "Move Folders", here we click "App Move".
OS: If you want to migrate folders to another drive, you need to operate on Windows 7.
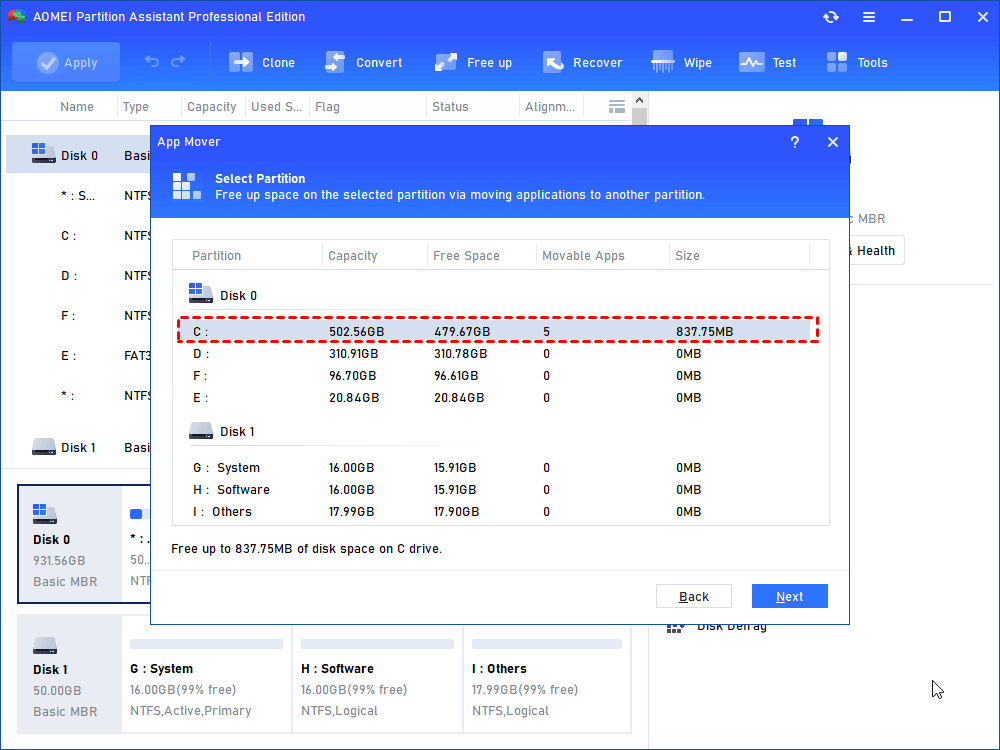
Step 3. In the new window, choose the C drive and click "Next".
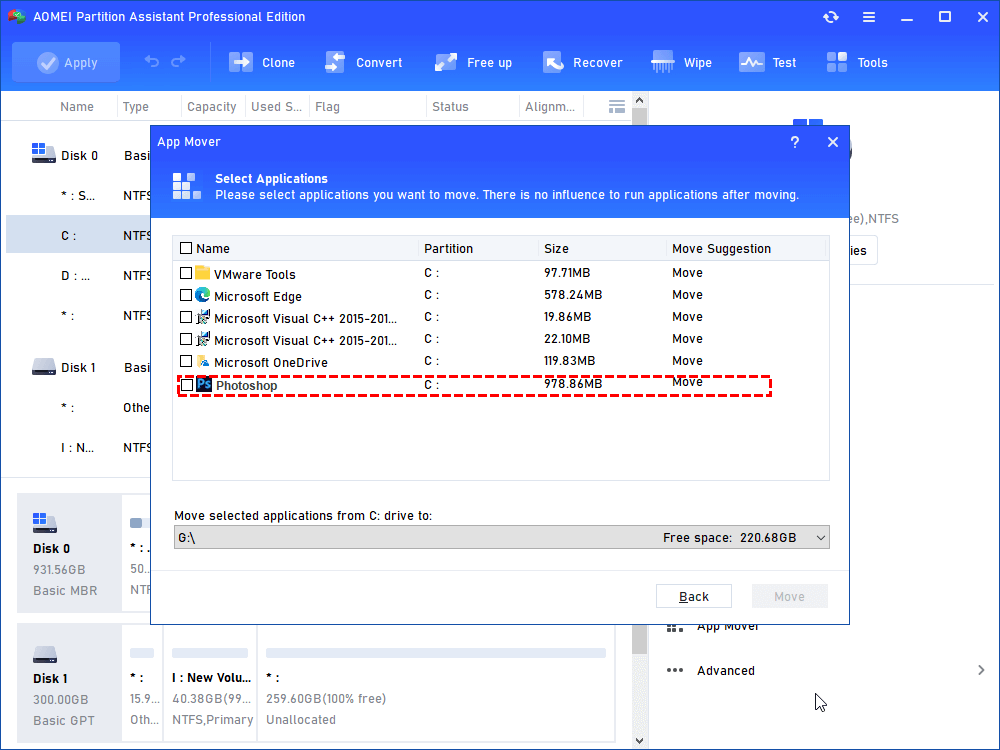
Step 4. Choose the installed programs to move and click the destination drive, then click "Move".
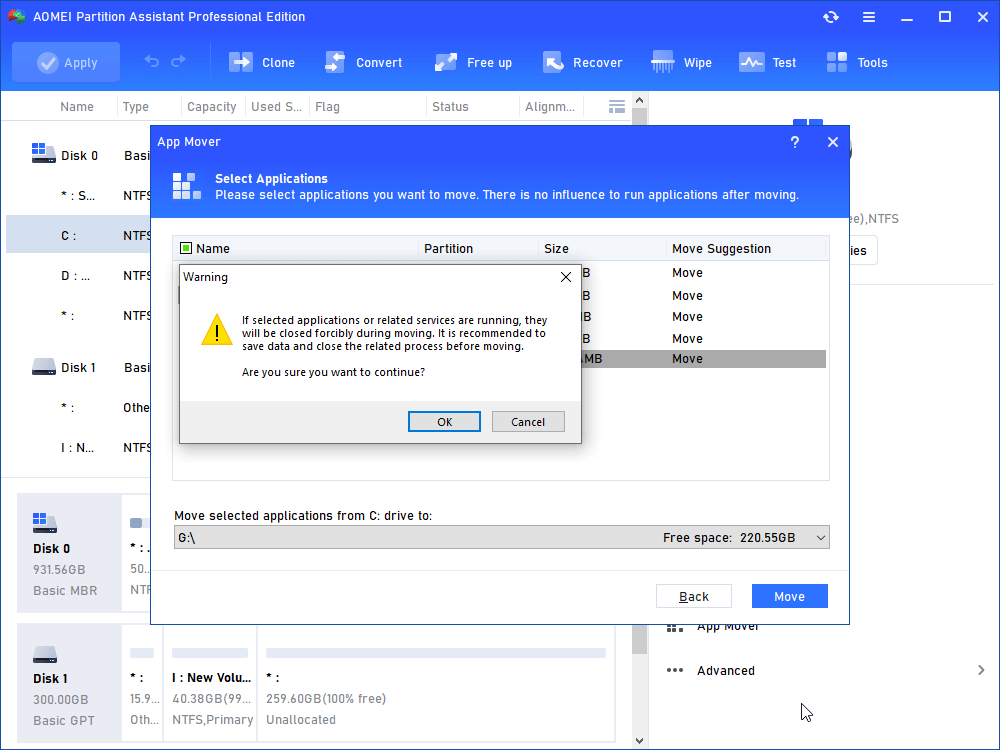
Step 5. Click "OK" to start move the target programs to another drive.
Verdict
How to change default install location on Windows 11? From this tutorial, you can get 3 methods to deal with it, including Windows Settings, Registry Editor and File Explorer. Besides, we shared AOMEI Partition Assistant to migrate installed programs to another drive.
If you want to deeply free up the C drive, the AOMEI can help you with many functions, such as PC Cleaner, Disk Clone Wizard (to migrate the C drive to a large disk), Resize Partition, etc.