How to Run Windows 10 from USB on Mac Computer?
This tutorial will show you how to create a Windows To Go USB drive that supports Mac computer, then you can run Windows 10 from USB on Mac easily.
By Emily / Updated on May 12, 2023
User case
I have a late MacBook Pro with MacOS installed on. I found some advanced games on my Mac can only be run under Windows 10 operating system. And I need to run some particular Windows programs from time to time. So I was wondering if I can run Windows 10 from USB flash drive or other external hard drive on a Mac computer. Any one has made it? Could you share me with a detailed guide? Thanks a lot!
Why run Windows 10 from USB drive on Mac?
To run Windows 10 on Mac computer, by far, the easiest way is to use Boot Camp Assistant, a build-in tool of all Mac. But it will divide a separate partition from the Mac startup disk to install and run Windows 10. In general, if it will divide about 36GB from 128GB startup disk, and 48GB from 256GB startup disk for Windows installation.
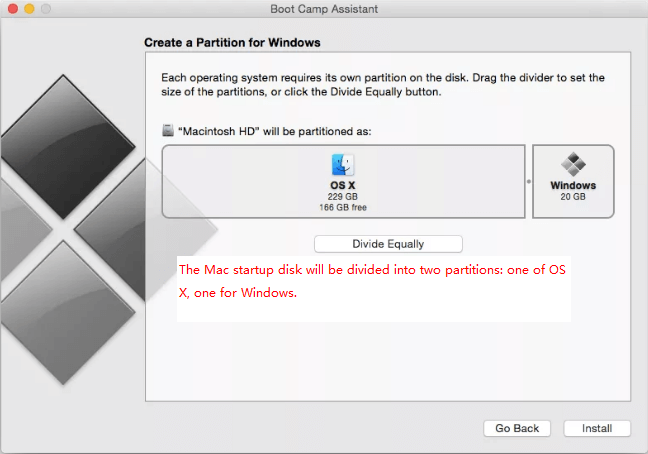
So, many Mac users report that Windows occupied much precious space on their startup disk and receive “Your startup disk is almost full” error message. It will lead to both unstable and slow performance of the Mac OS system. What’s worse, it may prevent applications from launching and working properly including suddenly crashing or simply ceasing to work.
In this situation, you may want to run Windows 10 from an external hard drive, such as USB flash drive, SSD, HDD, etc. That won’t take any space from the startup disk and affect the Mac performance. But how can you do that specifically? Keep reading!
How to run Windows 10 from USB on Mac computer?
To run Windows 10 on a Mac computer from USB drive or other external hard drive, you can make use of AOMEI Partition Assistant Professional. It comes with a feature named “Windows To Go Creator”, which allows you to create a Windows to Go USB drive and boot it on any Mac computer. Compared with installing Windows 10 on Mac via Boot Camp Assistant, it has the following advantages:
✌Save boot disk space on Mac
AOMEI Partition Assistant doesn’t occupy any local disk space on Mac while Boot Camp Assistant needs to take some space from the Mac local boot disk to install and run Windows 10.
✌Compatible with all Mac computers
The Windows to Go USB drive created by AOMEI can be used on any Mac devices while the Windows installed by Boot Camp can be used on the current Mac only.
✌More time-saving and convenient
Boot Camp Assistant has to download Windows supported software, driver and related files onto USB and then start installing on the local disk. Creating a Windows to Go USB for Mac via AOMEI Partition Assistant just requires the 64-bit Windows 10 ISO file.
Steps to create bootable Windows USB for Mac
Now you can download the Demo version to have a try and follow the steps to create Windows to Go USB device for Mac computers.
Before you do:
①If you are trying to create a bootable USB flash drive, you have to use a Windows 10 computer. If you plan to create a bootable SSD and other external hard drives, you can use this feature on all versions of Windows 10/8/7.
②This feature supports Legacy+UEFI boot mode and can only boot from UEFI mode.
③You can use USB 2.0/3.0/3.1 USB drive/SSD/HDD, but USB 3.1 device is recommended because it is faster in creating bootable drive and booting from Mac computer then.
④You have to convert the USB external hard drive to GPT partition style.
⑤Download a 64-bit version of Windows 10 a disk image (ISO) from Microsoft.
Step 1. Insert an empty USB drive (over 32GB) to a Windows 10 computer via USB port. It is better to choose USB drive from famous manufacturers such as Samsung, SanDisk, Kingston, etc.
Step 2. Install and run AOMEI Partition Assistant Pro on Windows PC. Click “Tools”>“Windows To Go Creator” in the toolbar.

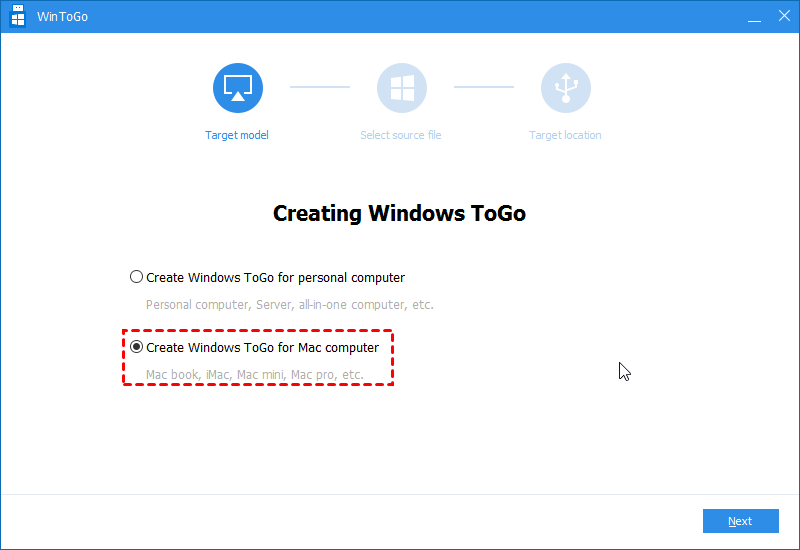
Step 3. In the pop-out small window, select “Create Windows ToGo for Mac computer” and hit on “Next”.
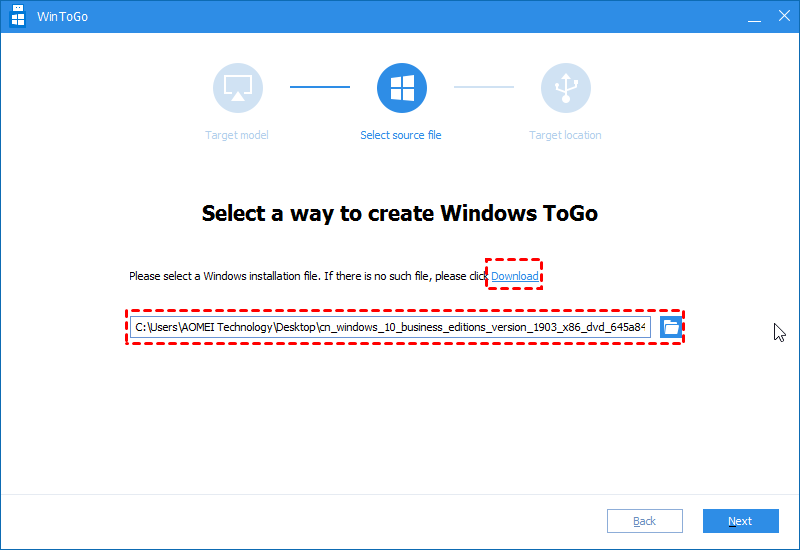
Step 4. Then select source file (the Windows 10 ISO files you have download) by clicking the folder icon and click “Next”.
Step 5. Select the USB drive you have plugged in and hit on “Proceed”.
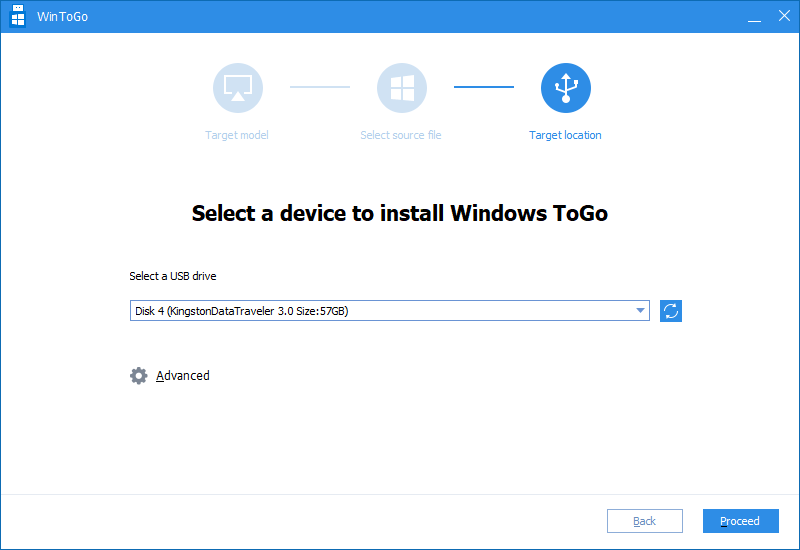
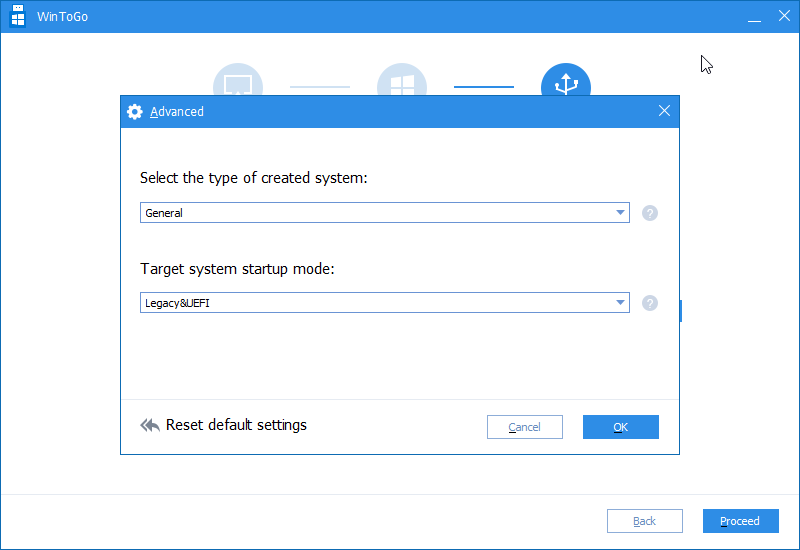
Note: you can click the “Advanced” button to choose the type of created system and target system startup mode.
Step 6. Then wait for the process to be done.
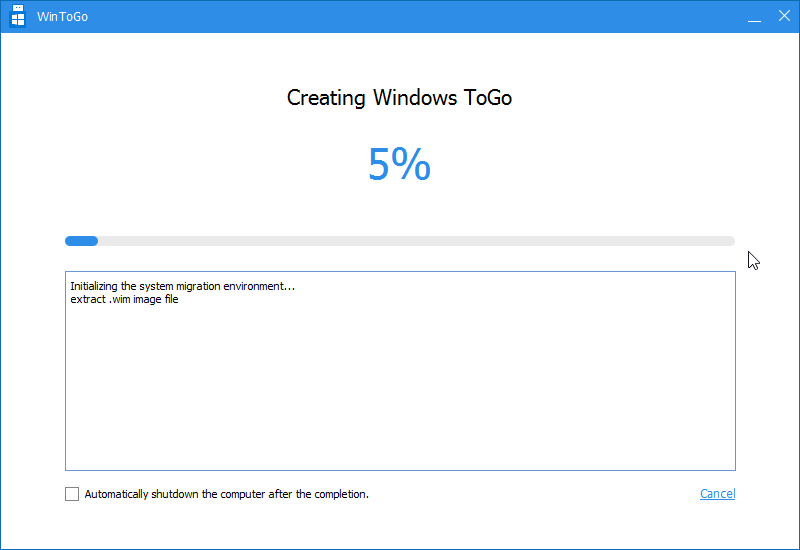
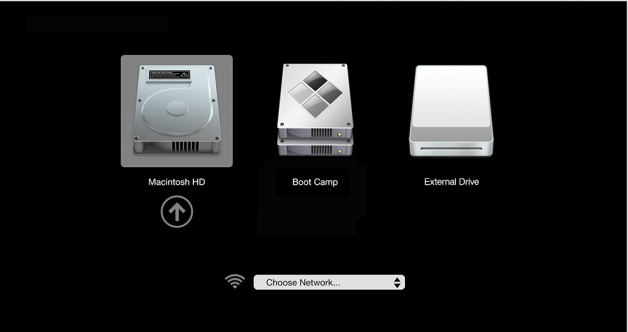
It will take some time to install Windows 10 onto USB drive. After installation, you can safely unplug the USB drive from the Windows computer, and connect it to the target Mac computer. If you have the only USB-C interface on the Mac computer, you will need a USB-C to USB adapter to connect the USB drive. Then power on the Mac computer and then immediately hold down the Option key, select the USB drive and press “Return” to run Windows 10 on Mac from the USB device.
Bottom line
Now, you should know how to run Windows 10 from USB on Mac computers. If you want to install Windows 10 on Mac without Boot Camp Assistant, AOMEI Partition Assistant Professional is a great choice. Apart from creating and run Windows To Go on a Mac computer, it also has other great functions such as migrating Windows OS to SSD, extending NTFS system drive without reboot, converting boot disk between MBR and GPT without losing data, etc.
If you want to better manage the disk partition on Server computer and optimize your Server performance, you can try AOMEI Partition Assistant Server.

