How to Fix 0x800f081f Windows 11 Update Error
The 0x800f081f Windows 11 update error in Windows 11 is a critical system error that is usually caused by a faulty .NET framework. This article is dedicated to exploring the nuances of this error and suggesting effective ways to correct it.
By Hedy / Updated on February 2, 2024
What causes the update error 0x800f081f on Windows 11?
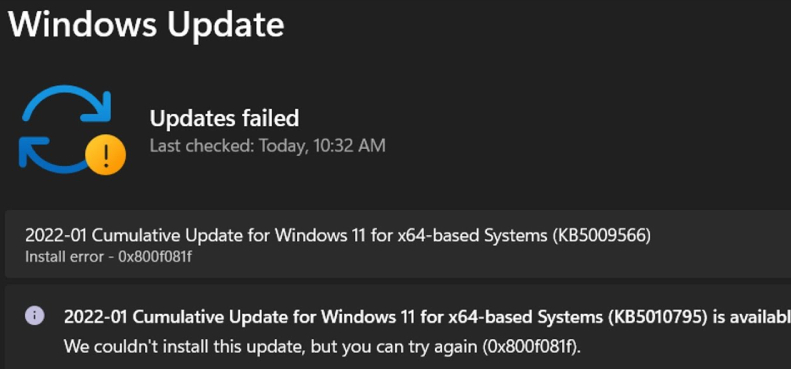
The widely encountered 0x800f081f Windows 11 update error code is showing up prominently when Windows 11 users encounter obstacles while installing the Windows 11 (KB5016632) 2022-08 cumulative update.
Users speculate that this error code is due to persistent bugs in updates that are caused by complexities related to the .NET Framework, corrupted registry keys, or damaged system files. It's worth noting that the impact of this bug extends beyond Windows 11, affecting users on Windows 10 and Windows Server 2016. Several factors can cause the 0x800F081F error code on Windows 11/10 computers:
★ Participate in internal construction
★ .NET Framework Compatibility Issues
★ There are corrupt or missing registry keys
★ There are corrupted system files
★ Encountered an error update
★ Insufficient installation of operating system updates
★ Corruption in the user profile
How to fix the 0x800f081f Windows 11 update error?
Method 1: Run Windows Update Troubleshooter
Step 1. Open Settings by pressing WINDOWS + I.
Step 2. Navigate to Update & Security and select Troubleshoot.
Step 3. Click on Additional Troubleshooters.
Step 4. Locate Windows Update in the list and click on it.
Step 5. Initiate the troubleshooter by selecting Run and patiently await completion.
Step 6. Follow the instructions prompted by the wizard.
Method 2: Edit Group Policy
Step 1. Launch RUN using WINDOWS + R, type gpedit.msc, and press Enter.
Step 2. In the left pane, expand Computer Configuration > Administrative Templates > System.
Step 3. Locate Specific settings for optional component installation and component repair in the right-hand side pane.
Step 4. Right-click, select Edit, choose Enabled, and click Apply and OK.
Step 5. Restart your computer.
Method 3: Utilize the DISM Command
Step 1. Open CMD with administrative rights.
Step 2. Type DISM.exe /Online /Cleanup-image /Restorehealth and press Enter.
Step 3. Wait for the process completion.
Step 4. Once finished, close everything and reboot your PC.
Method 4: Conduct SFC Scan
Step 1. Launch an elevated Command Prompt and input sfc /scannow.
Step 2. Press Enter and patiently await scan completion.
Step 3. Restart your computer after completion.
Method 5: Remove WUServer and WIStatusServer from the Registry
Step 1. Press WINDOWS + R, type regedit, and press Enter.
Step 2. In the address bar, paste HKEY_LOCAL_MACHINE\SOFTWARE\Policies\Microsoft\Windows\WindowsUpdate and press Enter.
Step 3. Locate WUServer & WIStatusServer, right-click, and delete them.
Step 4. Restart your computer.
Method 6: Reinstall Microsoft .NET Framework 3.5
Step 1. Open Windows Settings with WINDOWS + I.
Step 2. Navigate to Apps > Apps & features.
Step 3. Under Related settings, click on Programs and Features.
Step 4. Select Turn Windows features on or off.
Step 5. Choose .NET Framework 3.5 and click OK.
Step 6. Wait for the installation to complete.
Method 7: Manual Installation of Windows 11 Update
Step 1. Visit the Microsoft Catalogue website.
Step 2. In the search bar, type the KB number and press Search.
Step 3. Locate the correct update, and click Download.
Step 4. Right-click on the download link, select Save link as…
Step 5. Choose the location, and click Save.
Step 6. Run the downloaded file, and follow the installer instructions.
Conclusion
Turns out, encountering the 0x800f081f Windows 11 update error is a common roadblock for many Windows 11 users trying to install a specific cumulative update. This article delves into the source of this system error, providing insights into its root causes. In addition, we explored various methods to effectively eliminate errors and ensure a smooth installation process.