How to Run Commands for Cleaning PC?
In this tutorial, you’ll learn how to run commands for cleaning PC and how to conveniently clean all junk files via a professional PC cleaner.
By Lucas / Updated on May 12, 2023
With a Windows computer, you are able to work on a big number of features on your PC. However, your computer should be cleaned up frequently since keeping your computer clear of trash may assist boost speed and free up loads of storage space, especially if you need many background operations running at the same.
The Windows system provides several methods for cleaning your computer's memory with various system-cleaning programs, like the Disk Cleanup tool while the Command Prompt is a lesser-known approach to cleaning your computer.
Why use command to clean up the PC?
The GUI programs are simple to use because the Windows command processor is a helpful tool.
While executing programs, your computer creates temporary files that are then deleted. Though these files are little, the accumulation of such data can fill many gigabytes and hence must be deleted on a regular basis.
Clean hardware allows your PC to work more smoothly and last longer, whilst software and memory cleanup keep your PC from crashing and causing problems, as well as providing improved memory performance. Cleaning a disk helps keep your computer running smoothly and eliminates the danger of lagging or slowing down.
To clean different junk files that are spread on different locations on your PC, Command Prompt can use different commands to clean them, so you don’t need to open many tools to clean them all.
Run commands for cleaning PC via Command Prompt
In this part, you can learn how to clean different junk files on your PC with some disk clean commands. First, you need to run CMD as the administrator.
Step 1. Type “cmd” on the windows search bar / run the dialog box. Right-click on Command Prompt.
Step 2. Select Run as administrator, then you will arrive at the command prompt window.
1. Clean unwanted files via Cleanmgr command
Cleanmgr is a program that allows you to delete unneeded files and clear up disk space on a computer. It will first assess and then delete any files on your computer that are no longer useful.
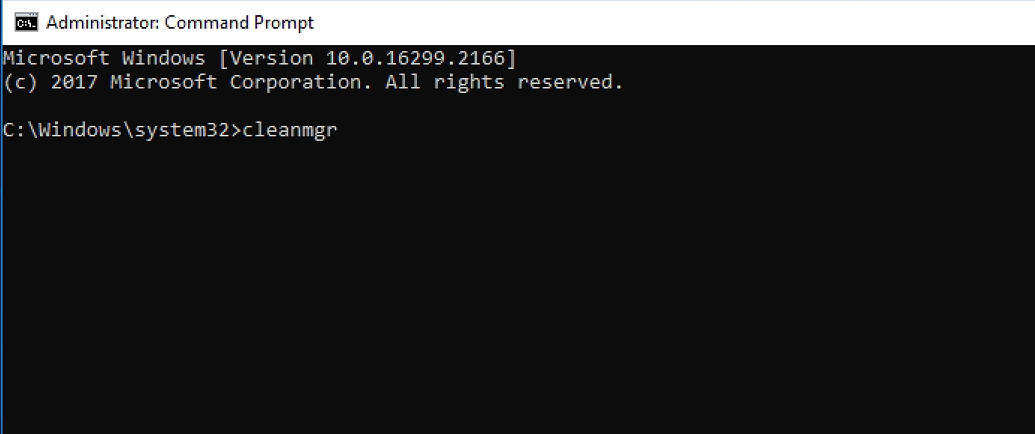
Step 1. Type “Cleanmgr.” in the CMD window. Then a small window will appear where you have to select the drive to clean.
Step 2. Click on OK to ask your system to analyze the drive and find out removable junks. Check which files you want to delete and press the OK button to execute.
Under the Cleanmgr command, there are some sub-commands to help your computer automate the disk cleanup task: /sageset, /sagerun, and /lowdisk.
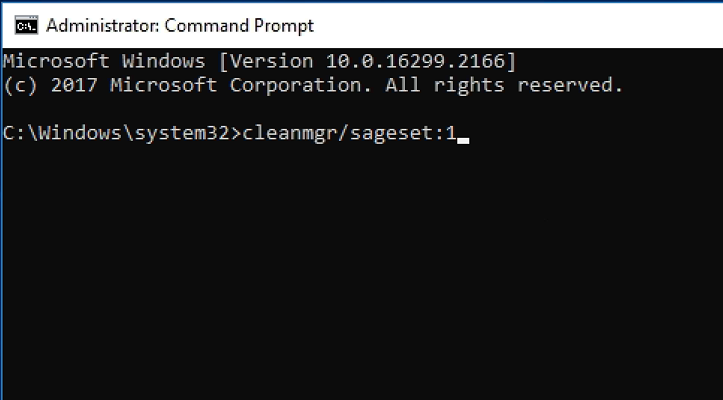
▶ /sageset: This command can skip the disk selection step and take you straight to the category selection menu. In this location, you can check which category of junk files you want to clean.
Type: cleanmgr/ sageset: disk numer (Eg: c:\Windows\system32> cleanmgr/ sageset: 1)
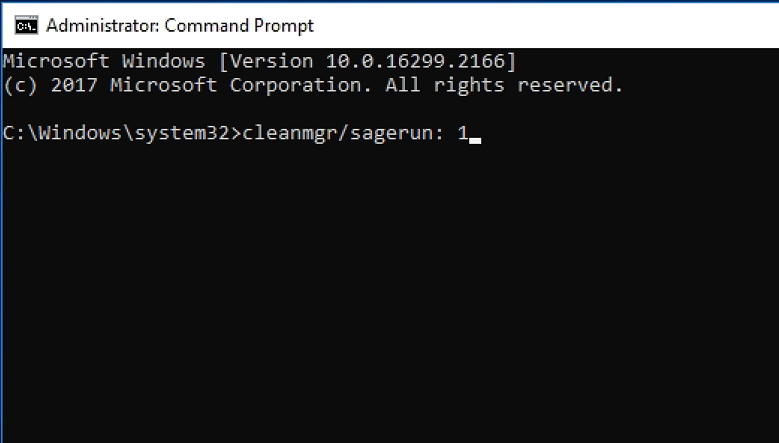
▶/sagerun: This command will automate the disk-cleaning process without selecting the categories.
Type: cleanmgr/ sagerun: disk number (Eg: c:\Windows\system32> cleanmgr/ sagerun: 1)
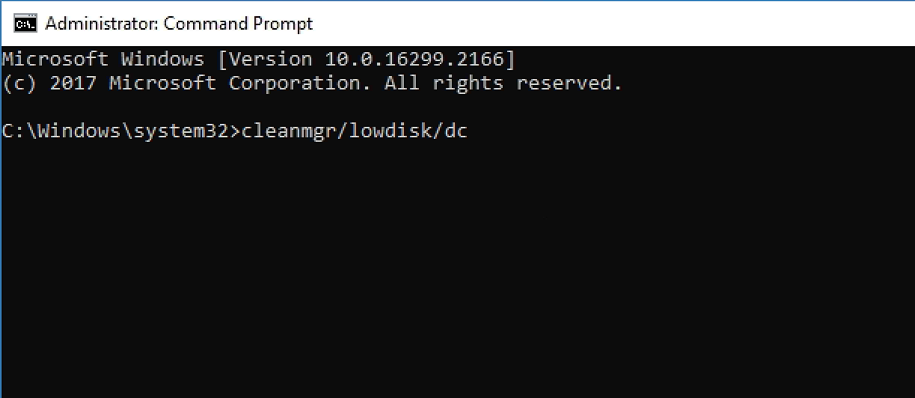
▶/lowdisk: Use this command when the disk drive is running out of space. After you use this setting, the disk cleaning opens with all checkboxes selected by default.
Type: cleanmgr/lowdisk/d{driver-latter of your disk} (Eg: c:\Windows\system32> cleanmgr/lowdisk/dc {for c drive})
2. Clean temporary files via orders
The Temp files can be generated for backup purposes as well as to store information for a brief period of time during the operation of a program. They are primarily used to store, transport, and retrieve lost data.
It is safe to remove temporary files if and only if no applications are using them. Normally, Windows will prohibit you from removing these files since doing so will result in the application task failing.
Temporary files generated by the operating system are saved in %system%/windows/temp, but temporary files created by users are saved in C:\Users\username\AppData\Local\Temp.
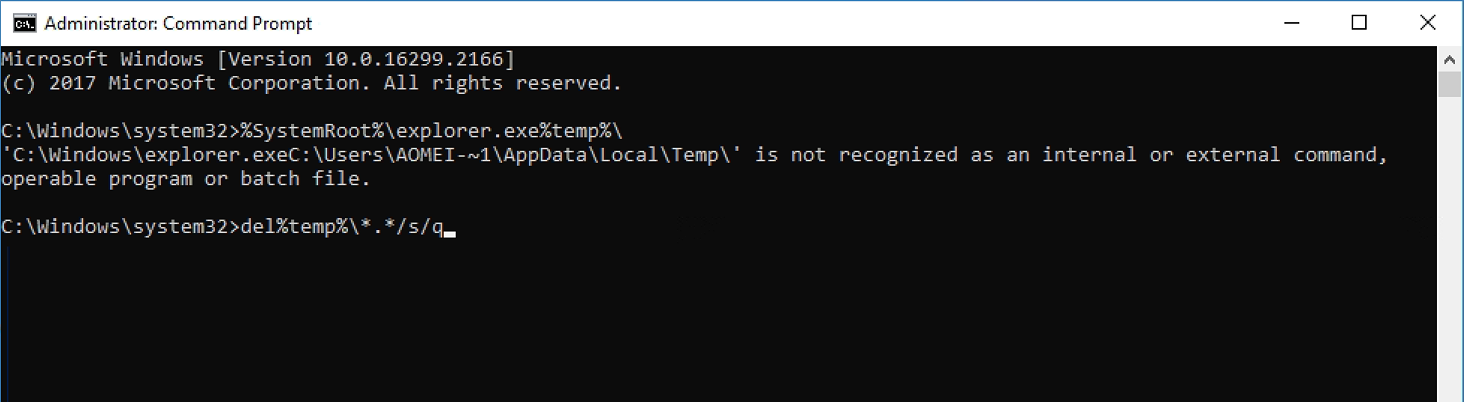
To view temp files: %SystemRoot%\explorer.exe %temp%\
To delete temp files: del %temp%\*.*/s/q
3. Clean prefetch files with CMD
When a program is used for the first time, the operating system creates prefetch files, which subsequently serve as a cache. Depending on how the program uses the dedicated file, it may take up a lot of space.
Prefetch is mainly used to speed up the program, however, if you are experiencing app issues or delays, you can erase these files.
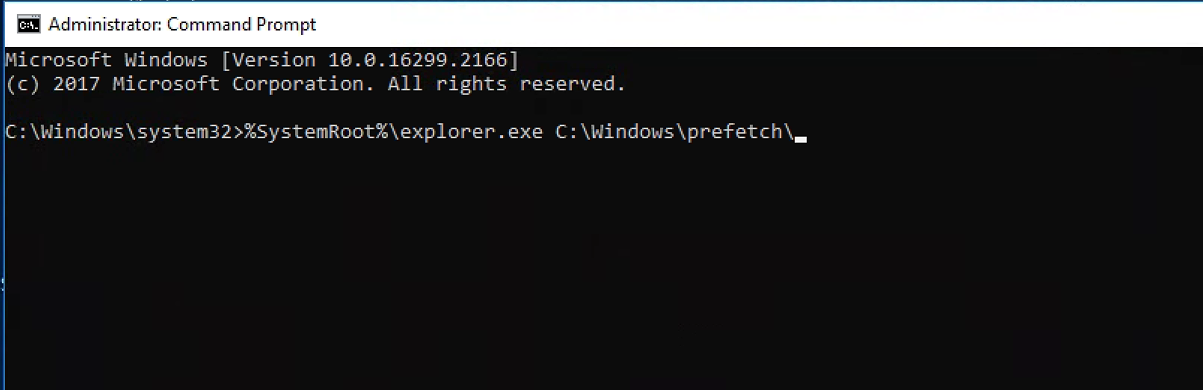
To check the prefetch files: %SystemRoot%\explorer.exe C:\Windows\prefetch\
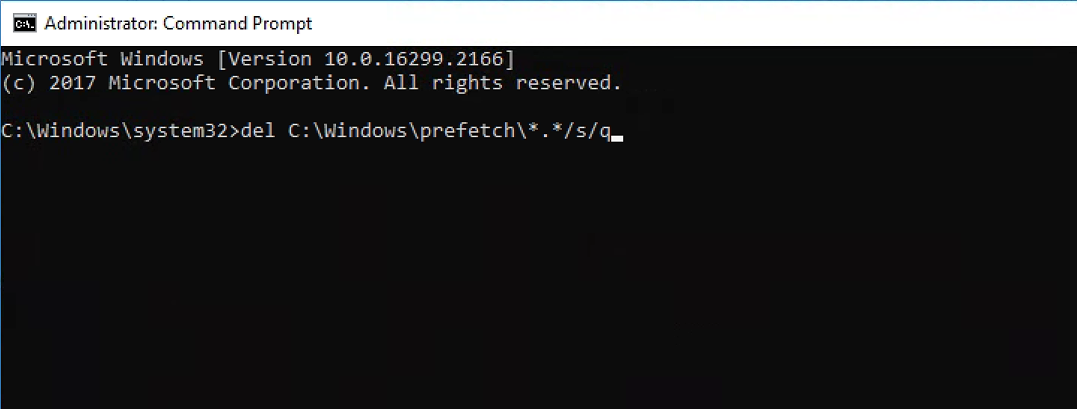
To delete the files from the prefetch folder: del C:\Windows\prefetch\*.*/s/q
4. Clear store cache memory in CMD
Cache files improve program efficiency; nevertheless, if something goes wrong with them, it might cause data fetching difficulties, glitches, or even a crash. And if a cache is just used once, it becomes a garbage file. As a result, clearing application cache memory on a regular basis is a frequent solution.
You may safely erase the DNS cache and Windows store cache from your computer. Windows will inform you if there is an issue with removing these cache files.
Step 1. Please type: ipconfig/flushDNS
You will receive a message indicating that the DNS cache has been properly cleared.
In order to empty the windows store cache memory, type: wsreset.exe

Then you'll see a black screen, and all you have to do is wait until the windows disappear to ensure that the windows store memory has been correctly flushed.
5. Defragment your hard drive with CMD (Only for HDD)
The process of restructuring data stored on a hard disk is known as defragmenting the drive. It is a procedure that eliminates fragmentation by physically grouping mass storage content into the fewest number of neighboring areas. Rearranging the files will help your PC to access files from the hard disk more quickly. Essentially, fragments slow down the writing and accessing speeds of your hard drive, resulting in slow system performance.
However, never defrag an SSD because it will reduce its lifespan or destroy it.
Type: defrag drive letter: (Eg: defrag c:)
An easier way to clean PC deeply
Command Prompt can use different orders to clean different junk files on your computer. However, not all users can use this tool with ease. To clean different files, you need to be familiar with all the above orders, which is not convenient.
Thus, to avoid typing wrong commands and simplify the clean job, we recommend you AOMEI Partition Assistant Professional, a disk and partition manager for Windows 11/10/18/8.1/7/XP computers.
It is a multifunctional tool with 3 features to clean disks:
• App Mover: This feature can move installed programs and folders to another location without reinstalling. If you have installed some programs on the C drive, this one is quite useful. After the move, the moved programs can directly boot from the new location.
• PC Cleaner: This function can scan your computer to find all junk files like temp files, cache files, etc., and then clean all with one click.
• Delete Large Files: After using this feature to scan the selected location, the tool will list all large files that may not be judged as junks, if you think some of them are no need anymore, you can tick them and delete them directly.
With these 3 functions, you can conveniently and thoroughly clean all junk files and useless data files from your PC to keep it in a nice status.
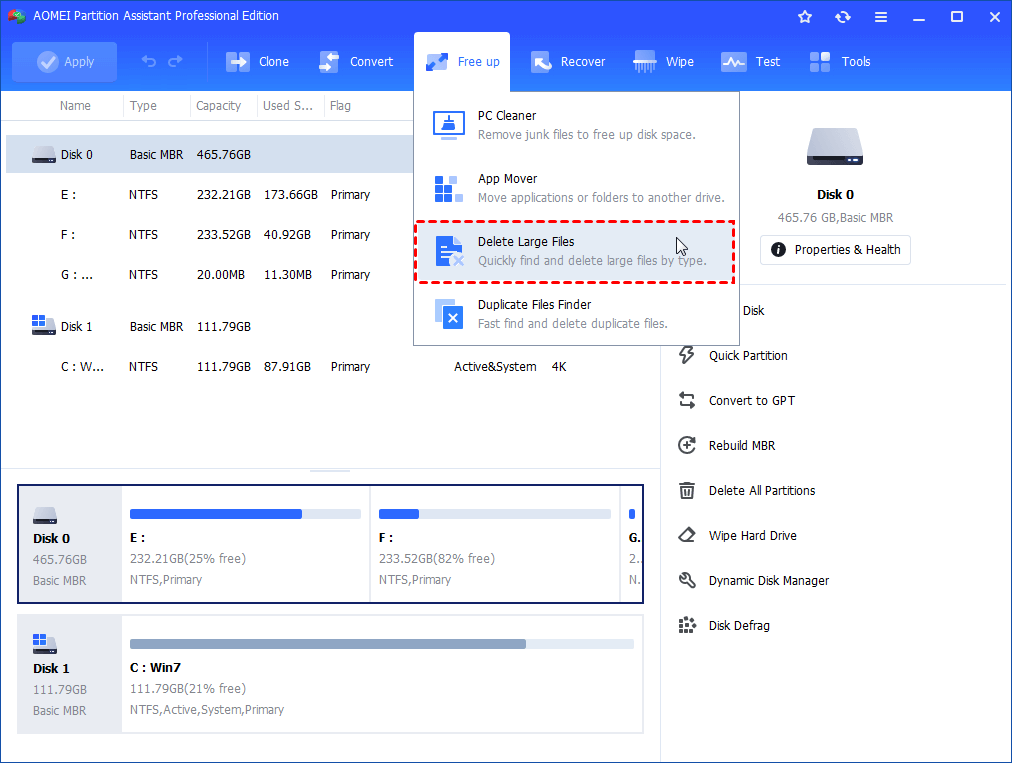
Here, we’ll show you the “Delete Large Files” feature, you can learn more details about the other 2 features by clicking the links.
Step 1. Install and launch AOMEI Partition Assistant, and then click "free up" and "Delete Large Files".
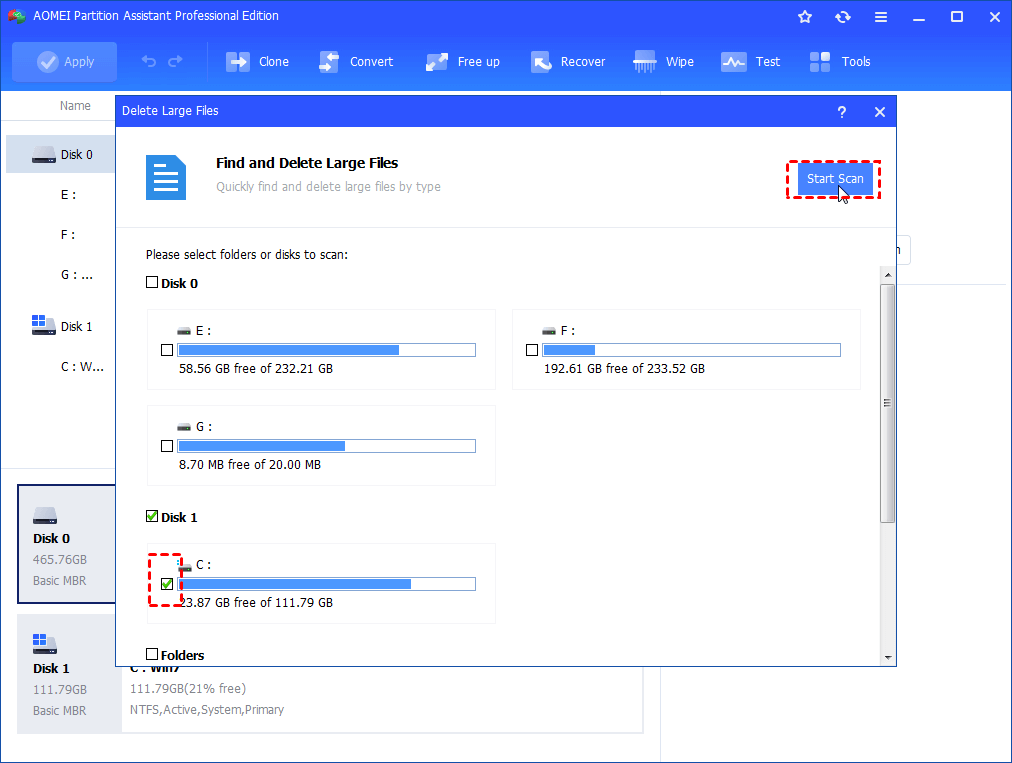
Step 2. In the pop-up window, select the partitions that you want to find large files, and click "Start Scan" to scan for large files.
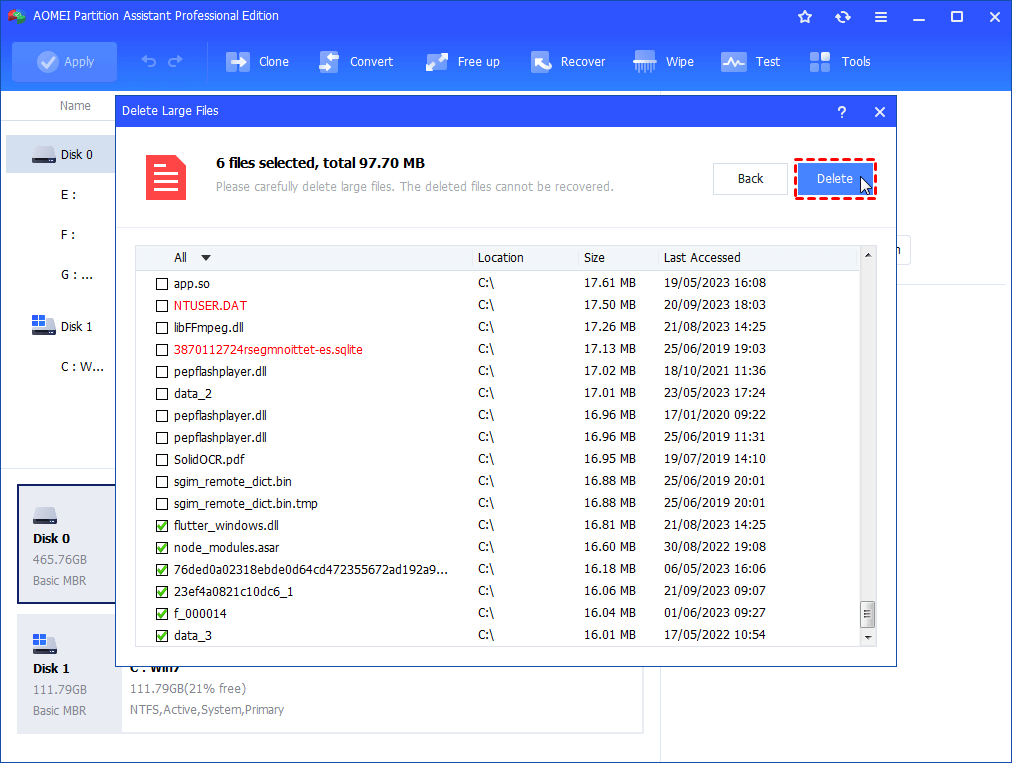
Step 3. When the scan is complete, all large files found are listed. Tick the files you want to delete, and then click the "Delete" button.
Step 4. This step will list all the files you have ticked to delete, click "Delete Now" after confirming that it is correct, then these files will be deleted successfully.
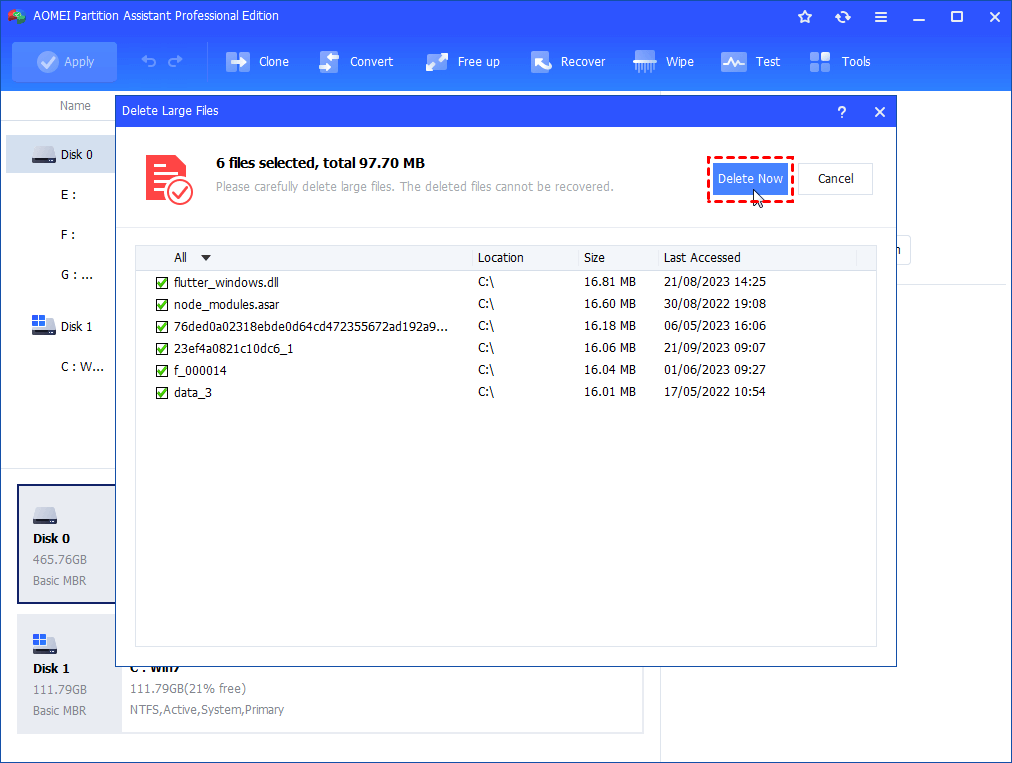
Then the cleaning is finished.
To sum up
If you run commands for cleaning a PC, you’ll need to know many commands clearly. However, with AOMEI Partition Assistant, you don’t need to type complex orders, only some clicks can completely clean all junk files.
Besides mentioned features, this tool can also clone disk, convert a disk to MBR/GPT without data loss, migrate OS, wipe HDD/erase SSD… What’s more, if you need, there is the Server Edition for Windows Server users.

