How to Open Disk Management in Windows 11, 10, 8, 7, XP or Vista [4 Ways]?
If you have no idea how to open Disk Management in Windows 10/8/7 PC system, have a look of this article. There are several ways that you can choose.
By Michael / Updated on May 12, 2023
What is Disk Management?
Disk Management is a Microsoft Windows utility first introduced in Windows XP as a replacement for the fdisk command. It enables you to view and manage hard disks that installed in the computer as well as the partitions associated with those drives. You can initialize disks, create volumes, format volumes as FAT32 or NTFS file systems, etc with this tool. Many people must be familiar with the earlier version of Disk Management. Anyway, some new features are added since the appearance of Windows 7.
▪ Extend and shrink volumes: Shrink a volume to get some unallocated space that can be used to create or extend another one.
▪ Simpler partition creation: You’re able to choose whether to create a basic, spanned, or striped partition directly.
▪ Convert disk: If you add more than 4 partitions to a basic disk, it will prompt you to convert the disk to dynamic or GPT (GUID partition table) style.
How to: open Disk Management in Windows 11, 10, 8, 7, XP, or Vista
There’s no shortcut to Disk Management in the Windows start menu or on the desktop because it's not a program in the same sense as most other software. So here will display several ways to open Disk Management in Windows PC systems.
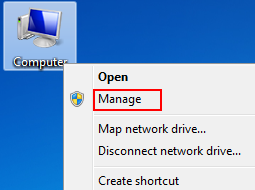
Way 1. Through Computer Management
Step 1. Right-click Computer →Manage.
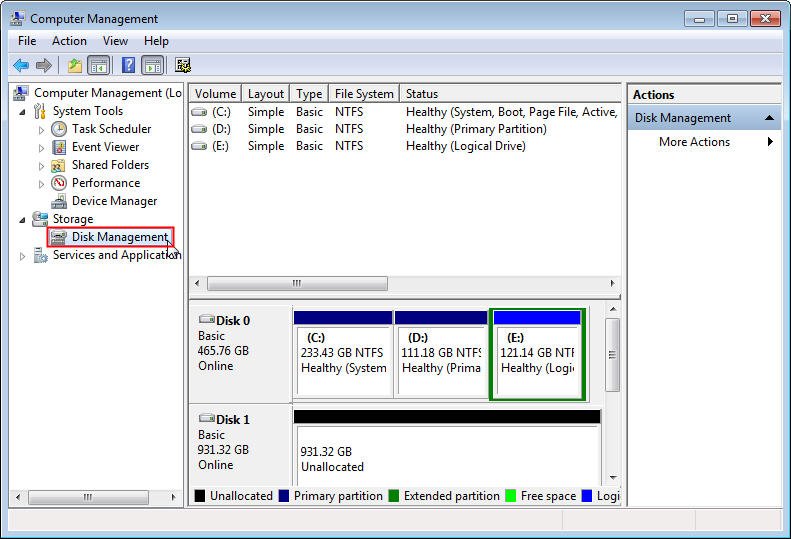
Step 2. Choose Disk Management on the left.
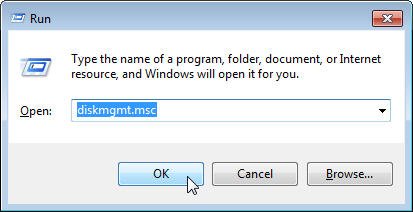
Way 2. Via Run
Step 1: Press Windows+ R.
Step 2: Type diskmgmt.msc → OK.
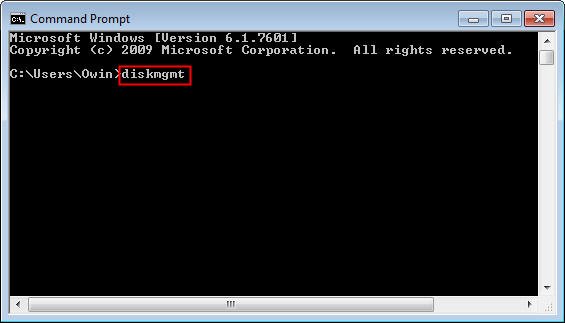
Way 3. By Command Prompt
Step 1. Click Start menu → input cmd in the search box → Enter.
Step 2. Type diskmgmt → Enter.
Way 4. From Control Panel
Step 1. Click Start menu → Control Panel.
Step 2. Select System and Security.
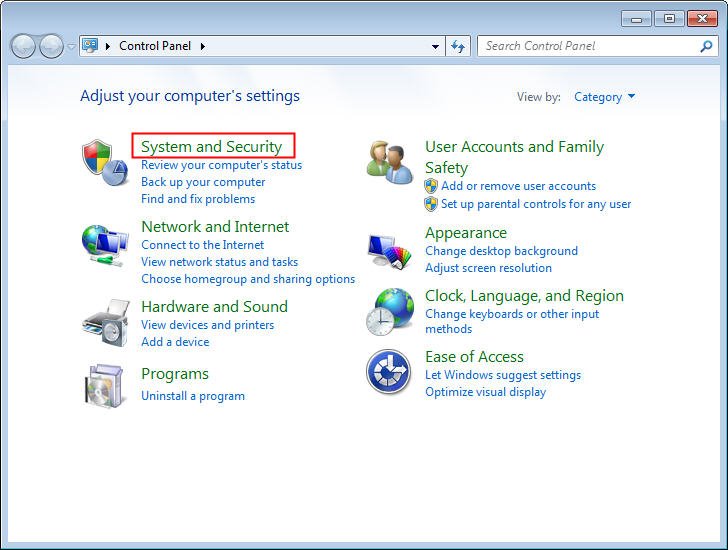
Note: “System and Security” is only found in Windows 10/8/7. In Windows Vista, it’s called System and Maintenance while Performance and Maintenance in Windows XP.
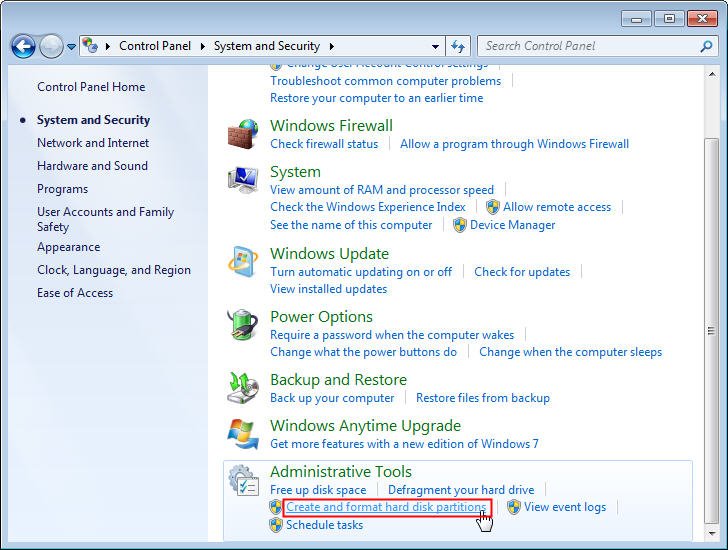
Step 3. Under Administrative Tools, click the option as shown below. That’s it!
By the way, if you’re using Windows 10 or Windows 8, just right-click the Start button then choose Disk Management option to open the same. Generally, among these methods, there should be at least one that suits you.
A better disk management tool
As extending and shrinking volumes are often used, many users may find these two options greyed out in Disk Management sometimes. Why? Actually, some limitations exist in Windows built-in Disk Management. For example, if you increase the size of a partition, you can only use the unallocated space next to it and just on the right side. But the feature "Shrink Volume" always makes the unallocated space locates behind the volume you shrink. Therefore, in many cases, you have to delete a partition before you can extend one. What's worse, you can't shrink a volume beyond the point where any unmovable files are located. Thus, it seems that you need to hire a better disk management tool.
AOMEI Partition Assistant Standard is a free disk partition management software that comes with a lot of powerful functions that enable you to control hard disks and partitions easily.
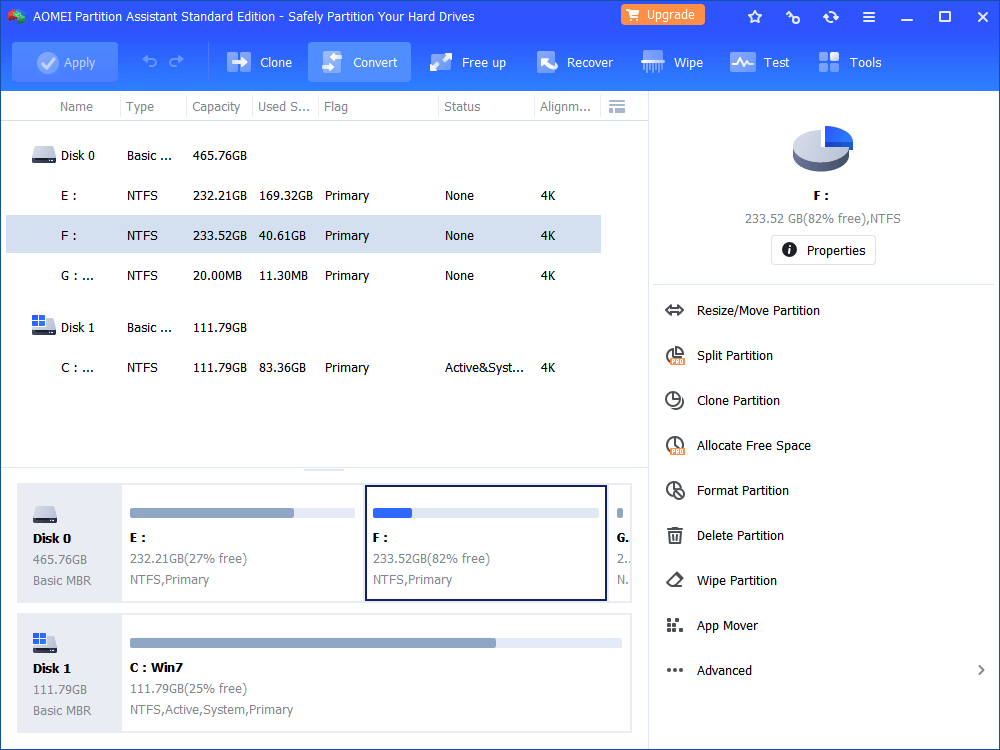
With the concise main interface, it’s convenient for you to view statues of every partition. Many utilities like Resize Partition (either common partition or encrypted partition), Merge Partitions, etc break the limitations that Windows built-in Disk Management has. Besides, most operations can be completed simply by a few clicks without losing data! You can free download it to have a try!