2 Methods of Running Windows 10, 8, 7 on MacBook Pro
Running Windows 10, 8, 7 on your MacBook Pro can help you to run Windows software games, projects on your Apple Mac. This post introduce 2 methods of get Windows operating system on a MacBook Pro.
By Dervish / Updated on May 12, 2023
Benefits of running Windows on Mac Pro
MacBook Pro is the most powerful Apple notebooks. They provide great productivity by spectacular Retina display, fast processor speeds, advanced audio for Mac users. However, Mac OS is a closed operating system, and lots of users still want to run Windows on their Mac Pro for the following benefits:
● Run Windows software/games on Mac. Lots of Windows software and PC games are not compatible with Mac OS. You can have full games, software, programs by getting Windows 10, 8, 7 on Apple Mac.
● Test Windows project. Developers like programming on Mac system for its stability and performance. But the testing for errors, bugs would be long-progress work. You might need to consider how are your programs, apps running on Windows 10, 8, 7 since Windows share a large proportion of the laptop market.
2 methods of running Windows 10 ,8, 7 on MacBook Pro
No matter what is the reason why you need Windows, we do not suggest you install Windows on virtual machine. Because it means running 2 operating system at same time, which causes great negative affect on its performance. We still have 2 methods of running Windows 10, 8, 7 on a Mac Pro that will not drag down the running speed.
Install Windows on MacBook with Boot camp
Apple provides Boot Camp that help you install Microsoft Windows 10 on your Mac, and you can switch the booting OS between Windows and Mac system. Follow the instruction to see how to do it.
✍Note:
-
This method is not work in Apple M1 Chip. Make sure your MacBook Pro is using Intel processor.
-
Prepare a USB flash drive and burn a Windows ISO to it. And launched in 2012 or later MacBook Pro versions) and all iMac Pro models don’t need a USB flash drive. You can go this page to know more information.
-
You Mac needs at least 64GB. If you want the best performance, you will need to prepare at least 128GB.
Step 1. On your Mac Pro, go to “Finder” > “Applications” > “Utilities folder” and open "Boot Camp Assistant".

Step 2. Click “Continue” when the Boot Camp opened. And select the Windows ISO file. Then you can specify the size of Mac OS and Windows system size.

Step 3. Then input the Mac Password to allow the task.
Step 4. Your Mac pro will enter Windows installation program. Follow the instruction to complete it.
Step 5. Then your MacBook will enter Windows operating system, and ask you to install Boot Camp Assistant on it. Install it.
Additional content: How to switch booting system?
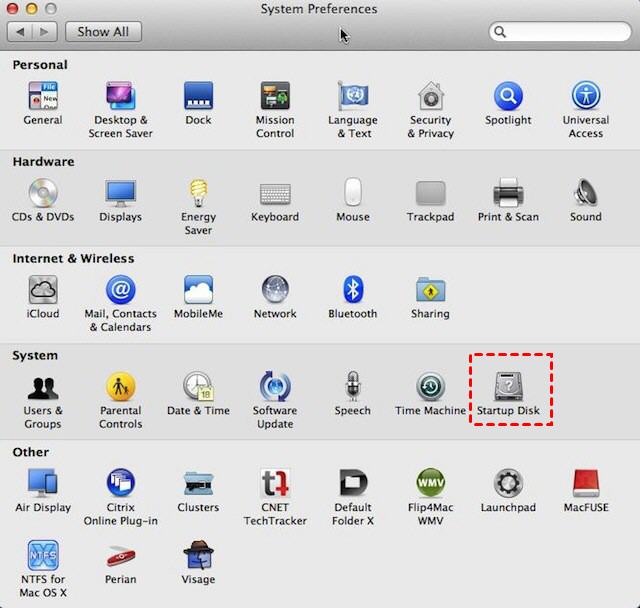
1. If you want to restart into Mac OS, right-click on the Boot Camp icon on the system tray, and choose “Restart in MacOS”. To switch MacOS to Windows, open Boot Camp, and click “Preference” > “Startup Disk”. Then select the Windows as booting system.
2. Another way to choose a booting system is to press and hold “option” key when you power on your Mac.
3. Boot Camp Assistant can also help you uninstall Windows from Mac if you don’t it one day. Launch Boot Camp, and remove Windows system or Windows partition from it.
Best way to run Windows on MacBook without installation
Another way for users who don’t enough space for installing Windows, you can turn to AOMEI Partition Assistant Professional to create a portable Windows OS. You don’t need to install Windows system on your MacBook Pro, so it won’t take any space on it.
Besides, such portable Windows USB can be connected to any MacBook, you can take it wherever you go to run Windows system environment you want. Now you can click the Demo button and follow the steps to see how to use this tool.
✍Preparation
-
A Windows PC
-
A USB flash drive/SSD drive and back up data on it.
-
Install AOMEI Partition Assistant on the Windows computer.
-
Download Windows 10, 8, 7 installation ISO file.
Step 1. Launch AOMEI Partition Assistant, click “Tools” on the top pane. Then choose “Windows To Go Creator” from the drop-down menu.

Step 2. Choose “Create Windows To Go for Mac computer” and click “Next”.

Step 3. Select a Windows installation file. Then hit “Next”.

Step 4. And choose the selected USB drive, and click “Proceed”.

When the process is over, the USB is bootable and contains a full Windows system. connect it to your MacBook. And start your Mac, press and hold the “Option” key, and choose the USB drive to boot your MacBook. Or you can enter system preference to set it as startup disk.
Conclusion
The 2 ways can help you to run Windows on MacBook Pro. They are also applicable to MacBook, MacBook Air.
It is worth mentioning that AOMEI Partition Assistant is also a partition manager. it assists you in extending NTFS system drive, format a drive to compatible file system for Mac or Win . And there are AOMEI Partition Assistant Server that gives you the same functions for Server OSes.