How to Make a New C Drive on SSD or HDD in Windows 10, 8, 7?
Don't know how to make a new C drive on your new HDD or SSD drive? Here, you can refer to the stepwise guide on transferring C drive to new SSD/HDD to set up a new system drive.
By Emily / Updated on May 12, 2023
Why need to make a new C drive?
“For some forgotten reason when I built my current system I only used a 200GB HDD as my C drive. Now the space is almost full and always causes OS booting and running slowly. So I recently bought a new Samsung SSD drive (around 500GB) and planned to make it my new C drive. But I don’t want to do a fresh install of Windows on the new solid-state drive. So anyone know how to make a new C drive on my new SSD drive without reinstalling everything? Thanks!”
The C drive (C:) always refers to the system drive that contains the operating system and related system files. And most users will find that the C drive is out of space easily, that’s because the Windows updates, installation caches, reports, logs, temporary files, some third-party applications are saved into this system partition by default. As a result, the Windows will run much slower, stuck, or reboot unexpectedly. Thus, you might need to make a bigger new C drive on another HDD or SSD drive.
Best method of creating a new C drive on SSD or HDD
To set up a new C drive on a different disk, of course, you can perform a fresh installation on the new disk, which is the most traditional method adopted by users to make a new C drive. However, that will cost much time and energy to reinstall OS, applications, and also tweak the settings. Luckily, there is an easier way to get this done: transferring the old C drive to the new disk and get a new C drive.
Compared with fresh OS installation, direct C drive transfer and migration can save the hassle of reinstalling everything from scratch. For this task, we highly recommended AOMEI Partition Assistant Professional. This partition manager has a wizard named “Migrate OS to SSD”, allowing you to migrate system related drive to SSD or HDD so that you can boot from the new C drive after migration. For a free trial, you can download its Demo version and preview the process.
Stepwise guide: how to make a new C drive in Windows PC
Now, we will show you how to make a new C drive via "Migrate OS to SSD" Wizard of AOMEI Partition Assistant Professional.
Before you do:
▸Install the second hard drive to your computer and ensure it is detected successfully.
▸Make sure you have made a backup of all required files on the destination disk because everything will be deleted during OS migration.
▸If you are migrating C drive from MBR disk to GPT disk, please ensure your motherboard supports the UEFI or EFI boot mode because you need to change Legacy to UEFI boot mode for a successful boot. Or you can convert the target GPT disk to MBR first.
Step 1. Install and run AOMEI Partition Assistant. Click “Clone” in the top toolbar, and select “Migrate OS” from the menu.
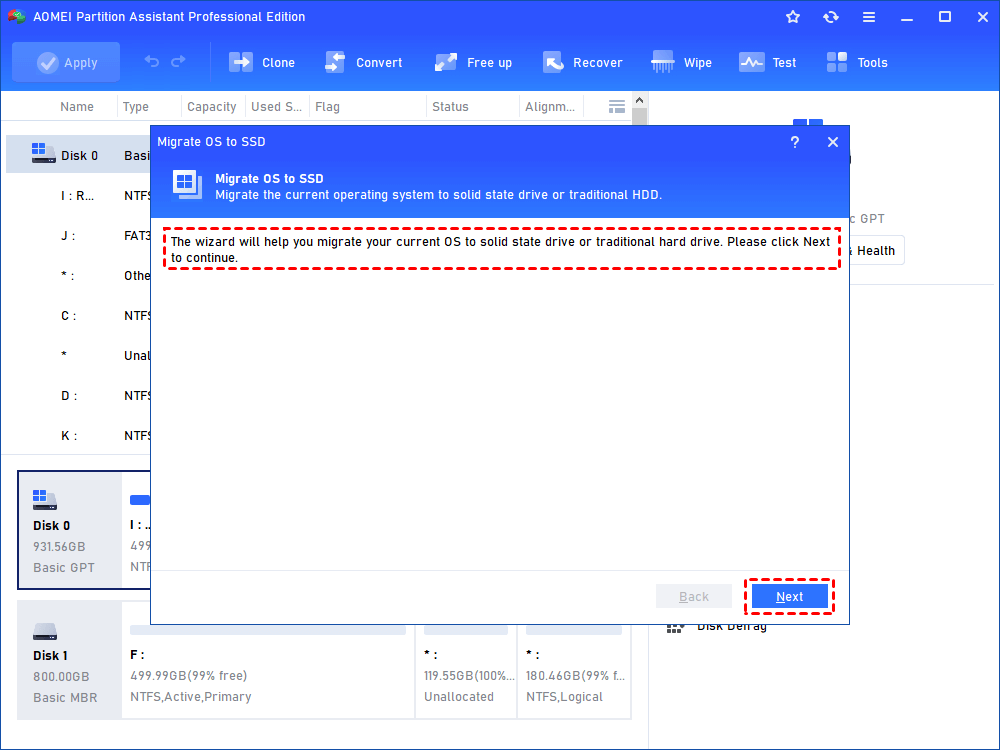
Step 2. Select the destination disk space and click "Next". If there are partitions on the disk, tick the option "I want to delete all partitions on this disk to migrate system to the disk".

Step 3. Here, you can resize the new C drive as you like and click “Next”.

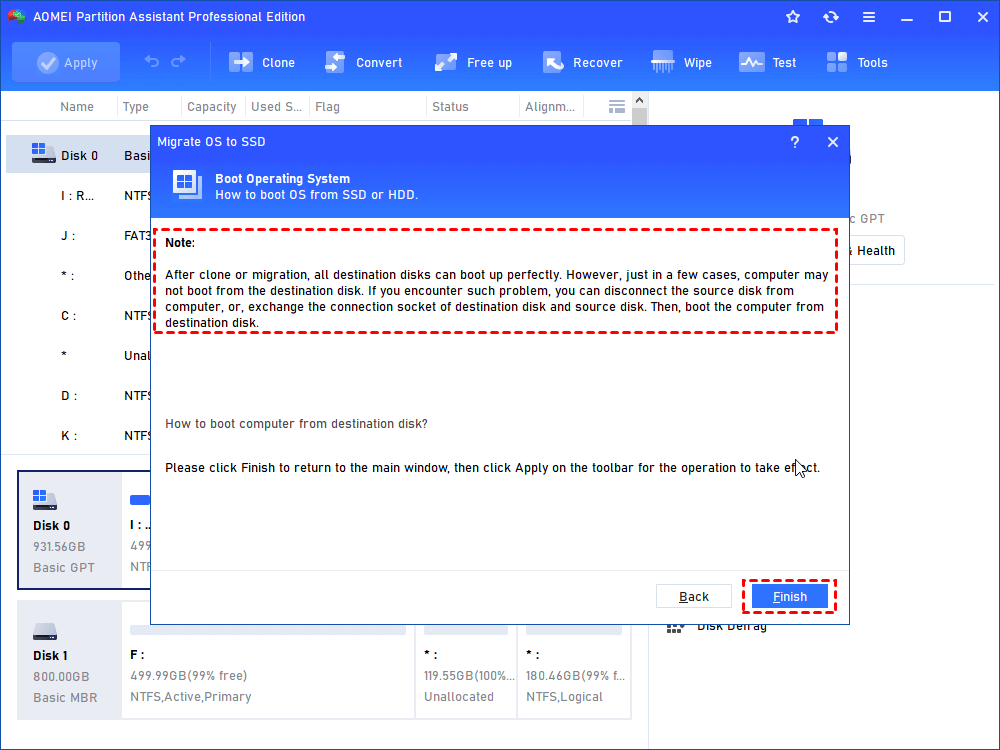
Step 4. Read the boot note if necessary and click “Finish”.
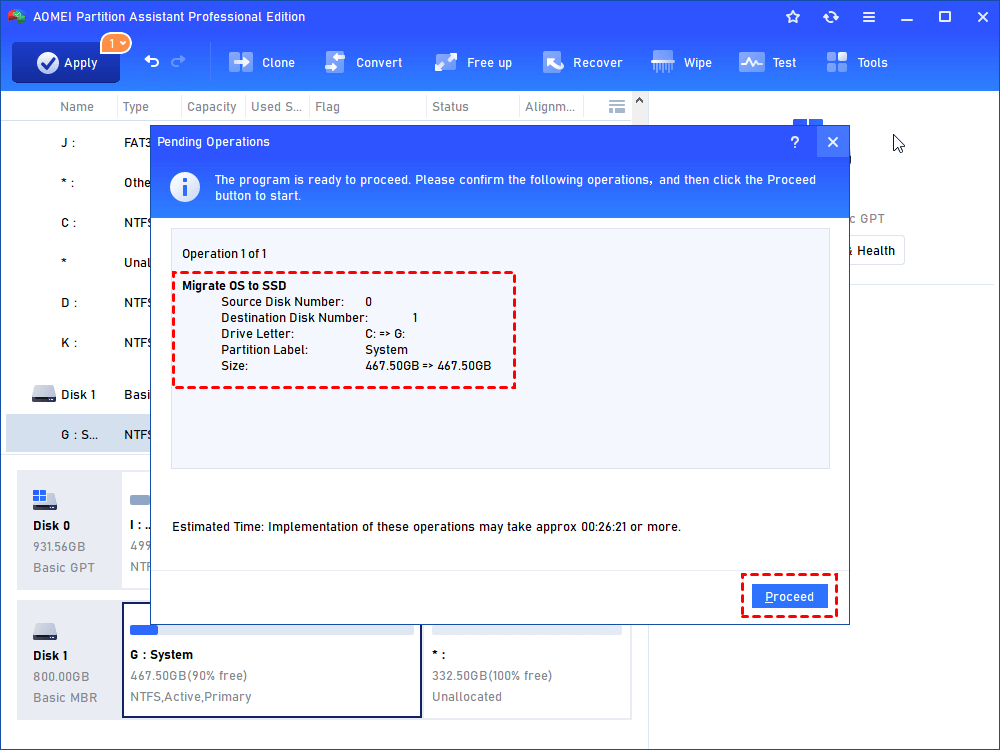
Step 5. In the main interface, click “Apply” and “Proceed” to commit the pending operation.
How to boot from the new C drive?
After making a new C drive on the different disk by the AOMEI Partition Assistant Professional, now you might want to how to boot from the new C drive. If you just want to remain the new disk on your computer, you can remove the old system disk and install the new disk, and your computer will boot from it then. If you want to keep both the original disk and the new disk on the computer, do as below:
Step 1. Reboot your computer and wait for the message during the POST (Power On Self Test) about a particular key (Del, ESC, F1, F2, F8, F10, etc), and then press the key as soon as you see in the message to enter BIOS Setup.
Step 2. Use the arrow keys to access to the BOOT tab and Change Boot Order menu. System devices will appear in order of priority.
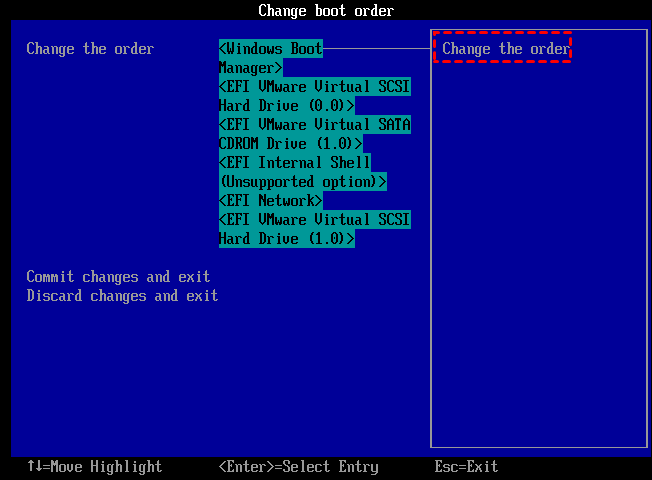
Step 3. Move the new system disk to the first position in the list.
Step 4. Save and exit the BIOS setup utility and your computer will restart with the changed settings.
Having ensured the new C drive is bootable, you can wipe the old system drive to free disk space for personal data storage.
Summary
This is all about how to make a new C drive. The AOMEI Partition Assistant Professional can do more than OS migration. For example, it can help you directly allocate some free space from other large partitions to C drive or merge available unallocated space into the system drive to make a bigger new C drive bigger. Besides, it allows you to create a new partition from C drive within 3 steps. Also, it supports converting system disk between MBR and GPT without deleting partitions, cloning hard disk and more. To enjoy such amazing functions on Windows Server operating system, you can try AOMEI Partition Assistant Server.

