How to: Format Lenovo Laptop in Windows 10, 8, 7
Learn how to format Lenovo laptop hard drive in Windows 10, 8, 7 using bootable USB drive Windows installation CD/DVD.
By Bryce / Updated on May 12, 2023
How do I format my Lenovo laptop?
“I have a Lenovo laptop purchased server years ago. It is with 1 hard disk drive that contains Windows 10 operating system. Now, the laptop runs and acts slowly. Thus, I want to format the laptop to restore its performance. Can you tell me how to format Lenovo laptop hard drive that contains OS?”
Two effective ways to format Lenovo laptop
It’s not easy to reformat the system hard drive in Lenovo laptop as you are not allowed to format system partition directly within Windows 11/10/8/7 environment. To help you achieve the goal, two detailed methods are given below.
Warning: The two methods will delete all data on Lenovo laptop hard drive and make the disk becomes unbootable. You can backup necessary files in advance. It is suggested to do cloud backup or back up to external storage.
✔ Format Lenovo laptop hard drive with USB
This way is for laptop users who don’t have Windows installation CD/DVD or unfamiliar with computer knowledge.
1. Insert a USB drive into your Lenovo computer. Download a free but great partition manager – AOMEI Partition Assistant Standard.
PS.: If your Lenovo laptop is unbootable, you can plug it into a working Windows based computer.
2. Install and run AOMEI Partition Assistant Standard. Click Tools> Make Bootable Media and click Next.

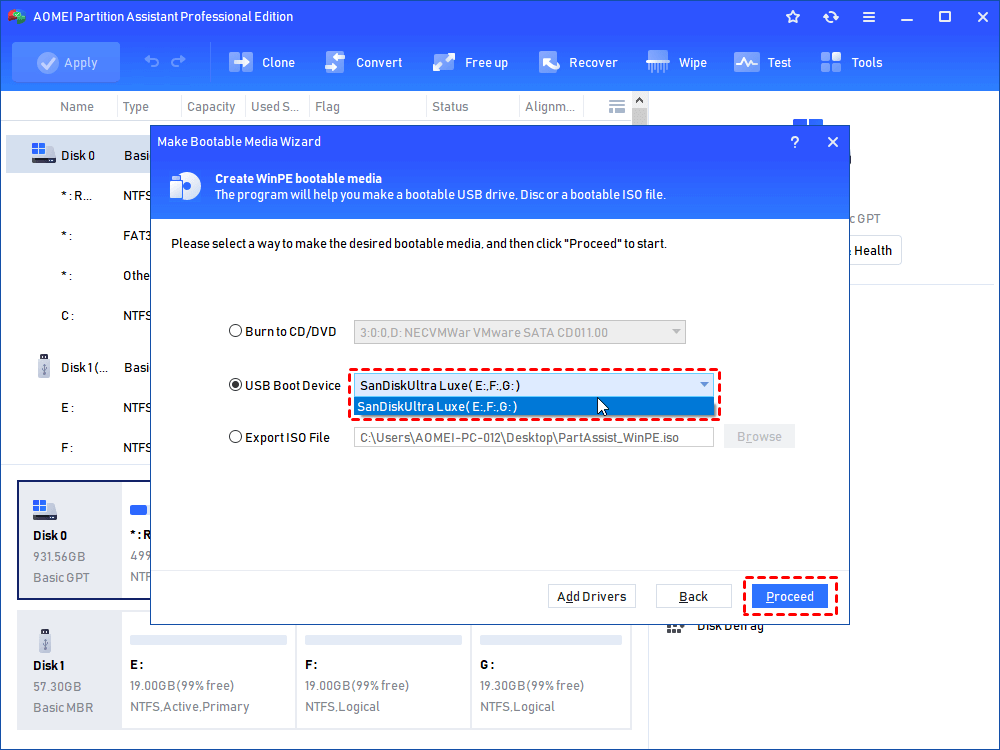
3. Choose USB Boot Device and click Proceed
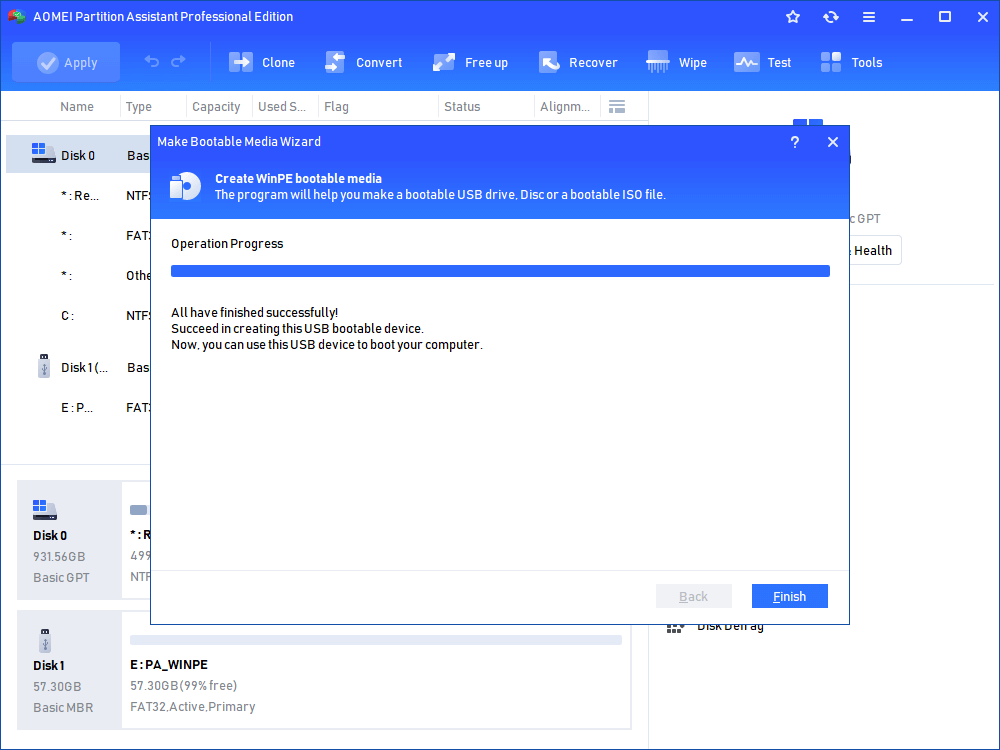
4. Wait patiently for the process to complete. Then, click Finish.
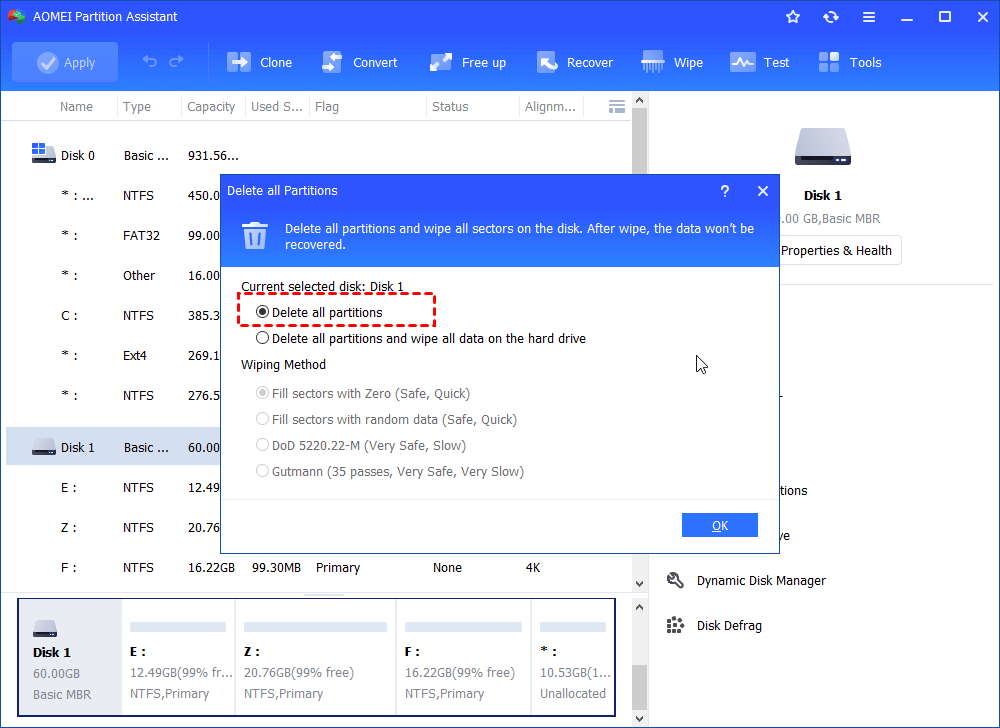
5. Enter BIOS to boot your Lenovo computer from the bootable USB drive. Upon loading, you’ll be in the main console of AOMEI Partition Assistant Standard. Right-click the Lenovo laptop hard drive and choose Delete All Partitions.
6. It offers you two options to delete all partitions: Delete all partitions and Delete all partitions and Wipe all data on the hard drive. Choose one based on your demand and click OK.
7. Click Apply> Proceed to commit operation.
Notes:
☞ If you want to only format creation partition on the hard drive like C drive, right-click the partition, select Format Partition, and do as the following prompts.
☞ You are allowed to wipe hard drive from BIOS on Lenovo laptop as well via AOMEI Partition Assistant Standard.
☞ You can perform more operations, such as recovering lost partition, allocating free space from one partition to another partition and recovering lost partition, etc., if you upgrade AOMEI Partition Assistant Standard to Professional version
✔ Format Lenovo laptop hard drive with Windows installation disc
This way can be applied by laptop users who own Windows 11/10 installation CD/DVD.
1. Insert the Windows installation CD/DVD into your Lenovo computer and enter BIOS to boot from it.
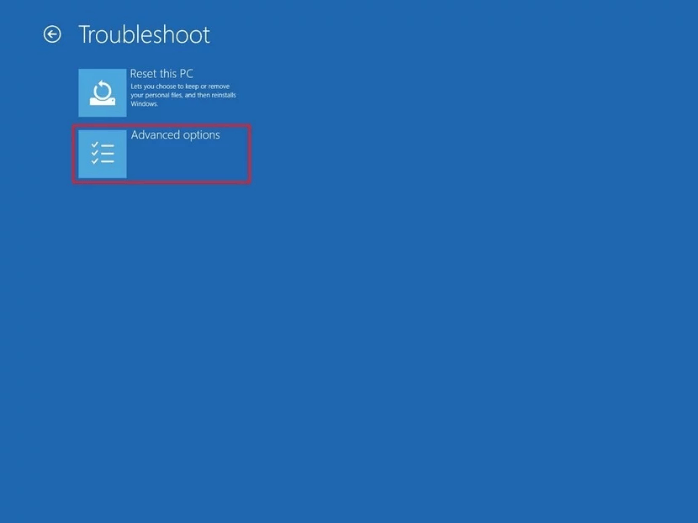
2. Go to Repair your computer >Advanced options and choose Command Prompt.
3. In Command Prompt interface, run the commands listed as follows in order.
-
diskpart
-
list disk
-
select disk n (“n” is the disk number of the Lenovo laptop hard drive you want to format)
-
clean
-
exit
If you want to format just one partition like Partition C: on hard drive, type the following command instead: format c: /fs:ntfs.
After that, you can reinstall Windows operating system and other necessary applications.
Having realized two different ways about how to format Lenovo laptop hard drive in Windows 10/11, you can pick up one way according to your own specific condition.
Further reading: reset Lenovo laptop to factory setting
This part is about how to use Lenovo OneKey Recovery to factory reset Lenovo laptop. If you are interested, keep reading. When Lenovo laptop is working normally, you can go to "Start" > "All Programs"> "Lenovo"> Lenovo OneKey Recovery and then reset Lenovo laptop to factory setting. If Lenovo laptop is unbootable, you can press Novo Button for a few seconds to enter the Novo Button Menu. Then, select “Restore from initial backup and click "Start".