How to Extend Partition after Cloning A Smaller Disk to A Larger One?
You can extend partition after cloning if the target disk is smaller than the original one. This post will show you why and how to do it.
By Michael / Updated on May 12, 2023
Scenario
I’m upgrading my 120GB PNY SSD to a 500GB Samsung 850 SSD but here comes the question. I cloned the 120GB one using a clone tool onto the larger one. The cloning process was successful. However, I found that I had 354Gb that was unallocated on my larger SSD. Why does this happen? And is it possible to extend partition with the unallocated space after cloning?
Why do you want to extend partition after disk clone?
People usually clone their disks from one to another for following for different reasons. For instance, they need to replace their old HDD with a new SSD for quicker loading speed in games and better performance. Or, when their old hard drive is nearly full and they need to transfer all data to a new one, cloning a disk is an easier way. And some users hope to save important data on an individual disk which is safer.
However, when they finish the disk clone, they may find that the cloned disk is much smaller than before. Why does this issue keep happening?
In fact, it’s very easy to understand. If you clone data from a smaller disk to a larger one, usually, you clone data byte by byte. You get the same layout for your clone exactly the same file system and partition tables. You get a thorough duplicate on the cloned disk while the extra space will be set as unallocated.
Therefore, to make the fullest use of the entire disk space, you might need to extend partition with the unallocated space after disk clone.
2 Ways to Extend Partition after Cloning
You don’t have many options when it comes to enlarging partition after cloning. However, indeed, there are 2 methods you can try for free when you need. One is Disk Management provided by Windows and the other is a third-party disk manager. In this part, we'll show you both.
Solution 1. Extend Volume with Windows Disk Management
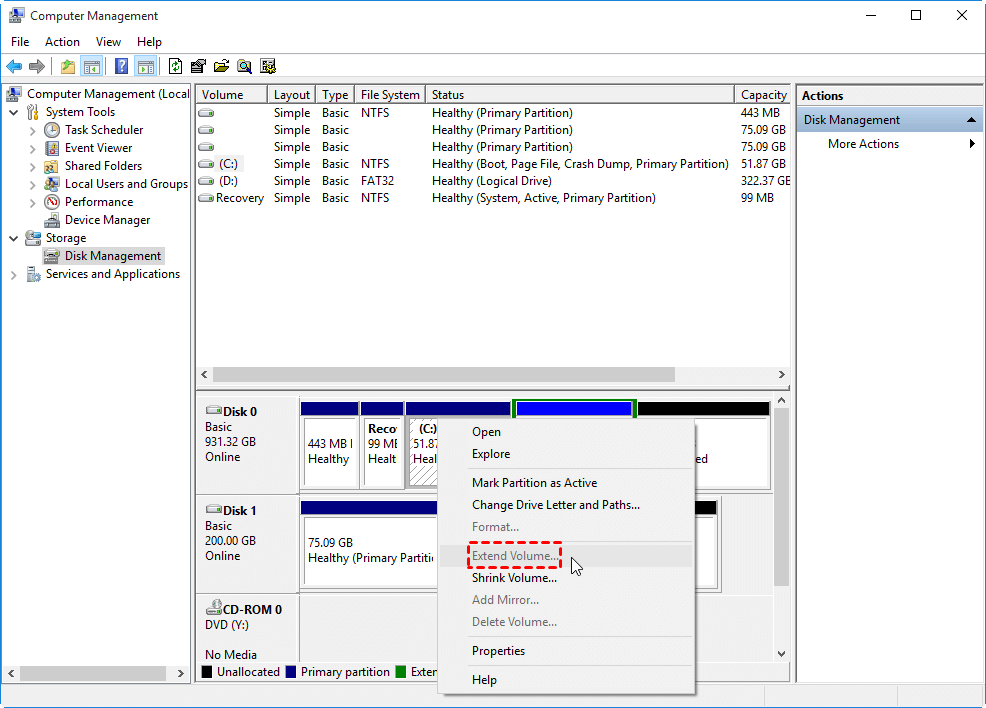
Step 1. Right-click on "This PC” and select “Manage”.
Step 2. Click on “Disk Management” under “Storage” on the left of the window.
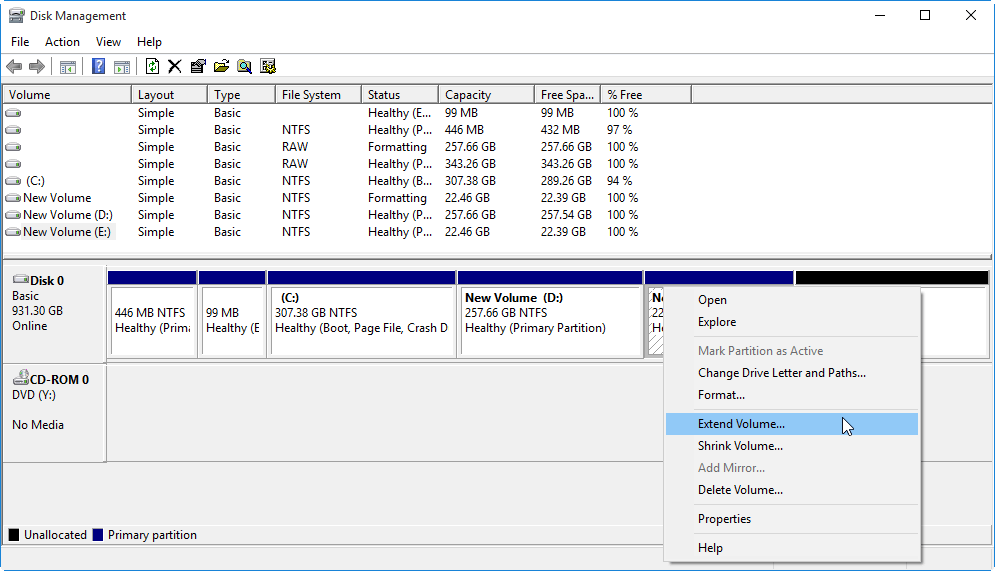
Step 3. Now, in the new window, you can see all disks and all partitions. Find the partition next to the unallocated space and right-click on it.
Step 4. Select “Extend Volume” and click on “Next > “Next” > “Finish”.
Step 5. Now, you’ve successfully put the unallocated space into an existing partition.
Solution 2. Enlarge Partition with A Third-Party Free Tool
Windows’ inbuilt Disk Management is popular and many people use it. However, the option of “Extend Volume” will be greyed out when the unallocated space and the to-be-extended partition are not adjacently or the partition you want to enlarge is not NTFS.
In these cases, you can try AOMEI Partition Assistant Standard, with which you can extend both NTFS and FAT32 partitions. Its “Merge Partitions” allows you to directly merge non-adjacent unallocated space into another partition easily. Compared to Disk Management, this tool is more feature-rich. Besides extending partitions, it can also help you do things like migrating OS and cloning partitions.
You can free download and install the most powerful software to manage your disk within several steps!
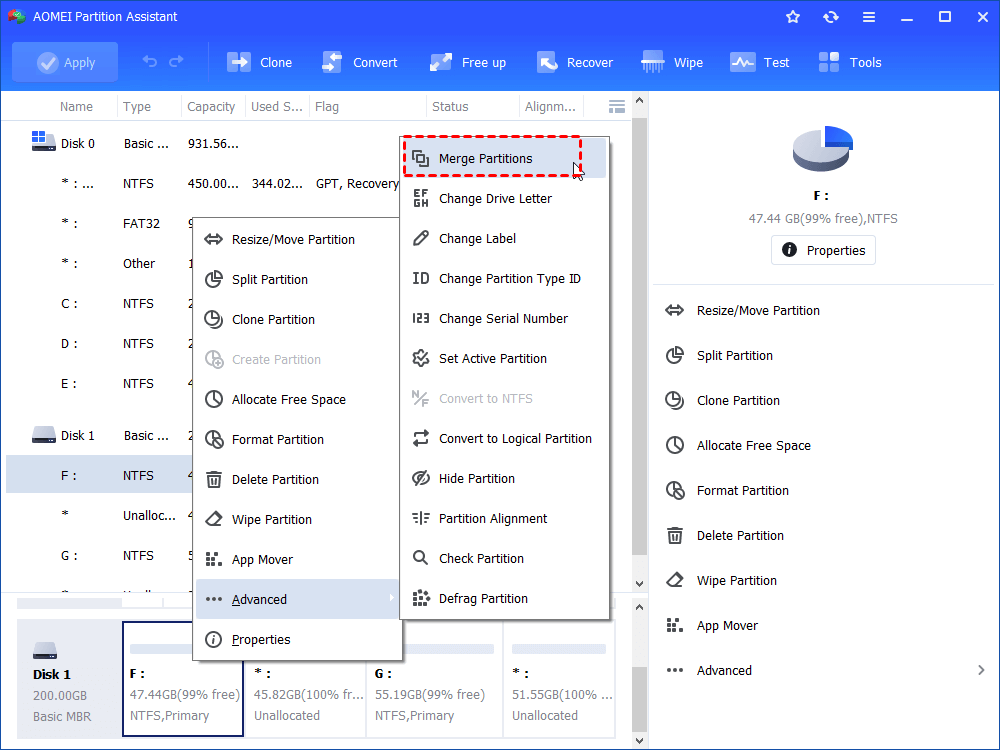
Step 1. Launch the program. Then, on the interface, you can see all your disks and partitions.
Step 2. Right-click on the partition you hope to extend and select "Advanced" > “Merge Partitions”.
Step 3. Select the partition you want to merge and hit “OK”.
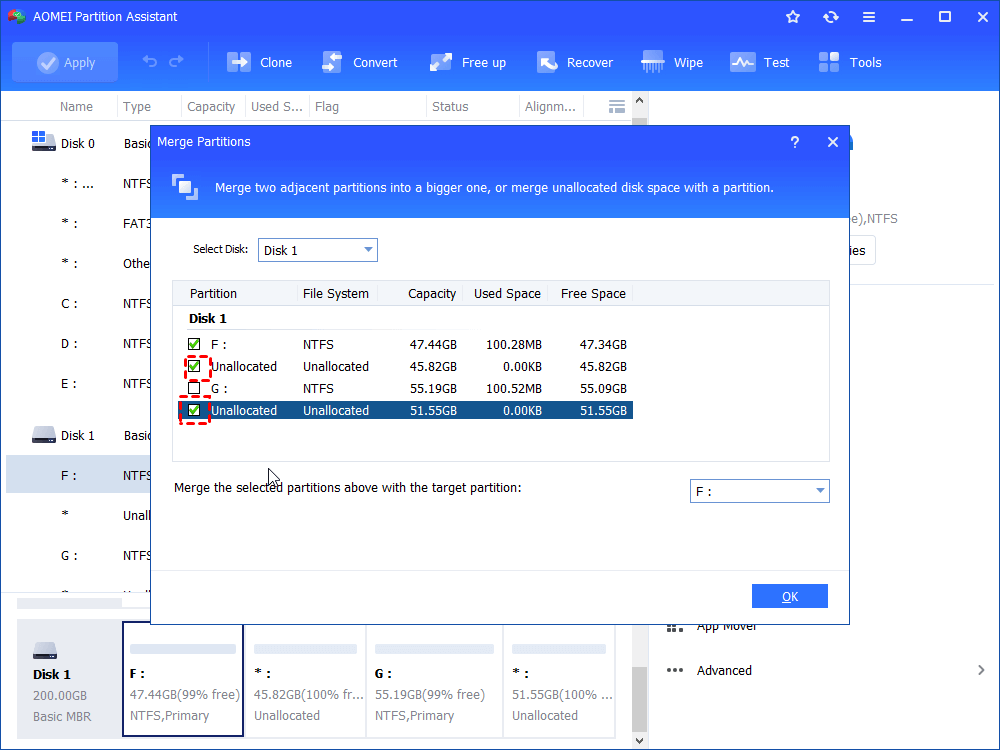
Step 4. Click on “Apply" on the upper left and hit “Proceed” to start the merging process.
Bonus tip: How to Avoid “Unallocated Space” Issue after Cloning?
People who use cloning software frequently may encounter the issue of “unallocated space” after cloning their disk to another. Is there any way to avoid this upsetting thing so that we can save more time? Luckily, AOMEI Partition Assistant Standard is able to clone only the used part on the source disk’s partitions to the entire destination disk so that there will be no unallocated space left.
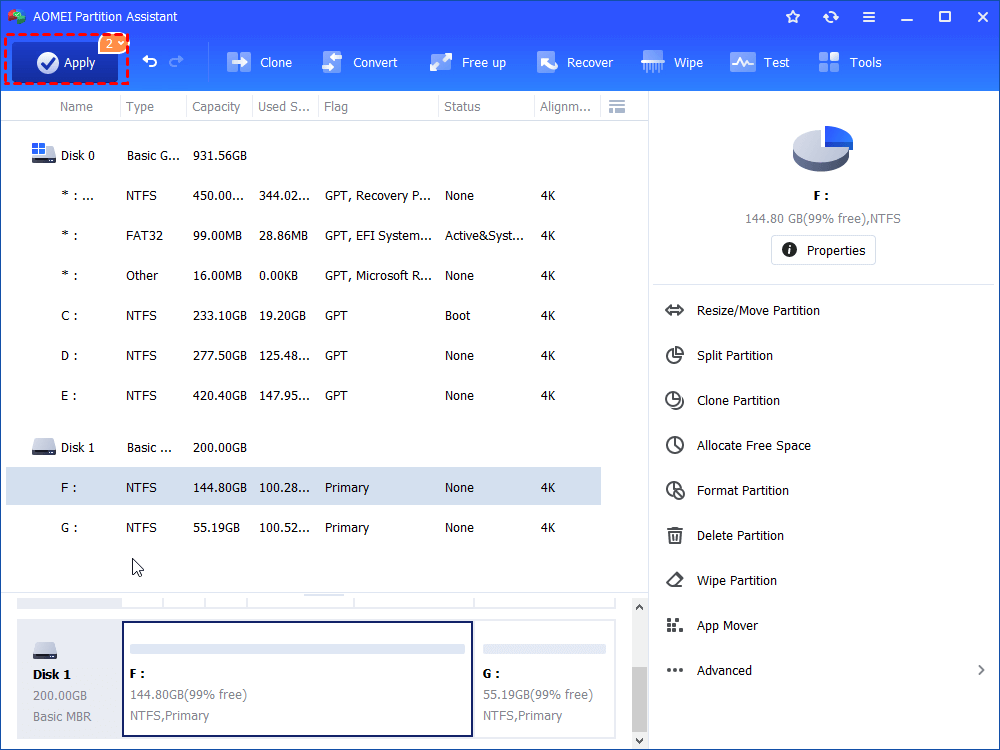
Step 1. Spot the source disk and the target disk on the interface.
Step 2. Select the source disk,and click “Clone” > “Clone Disk” in the top toolbar.
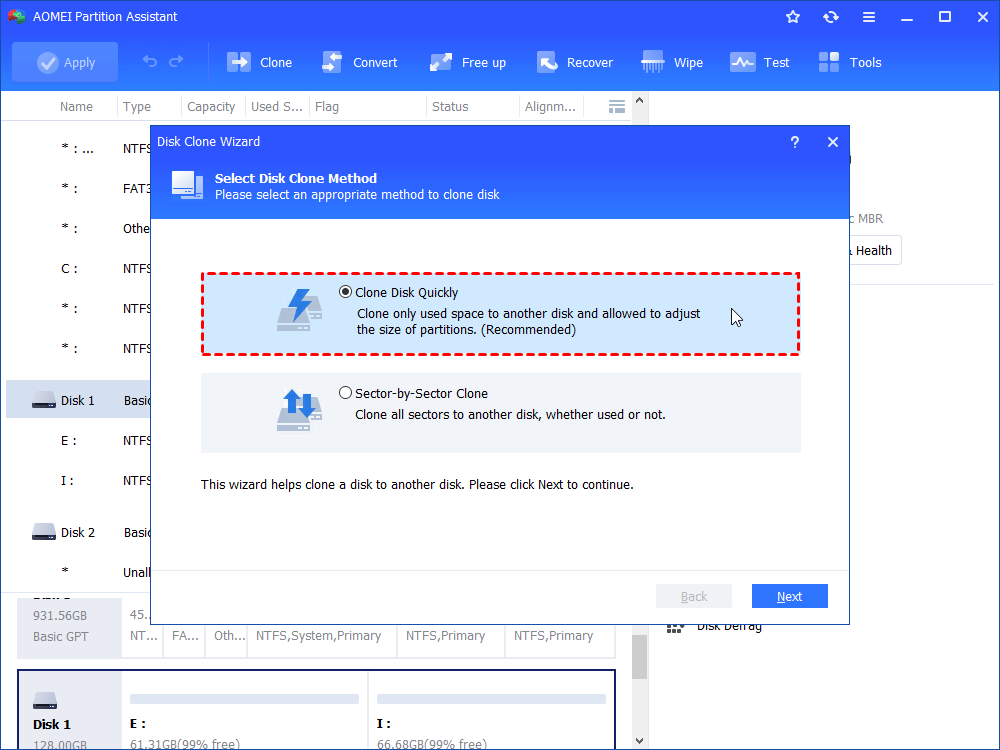
Step 3. Select “Clone Disk Quickly” and click on “Next”.
Step 4. Choose a target disk to clone the source disk to and still, click on “Next”.
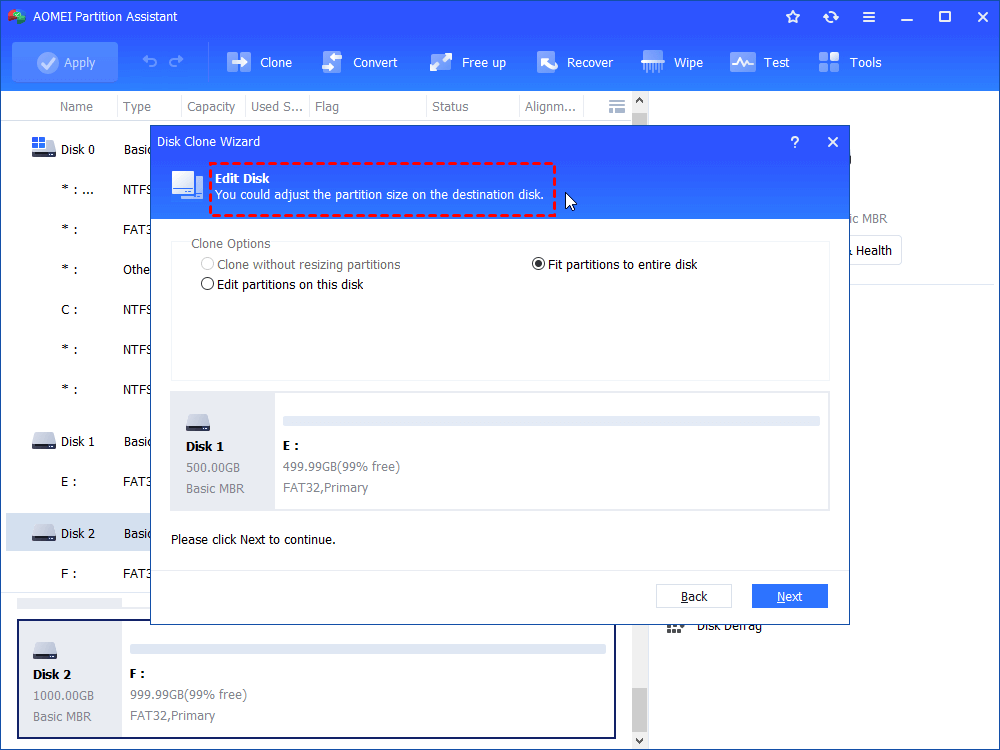
Step 5. Select the option of “Fit partitions to entire disk” and click on “Next” > “Finish”.
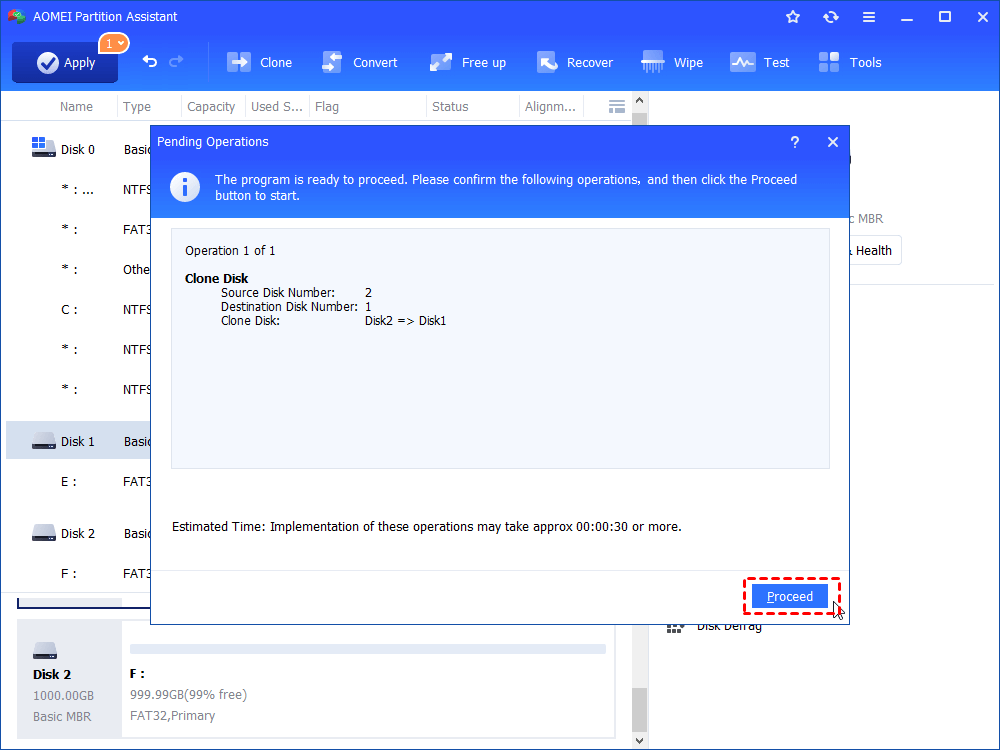
Step 6. Click on “Apply” on the top left of the window to begin the cloning process. In several seconds, you’ll find your entire old disk is copied to the other one with no unallocated space created.
Conclusion
Windows’ Disk Management and AOMEI Partition Assistant Standard - which one is better when you need to extend partition after cloning? The first one is an inbuilt tool that doesn’t need to be installed again but sometimes the option “Extend Volume” is greyed out. The latter one is also free and can not only help you extend partitions but also avoid unallocated space in the course of the clone.
And for more features including disk speed test and wipe system disk, you can upgrade this software to the Professional Edition.