Dell Error Code 0142: Reasons & Solutions
Are you dealing with the Dell error code 0142? Don’t worry, this problem is entirely fixable. Just follow this guide for quick and effective solutions to resolve theDell hard drive error code 2000-0142 issue.
By Hedy / Updated on April 25, 2025
Reasons for Dell error code 0142
Understanding the underlying causes of Dell error code 2000-0142 is crucial before jumping into potential solutions. Errors don’t occur randomly; there’s always a reason behind them.
Here are some of the most common causes of Dell error code 2000-0142:
◆ Loose SATA connection cables
Many users overlook the importance of properly secured SATA cables. If the cables are not firmly connected or in poor condition, it can lead to issues like this. A loose connection at either end can easily trigger errors such as the 2000-0142 code.
◆ Corrupt MBR and damaged hard drive sectors
Viruses and malware can corrupt the Master Boot Record (MBR), which is vital for directing the computer to the Windows operating system. If the MBR becomes corrupted, this can lead to serious problems, including the error in question. Additionally, bad sectors on the hard drive can contribute to the issue, as damaged parts of the disk may prevent proper operation.
◆ Hardware damage
If the above factors aren’t the cause, the problem may lie in physical hardware damage. This could involve mechanical issues like a broken reader head or damaged spindles, or it could be the result of overheating, which can severely affect the functionality of your drive.
How to fix Dell error code 0142
Method 1. Inspect the hard drive connection
Start by ensuring that the hard drive is properly connected to the motherboard. Power down your computer, open the case, and verify that all cables are securely attached. Once checked, power the system back on and observe the results.
Method 2. Run a disk check using the Windows installation disc
If the connections seem fine, the next step is to run a disk check from the Windows installation disc. This will help identify and fix any issues. Here's how to do it:
Step 1. Insert the Windows 10 installation disc and boot from it.
Step 2. Select your preferred time, language, and keyboard layout, then click Next.
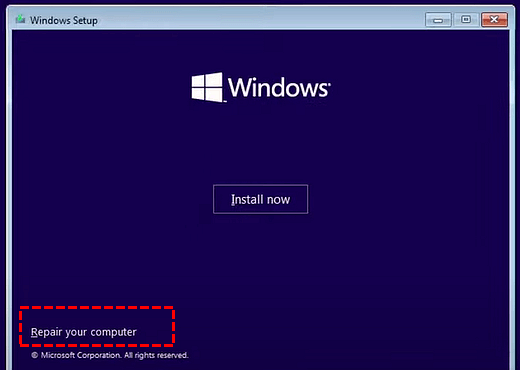
Step 3. A new window will appear; click on Repair your computer.
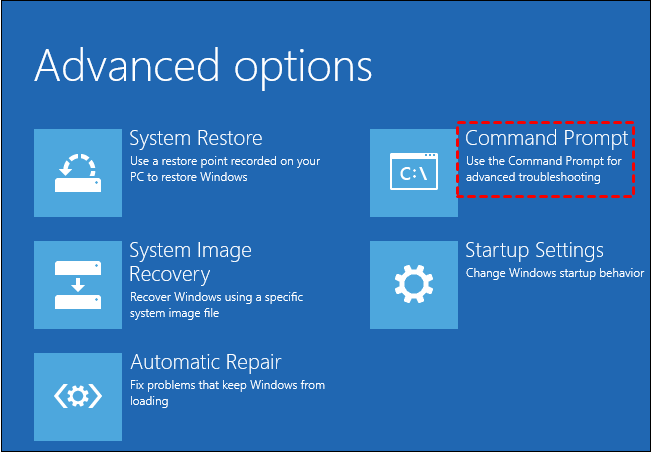
Step 4. Navigate to Troubleshoot > Advanced options > Command Prompt.
Step 5. In the Command Prompt window, type chkdsk C: /f /r (replace "C" with the drive letter you wish to scan and repair).

Step 6. Close the Command Prompt, restart the computer, and check if the issue persists.
Method 3. Reinstall Windows
If the previous methods don’t resolve the issue, reinstalling Windows may be the best option. Be sure to back up your data, as this process will erase everything on your drive.
Step 1. Download the Media Creation Tool from Microsoft’s website.
Step 2. Right-click on the tool and select Run as administrator.
Step 3. Agree to the license terms by selecting Accept.
Step 4. Choose Create installation media for another PC, then click Next.
Step 5. Select Use the recommended options for this PC and click Next.
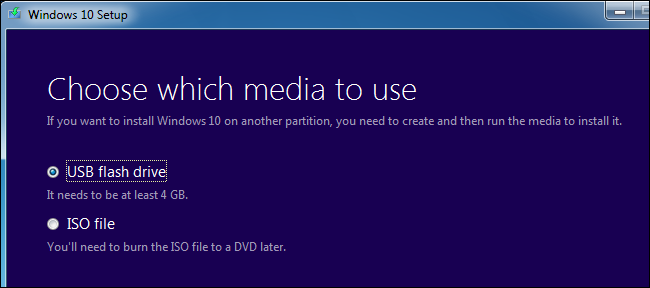
Step 6. Choose the USB flash drive option.
Step 7. Plug in a USB drive with at least 4GB of free space, then click Next.
Step 8. When prompted, remove the USB once the message "Your USB flash drive is ready" appears.
Step 9. Restart your computer, insert the USB drive, and boot from it.
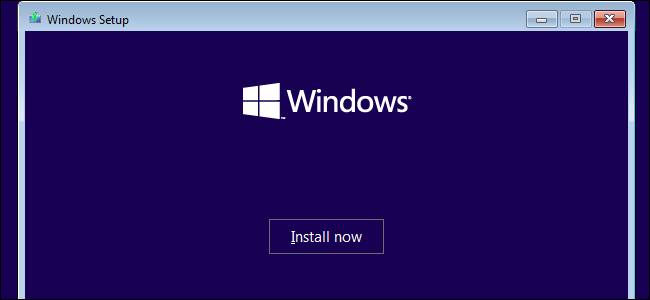
Step 10. Select Install now and follow the on-screen instructions to complete the installation.
Method 4. Replace the faulty hard drive
If none of the above methods work, consider replacing the faulty hard drive. If it’s still under warranty, you might be able to get a replacement. Otherwise, purchasing a new drive will be necessary.
Method 5. Run a S.M.A.R.T. test
Many computers come equipped with a built-in S.M.A.R.T. (Self-Monitoring, Analysis, and Reporting Technology) test that can help diagnose hardware failures. This tool performs basic checks on your hard drive to identify potential issues. Here's how to run it:
Step 1. Restart your computer and enter the BIOS setup utility.
Step 2. Select the problematic drive and press Enter. Then, choose the SMART support option and press Enter again.
Step 3. You can choose from one of the following tests:
SMART status check
SMART short self-test
SMART extended self-test
Step 4. After completing the test, press the Esc key to exit.
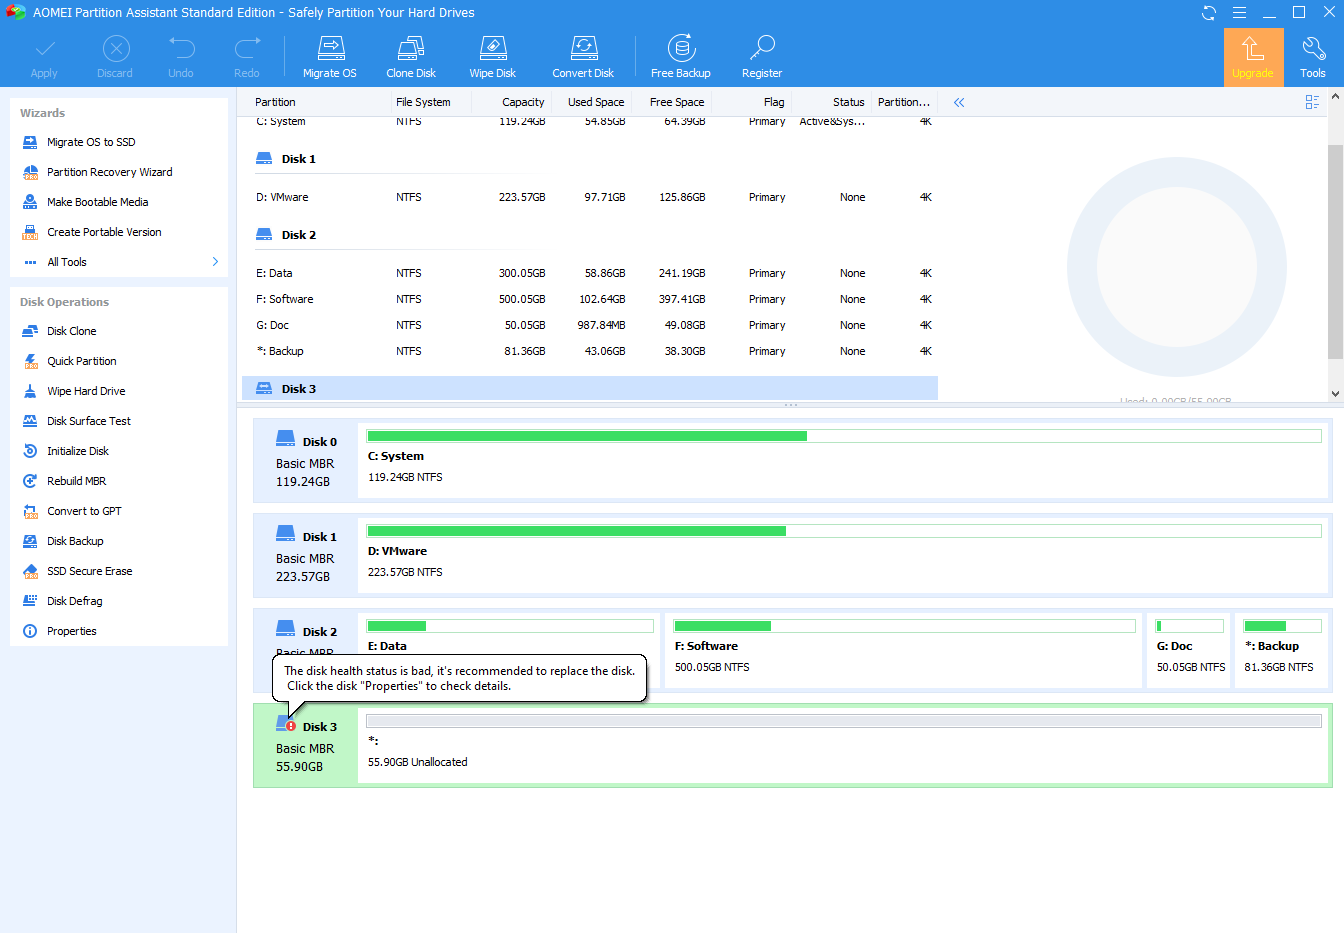
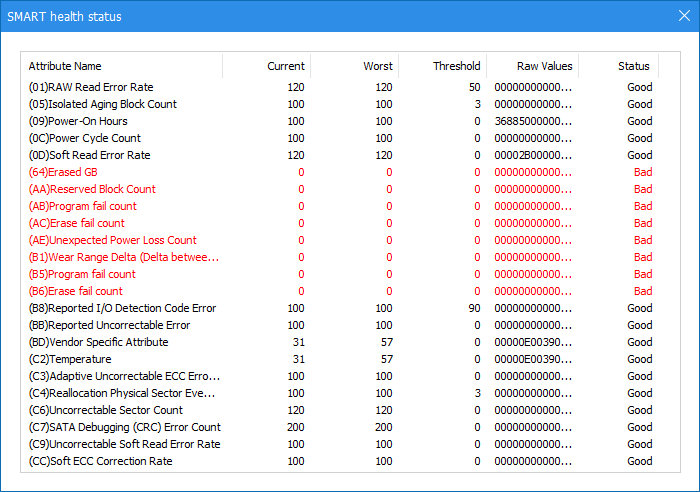
AOMEI Partition Assistant is a versatile disk management tool that not only helps you manage partitions but also offers useful features for maintaining your hard drive's health. One of its standout features is the ability to run a S.M.A.R.T. (Self-Monitoring, Analysis, and Reporting Technology) test. This test provides valuable insights into the condition of your hard drive, detecting potential failures before they become critical.
Step 1. Download and install this hard drive S.M.A.R.T. test software. Right-click the target drive, click "Properties" and "Health(SMART)".
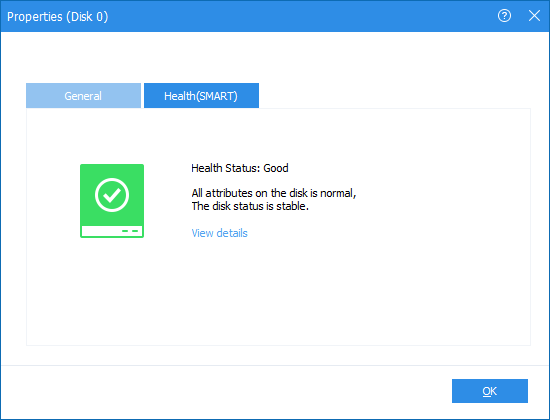
Step 2. The result "Health Status: Good" means that your hard drive is healthy.
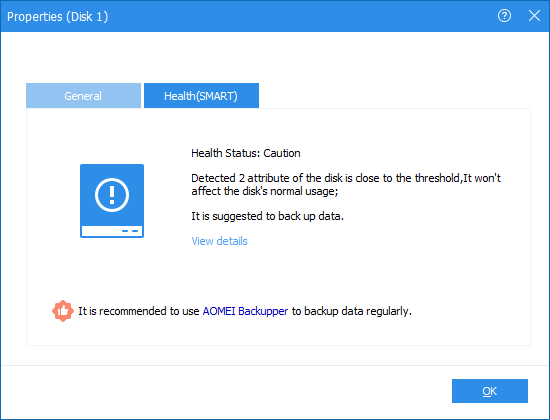
Step 3. If the result is "Caution", you can still use it normally. But you’d better make a data backup.
Step 4. If you see its health status shows Bad, you should find out the errors and repair them.
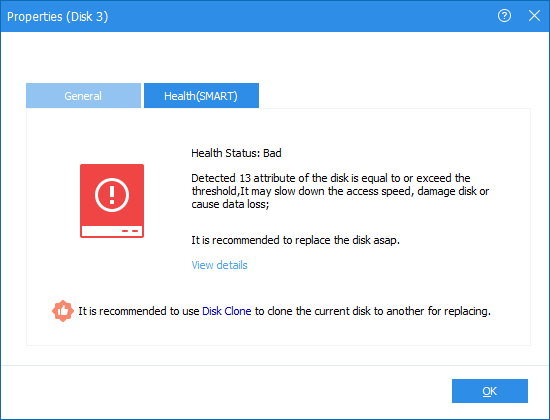
Step 5. If the result is bad, click the "View details" option to see the detailed information.
How to recover the lost data from Dell error code 0142
If you're encountering the Dell error code 0142, it typically indicates a hardware issue, specifically with your hard drive. This error suggests that the system is unable to detect the hard drive properly, often due to a malfunctioning or failing hard drive. However, even though the error is related to hardware, there are ways to attempt to recover lost data before replacing the drive or seeking professional help.
AOMEI Partition Assistant for Recovery is one of the most reliable data recovery tools available. Its robust capabilities allow it to recover nearly all types of data lost for various reasons.
Here’s a step-by-step guide on how to attempt data recovery from a Dell system showing error code 0142:
Step 1. Install and launch AOMEI Partition Assistant for Recovery. Choose the exact partition or disk where your data is lost and click Scan.

Step 2. Then, the recovery tool starts to scan and search. lt will execute the “Quickly Scan" first to find your deleted data fast, and then execute the “Deep Scan" for searching other lost data.

Step 3. Once the scan is completed, all deleted files, recycle bins and other missing files will be displayed. Please select the file you would like to recover and then click "Recover".

Step 4. Then, select a folder path to save your recovered files.
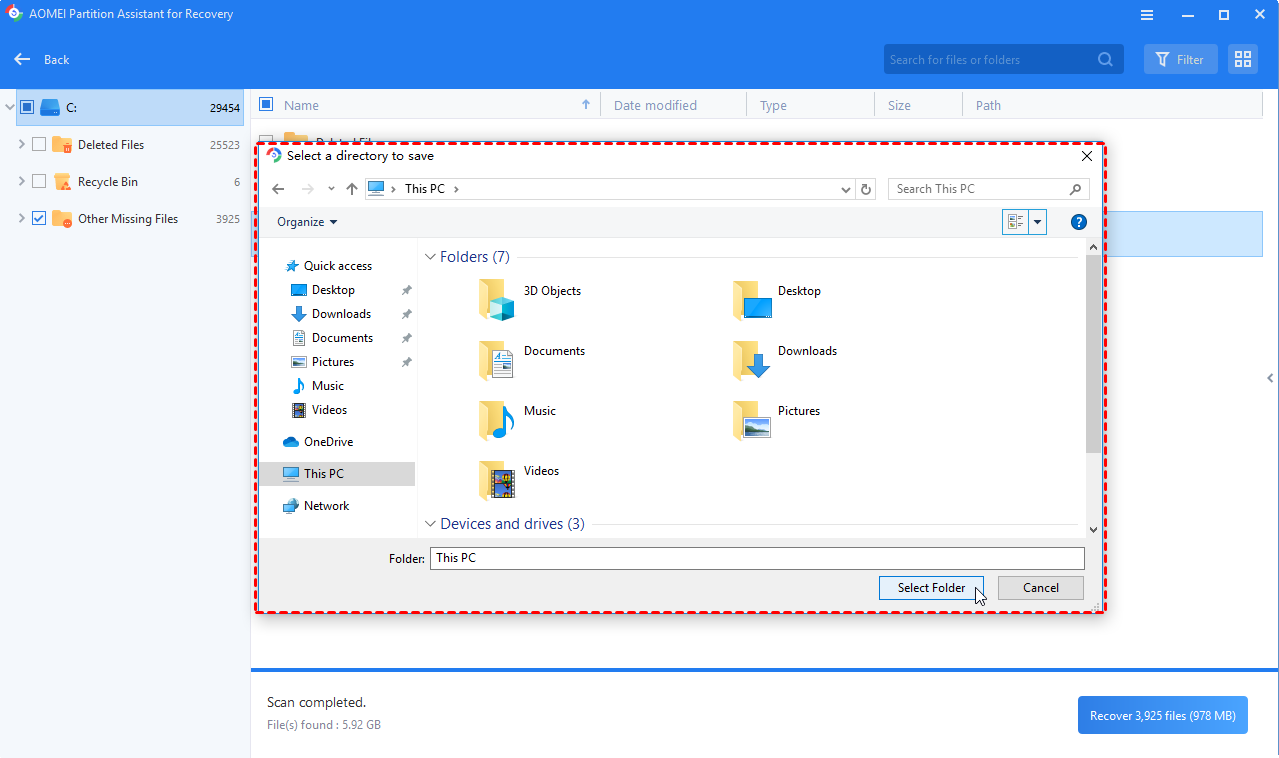
Step 5. Wait patiently for this process of recovery to end.
Conclusion
In conclusion, Dell error code 0142 is often caused by loose SATA connections, a corrupt MBR, bad hard drive sectors, or hardware damage. To resolve this, check the hard drive connections, run a disk check via the Windows installation disc, or reinstall Windows. If these methods fail, replacing the hard drive may be necessary.
Additionally, AOMEI Partition Assistant’s built-in S.M.A.R.T. test can help assess your drive’s health. For data recovery, tools like AOMEI Partition Assistant can help recover lost data from damaged hard drives before resorting to professional assistance or a replacement.