How to: Change Volume Label using CMD in Windows 10, 8, 7
Here comes the detailed steps about how to change volume label using CMD in Windows 10, 8 or 7, which helps you to rename a drive effortlessly.
By Bryce / Updated on May 12, 2023
About volume label
Volume label (volume name), is a name assigned to a drive. Usually, you can give a name to a partition to show what saved on it, thus you can find out the files and folders that you need quickly and effectively. You can set or change the volume label for a drive when, after it is created.
For example, you have two USB drives connected to your PC, one is for you to solve back up files, and the other is for you to contain music files. You can set the volume label for the drive that holds backup files as “backup” and the other as “music”.
Change volume label using CMD step by step
If you don’t have set an appropriate volume label for a drive at the very start, you can rename it from Windows Explorer, Disk Management, or CMD. here shows you how to change the volume label for a drive using CMD in Windows 10/8/7 at length.
Firstly, press Windows + R at the same time, input cmd, and hit Enter to run Command Prompt as administrator.
Then, in CMD interface, type “label f: music” and press Enter key on the keyboard.
![]()
Notes:
☞ “f” is the drive letter of the drive that you want to rename; it’s available to replace music with the name that you want to give to the drive.
☞ If you want to find a volume label rather than set a new volume label for a drive, you can run “vol x:” to list the volume label for x: drive.
Change volume label using third-party partition manager
Or you can use a third-party partition software, AOMEI Partition Assistant Standard, to change the name of a drive in Windows 10/8.1/8/7, XP, and Vista. It’s with concise interface and very easy to handle. Apart from renaming a drive, it can also change the drive letter for a drive, convert NTFS partition into FAT32 without formatting and etc. You can click the following button to free download it.
Now, install, run it on your PC and take a look at how it changes the volume label for a drive.
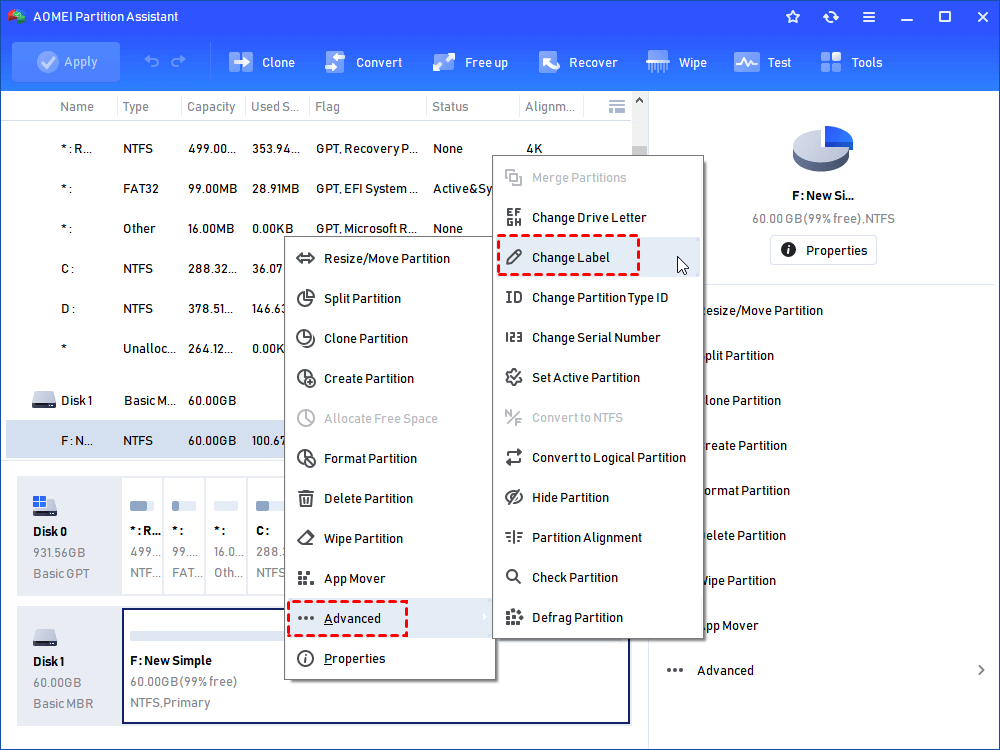
Step 1. In the home interface, right-click the drive that you want to rename and select Advanced > Change Label.
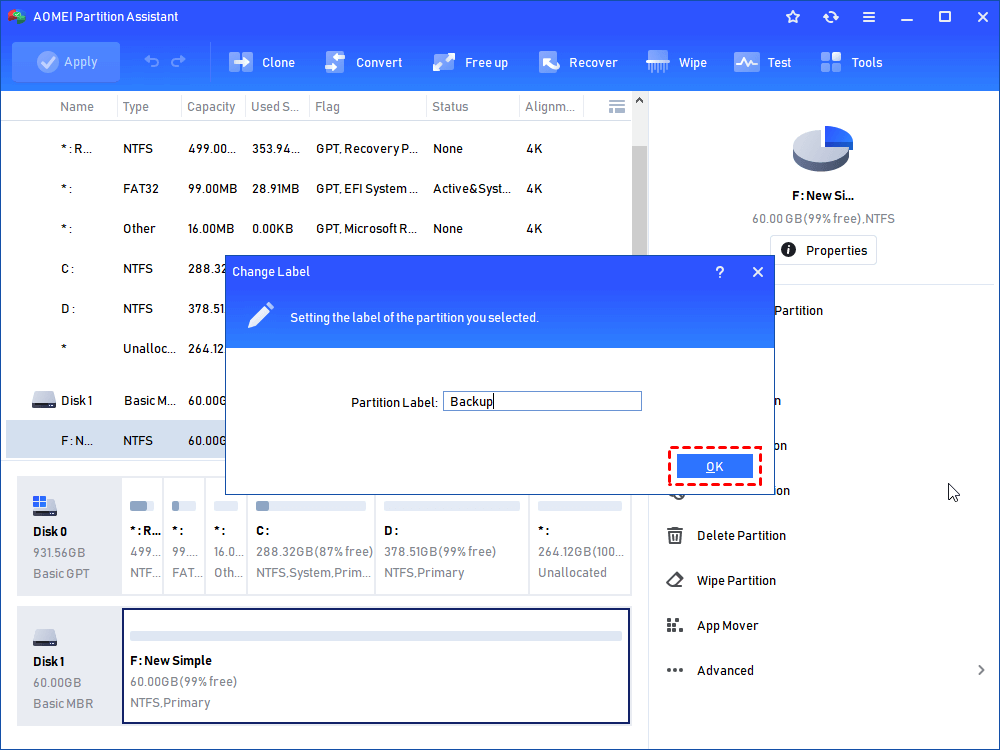
Step 2. In the pop-up window, input the new label that you want to assigned to the drive and click OK.
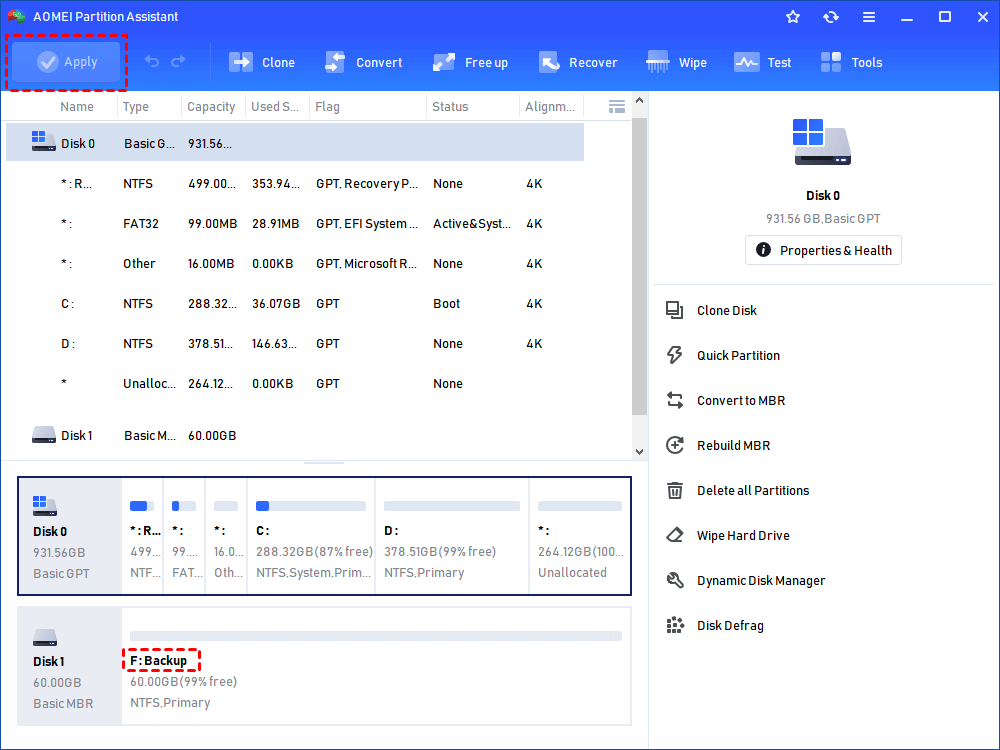
Step 3. You’ll return to the home interface, click Apply and Proceed to commit the operation. If you are unsatisfied with the result, you can click Discard to cancel the operation.
Note:If the drive is formatted with FAT/FAT partition, the label can be set up 11 characters; If the drive is formatted with NTFS, the label is up to 32 characters.