In Lenovo computer, if you need to upgrade your HDD to SSD or replace the existing SSD with a larger SSD, you can read this article to realize how to complete Lenovo SSD upgrade in Windows 7/8/10/11.
Lenovo desktops or laptops like Lenovo Y50 are popular among computer users all over the world. It is very likely that you own a Lenovo computer but are not satisfied with the hard drive installed on it: the existing disk is a hard disk drive or a solid-state drive with small capacity.
Through upgrading HDD to SSD, your Lenovo computer can get better performance in system boot and application loading. After replacing an SSD with a larger one, you can increase your disk capacity and lower the possibility of receiving Low Disk Space warning. All in all, it’s wise to upgrade Lenovo hard drive and you’ll see the detailed process in the following parts.
If you don’t care about the settings and apps on your existing disk, you can make a fresh Windows install on the new SSD for upgrading Lenovo hard drive to SSD. However, what if you plan to keep the same settings and all applications? Download and reinstall every application one by one and make settings from scratch? You can certainly do that if you don’t mind taking lots of time and energy.
If you don’t want to suffer from the time-consuming process, the simplest way is to make disk cloning. Disk cloning can transfer all data including Windows OS from your old hard drive to SSD, allowing you to complete hard drive replacement without reinstalling OS and all other programs. Moreover, the cloned disk is also bootable. Then, in Lenovo computer, how can you clone hard drive to SSD?
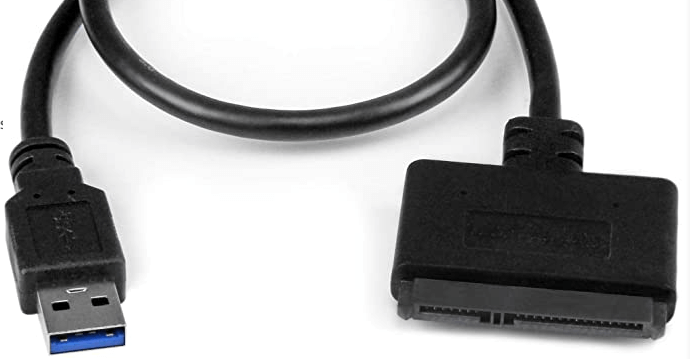
1. Make HDD defragment to save the time of cloning HDD to SSD in Lenovo computer. If what you need to do is to replace SSD with a larger one, skip this step. 2. Prepare an SSD that is compatible with your Lenovo desktop or laptop and whose size is at least not smaller than the used space of your existing disk. Then hook it up to your computer. When your computer is a Lenovo laptop with one bay, you need a USB-to-SATA cable to connect SSD with your computer.

After having done the preparation work described above, you can do the following step-by-step tutorial to make Lenovo SSD upgrade from HDD or SSD with a small capacity. Take cloning disk in Windows 10 as an example.
It's available to download the demo version of AOMEI Partition Assistant to have a try!
Step 1. Install and launch AOMEI Partition Assistant, click "Clone" in the main interface and select "Clone Disk".
Step 2. Choose the hard disk that you need to clone as the source disk and click "Next".
Step 3. Select the destination disk to store the data on the source disk, and then click "Next".
Step 4. Then, you can check the source and destination disk in the next window or change to “Sector to Sector clone”, and click the "Confirm" button to continue if there is no problem.
Here, you can also click the "Settings" button to adjust the partition size on the destination disk or tick "4k alignment" to improve the reading and writing speed of SSD if the target disk is an SSD drive.
Step 5. At last, click "Apply" and "Proceed" in the main interface to start cloning the hard drive.
Finishing disk cloning does not mean that you have completed the Lenovo SSD upgrade. You may want to read the following context about how to boot up from the target SSD after cloning successfully.
▶ If your Lenovo computer is a desktop or laptop with more than one drive bays, you can keep your original HDD and new SSD at the same time. If you want to do so, enter BIOS to set SSD as the first boot device. Then, boot up your system from SSD. After successfully booting from SSD, you can format HDD and use it as a second drive to store other applications and data.
▶If the Lenovo computer is a laptop and owns only one drive bay, you can locate the situation of the old hard drive and replace it with a new SSD. Then boot your computer from cloned SSD. As for the replaced disk, if you want to give up it or donate it to your friend, to protect your personal privacy and information security, you can wipe data on the replaced system hard drive.